I have a Christmas wreath I love, rustic, sparkly, and full of ornaments, greenery, and pinecones. This year, instead of just admiring it, I decided to turn it into a Christmas wreath cake. A cake is already the perfect wreath shape, and I wanted a larger canvas than the wreath cupcakes I made last year.
This cake was pure experimentation, and I loved how it turned out.
Watch this cake come together:
Table of Contents
What You’ll Need
For the Cake
- Two 6-inch cake layers (your preferred flavor)
- 8 or 10-inch cake board
- Buttercream frosting in cream/white for the base
Piping Tips
- Wilton #352 (leaf tip)
- Wilton #2 and/or #3 (round tips for pine needles)
- Wilton #81 (crescent tip for pinecones)

For the Wreath Decorations
- Buttercream in various greens and brown (see color guide below)
- Cake ball ornaments in various sizes (I got mine from Amazon)

Buttercream Color Guide
Here’s the color palette I used for this winter wreath design:
| Element | Colors Used |
|---|---|
| Ashy/Cool Evergreen | Green + dot Navy + touch Black |
| Dusty Sage | Green + Grey |
| Pinecones | Brown (with white striped in bag for two-toned effect) |
Pro Tip: If your mixed color is too dark, add white to lighten it. If it’s not dark enough, add more of the main color, then desaturate by mixing in small amounts of the opposite color (green → red) or black.
The Christmas Wreath Cake Decorating Journey
Step 1: Preparing the Base
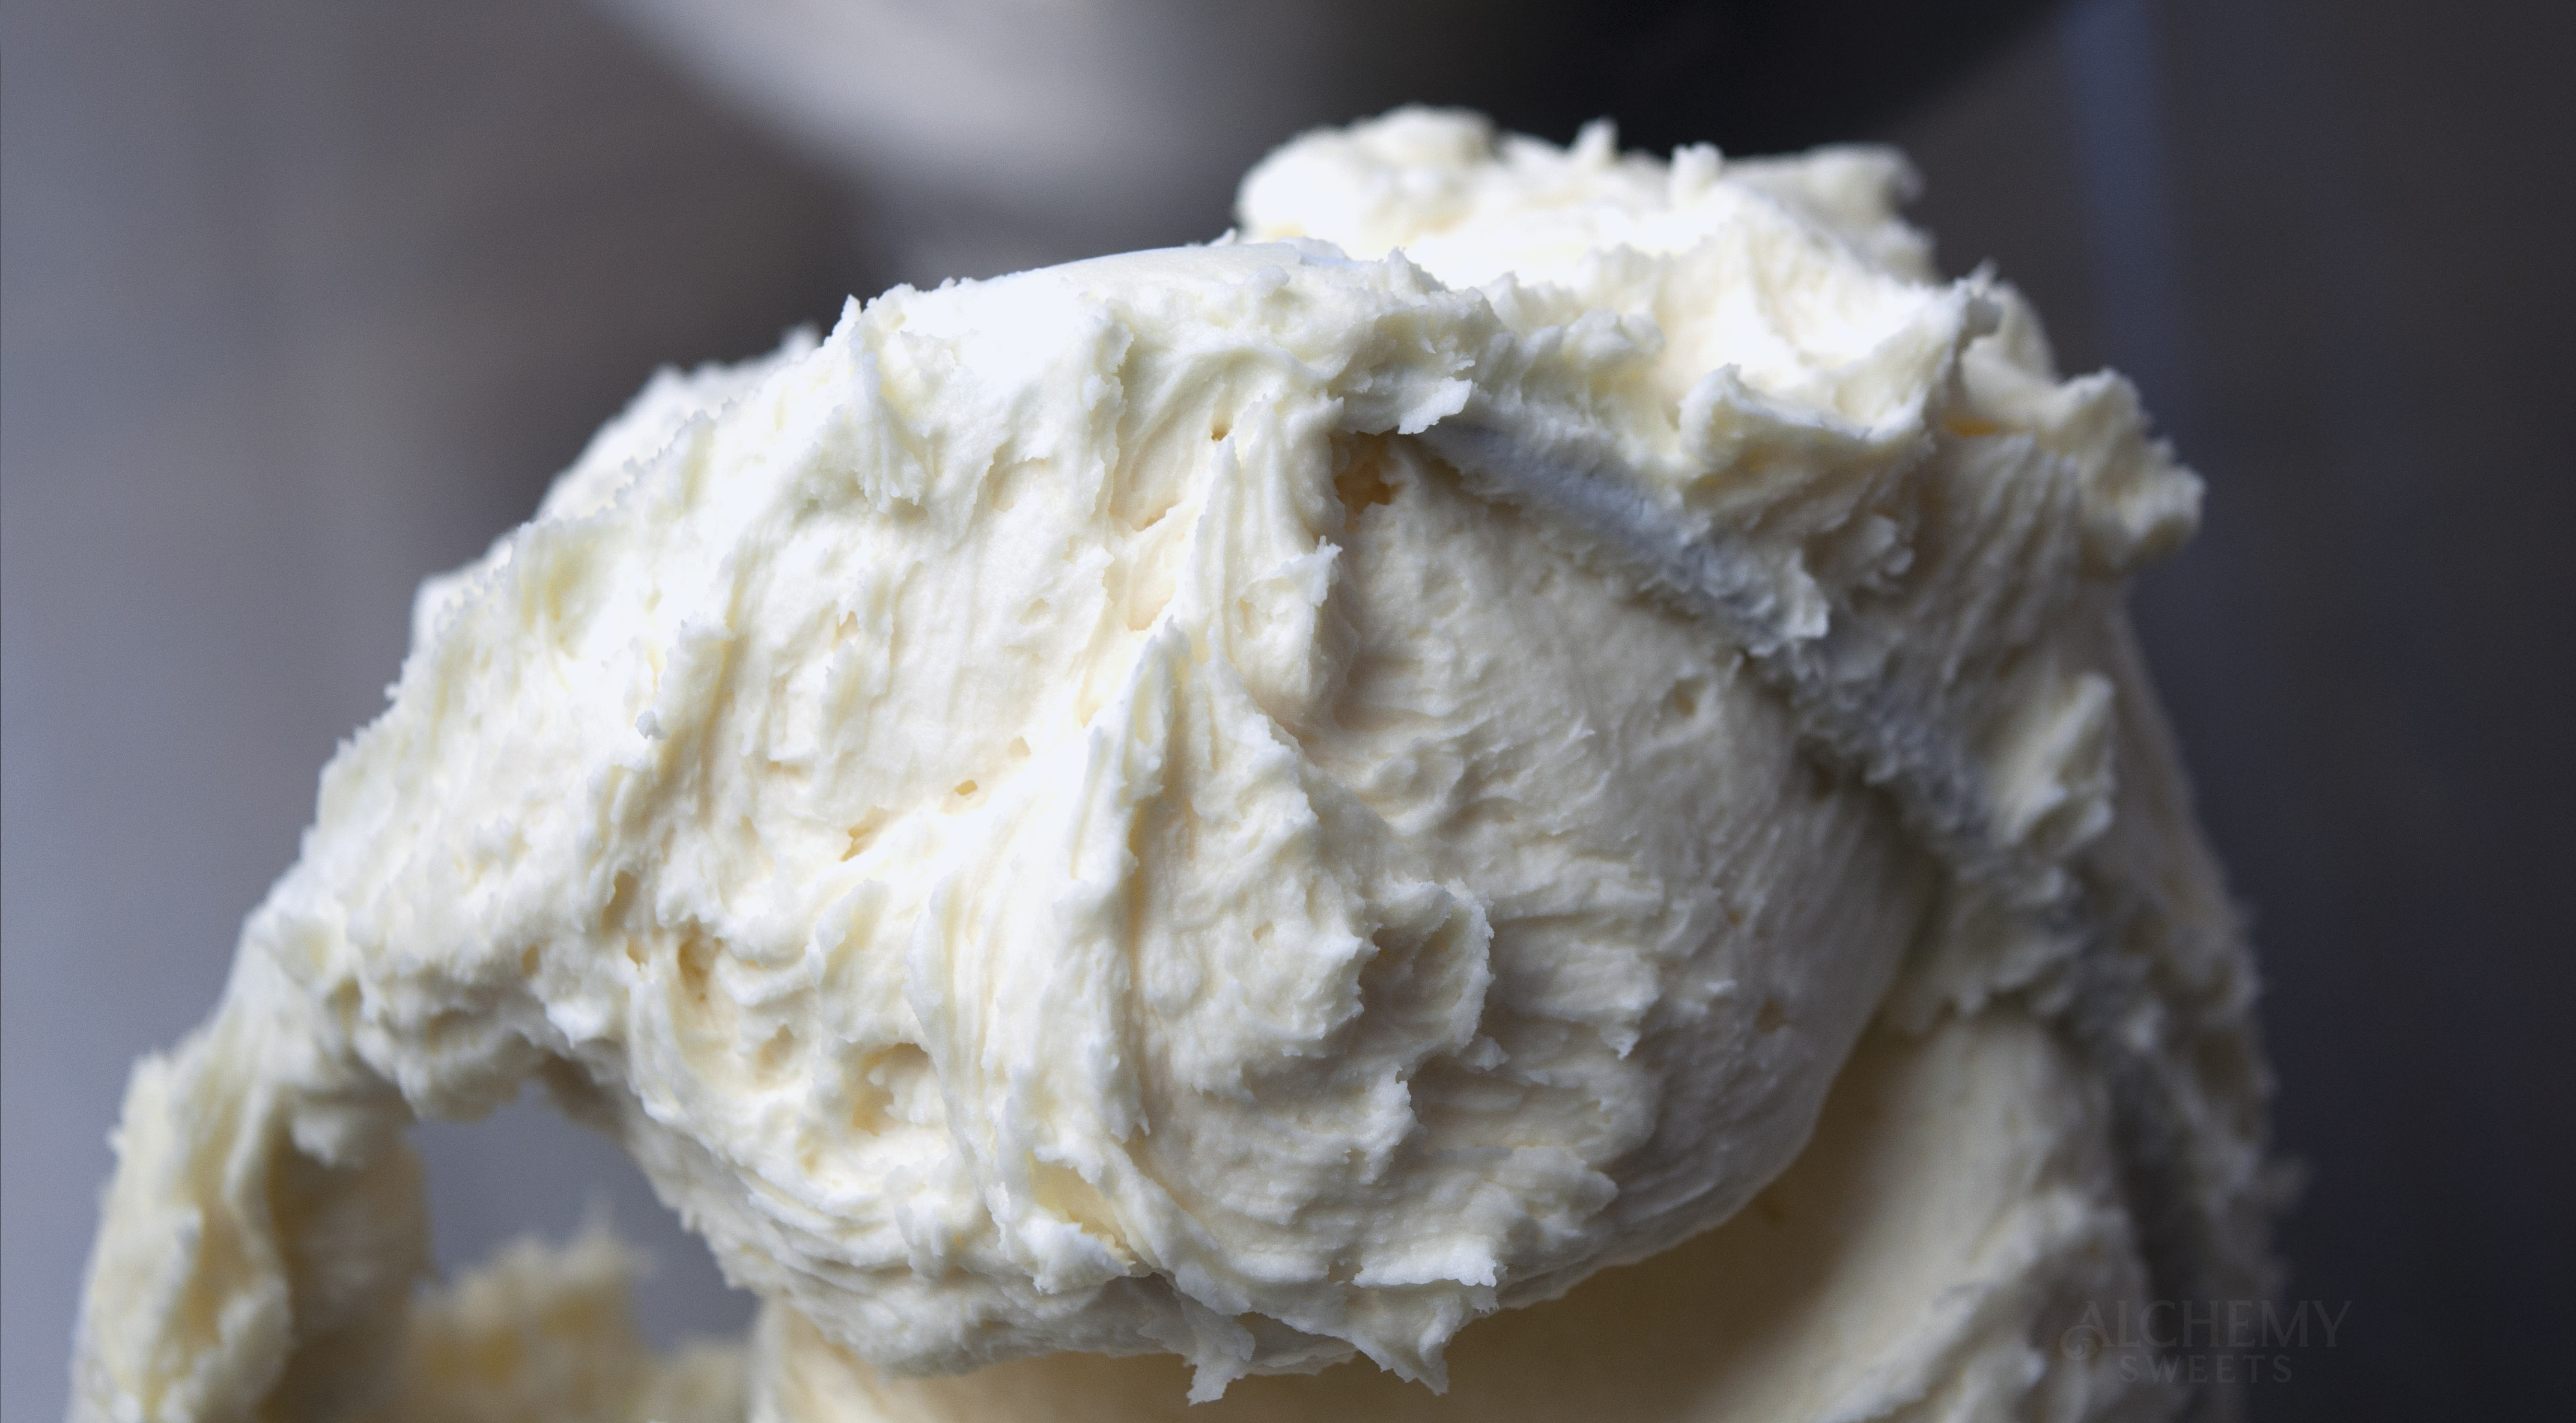
I started with a crumb-coated cake in a soft cream buttercream. The wreath elements are full of texture and movement, so keeping the base smooth helps them stand out. Chill until firm before adding any decorations.
Pro tip: If you can’t get a super smooth edge, try heating a palette knife with a kitchen torch or hot water and use it to smooth out the edges. Not too hot though, you only want to slightly warm the buttercream.
Step 2: Piping the Greenery
I piped the evergreen pine needles and branches using a Wilton #2 round tip, keeping all greenery moving in the same direction to mimic how real wreath branches wrap in a circle.
I also wanted them to look a bit more 3-dimensional pulling “up” as I piped and let some hang over the edge.

To add depth and variety use multiple colors:
- Ashy/cool evergreen for the main pine needles
- Lighter green/dusty sage to help break up the darker greens and add movement

Step 3: Piping the Pinecones
After piping some greenery, I piped buttercream pinecones using a Wilton #81 crescent tip. I made them two-toned with brown and white to mimic a light dusting of snow that faded look they get as they dry up. I piped these on a flower nail with parchment, then placed them in the freezer to firm up so I could easily transfer them to the cake.
Check out my Christmas Wreath Cupcakes for how I pipe a pinecone!
Once I placed the pinecones, I filled in a couple more areas with some more pine branches using a slightly lighter shade of green.

Step 4: Adding the Ornaments
Next, I placed my cake ball “ornaments” on the wreath. I used three different sizes to create visual interest, mixing bigger and smaller balls together. (In retrospect, I could have used a larger tip for the greenery to compensate for how large the cake balls actually are, they sort of take over.)
It was my first time using these toppers, and yes, I do recommend them. Just be mindful of the direction you’re pushing them in; I had the end of a stick poke out the side of my cake, which I then needed to touch up.

I used a mix of shiny gold, sparkly red, beige, and darker beige ornaments. These ornaments are non-edible toppers, so be sure to remove them before serving.
Step 5: Finishing Touches
To finish off the cake, I added a few longer leaves to add more texture and fill in some gaps. I piped these leaves with a Wilton #352 leaf tip, keeping them moving in the same direction as the pine branches.
Since this was only a 6-inch cake, I didn’t need much filler. But you could totally add more; holly leaves and berries, mini poinsettias, or extra pinecones for balance.

I probably could’ve added more greenery, especially since the wreath I used for inspiration was FULL of greenery, but knowing when to stop is part of the process. There’s always a next cake.
The goal wasn’t perfection—it was personality, texture, and movement. The two-toned pinecones and varied ornament sizes made it feel cozy, wintry, and full of life. Lighting a pine-scented candle to go with it? Perfect.

Why I Love This Design
What I love most about this Christmas wreath cake design is how approachable it is. It looks elegant and detailed, but you don’t need professional-level piping skills to pull it off. You build it in layers, like you would a painting. Pipe a few branches here, add some pinecones there, and stick on some ornaments. The texture does most of the work for you. Plus, if it looks a little off, just add more greenery and fill in any gaps with more pinecones.
Skill Level: Easy-Intermediate
Why: Mostly simple piping, but pinecones + branch volume take patience.
Show Me Your Wreath!
Do you have a wreath you could turn into a cake? I’d love to see it! If you give this a try, tag me on Instagram @alchemy.sweets.
Want more Christmas cake ideas? Subscribe to my blog for decorating inspiration and tutorials, or check out my YouTube channel for full decorating videos!