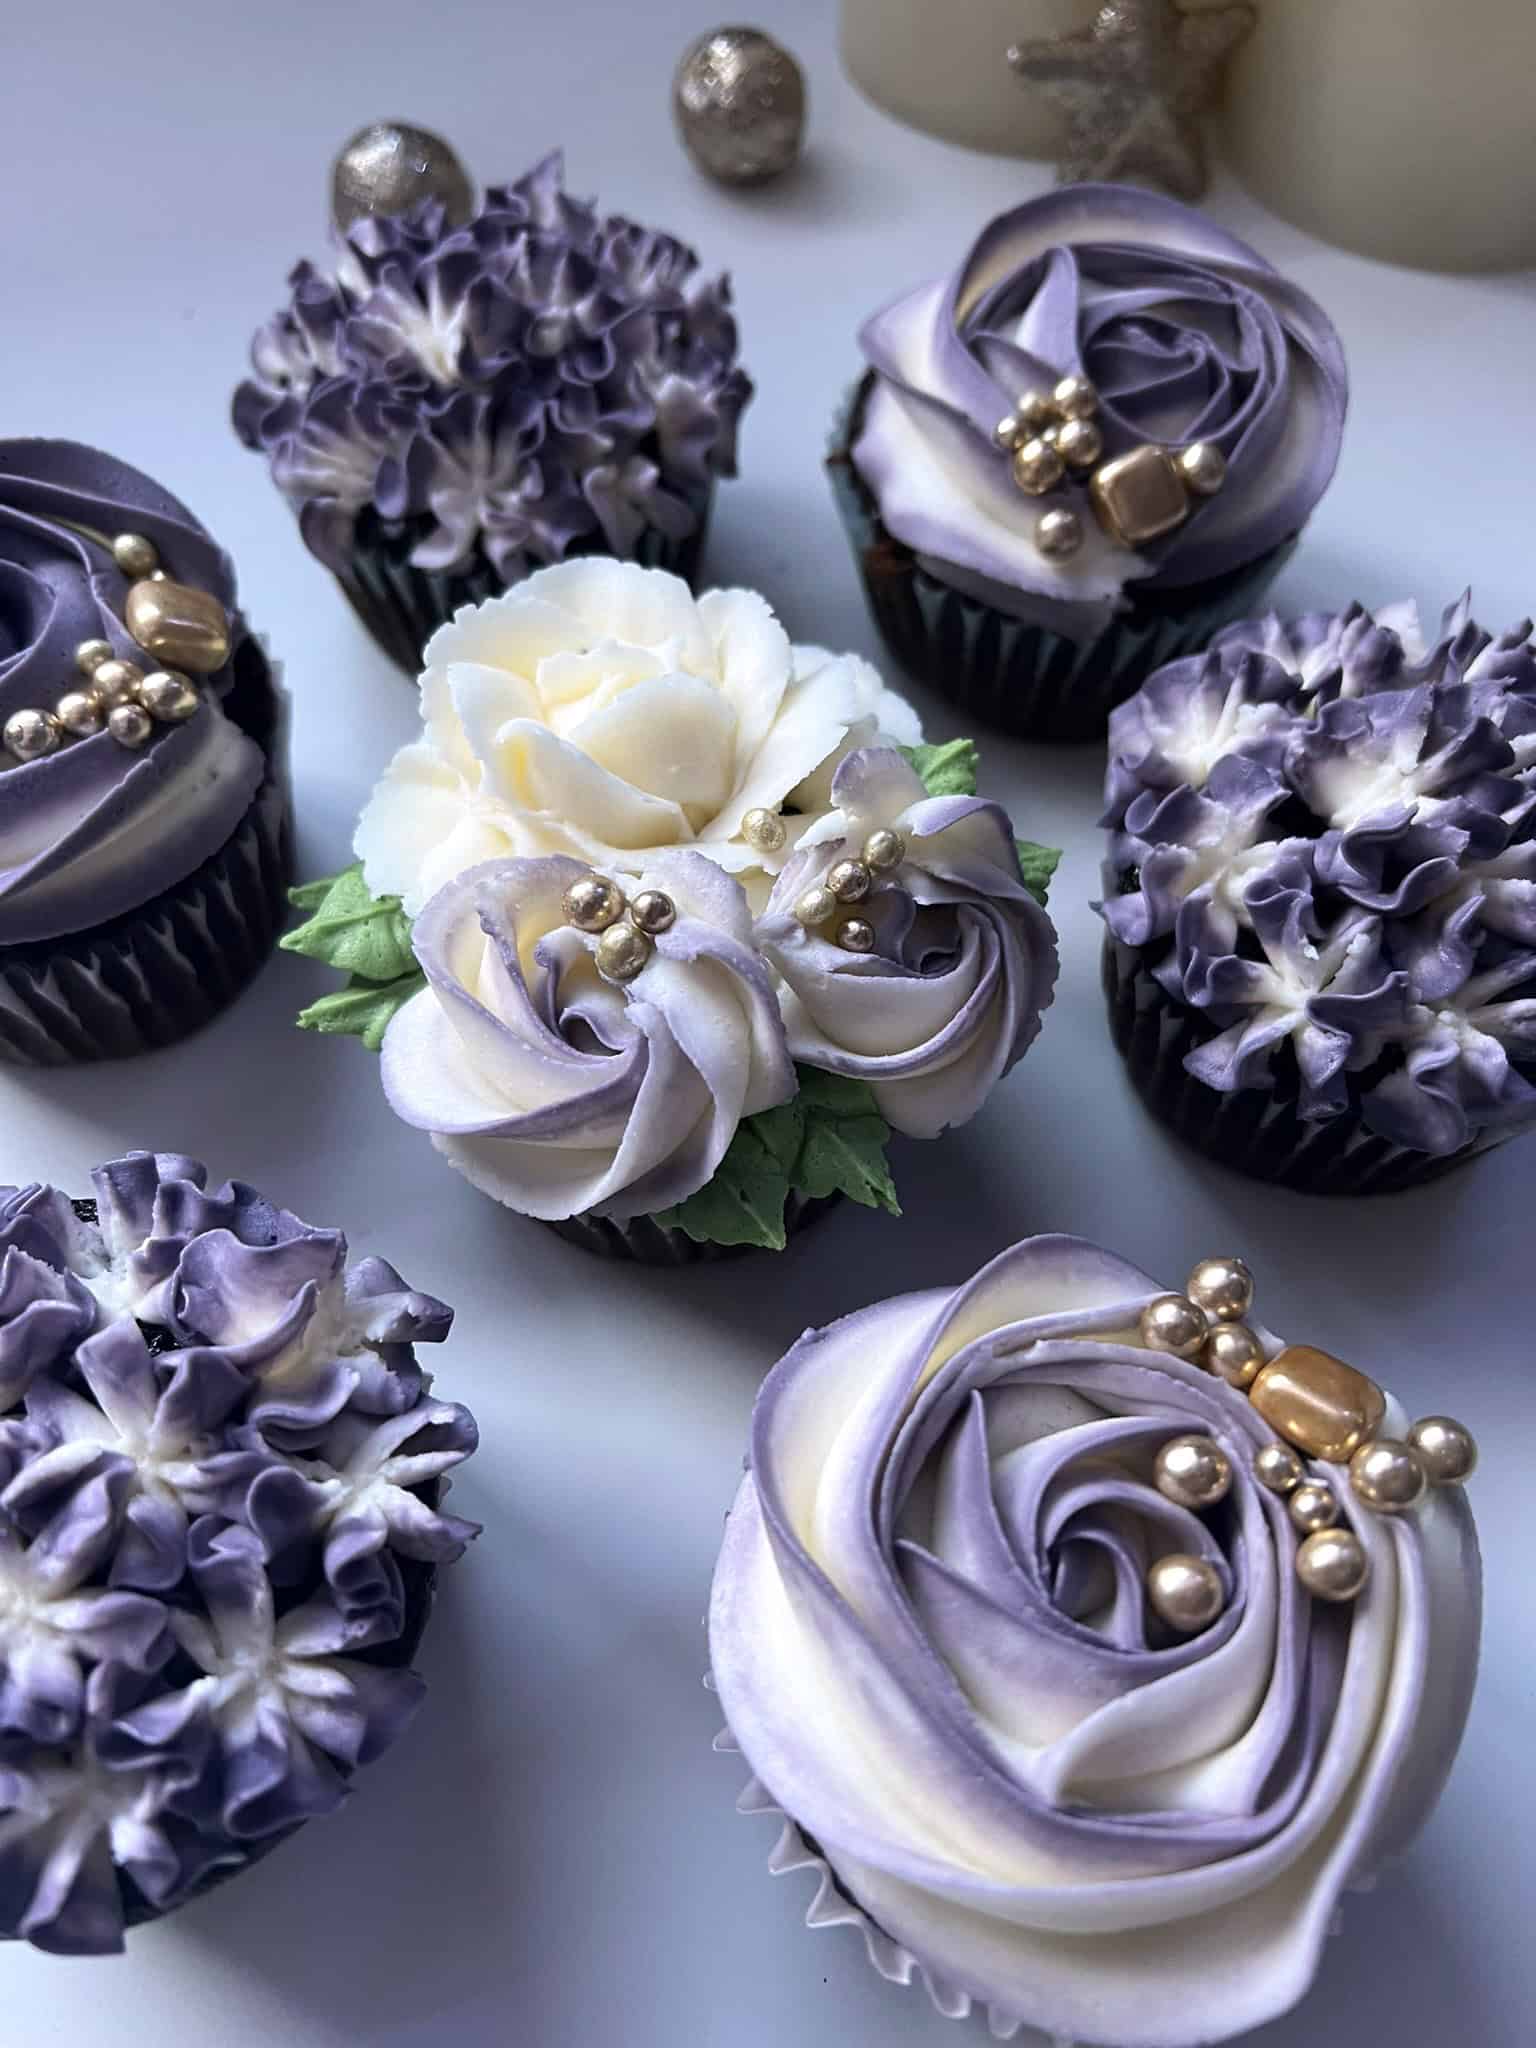
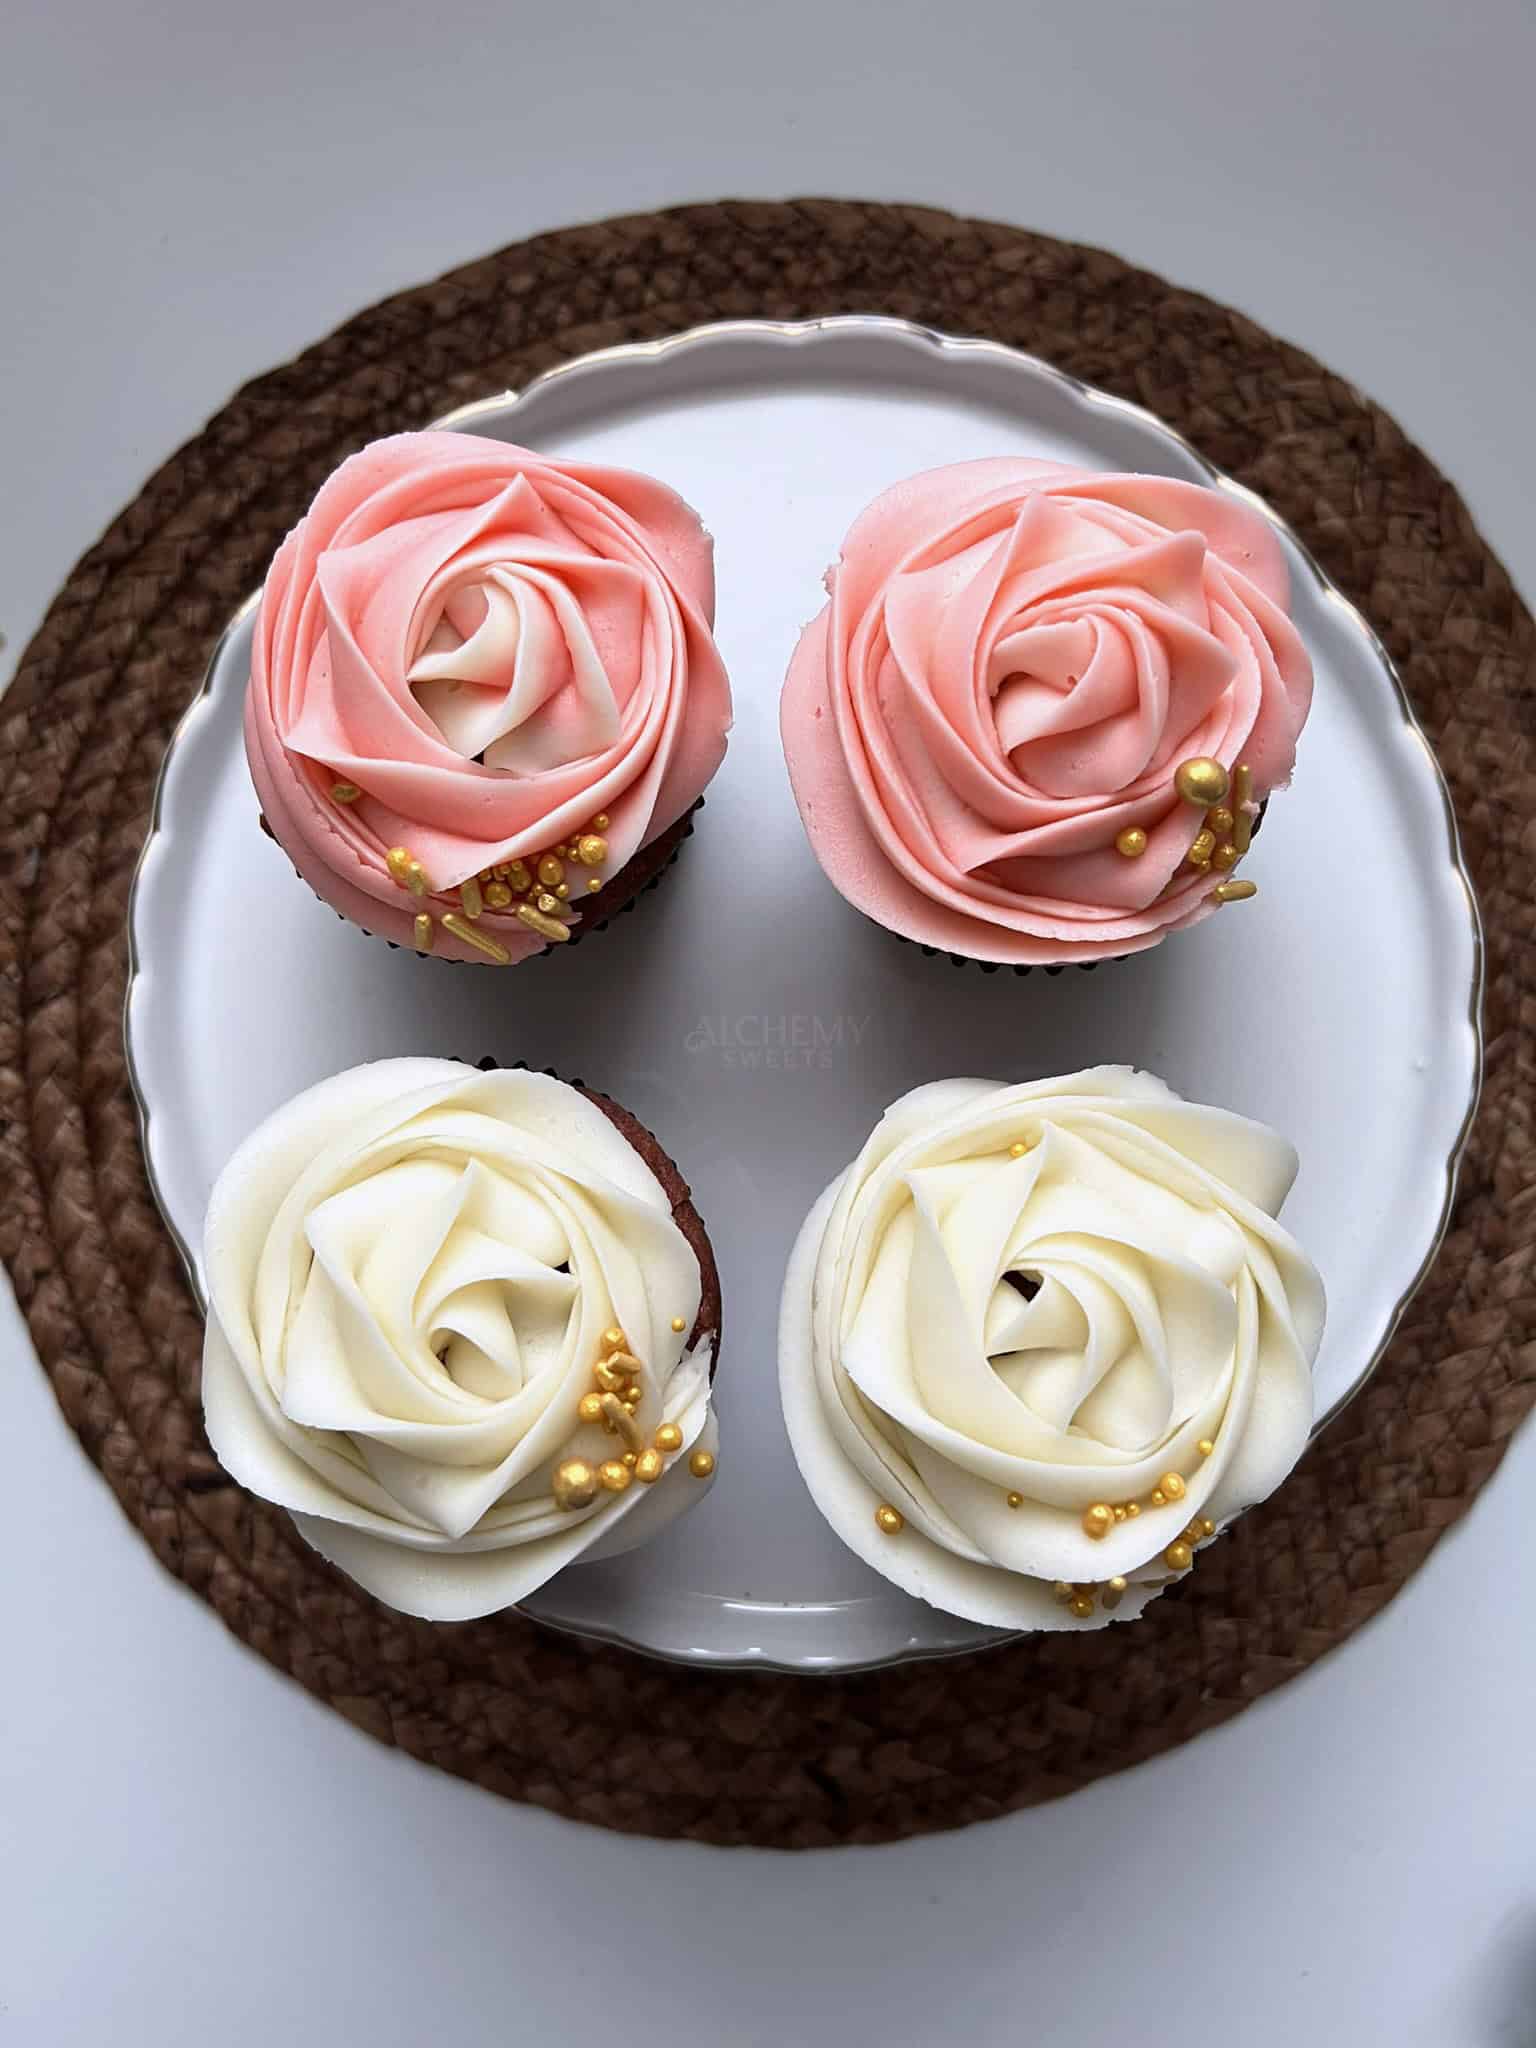
I get asked all the time what I use to create my cupcakes, cakes, and buttercream flowers, so here it is. The honest answer is: not much, and nothing fancy. My whole setup is a steel work table tucked into the corner of my office, with a small shelf on the wall for sprinkles, dry ingredients, food coloring, and piping tips. It’s not elaborate, but it’s exactly what I need to create detailed floral work and decorated cakes, and it’s proof you don’t need a dream kitchen to get started.
Over the years, I’ve figured out what’s actually worth having versus what just takes up space. Here’s what I reach for again and again, and why these tools have earned their spot in my decorating corner.
My Go-To Cake Decorating Tools
Stand Mixer
My stand mixer is essential for pretty much everything I make; cakes, cupcakes, and all the buttercream.
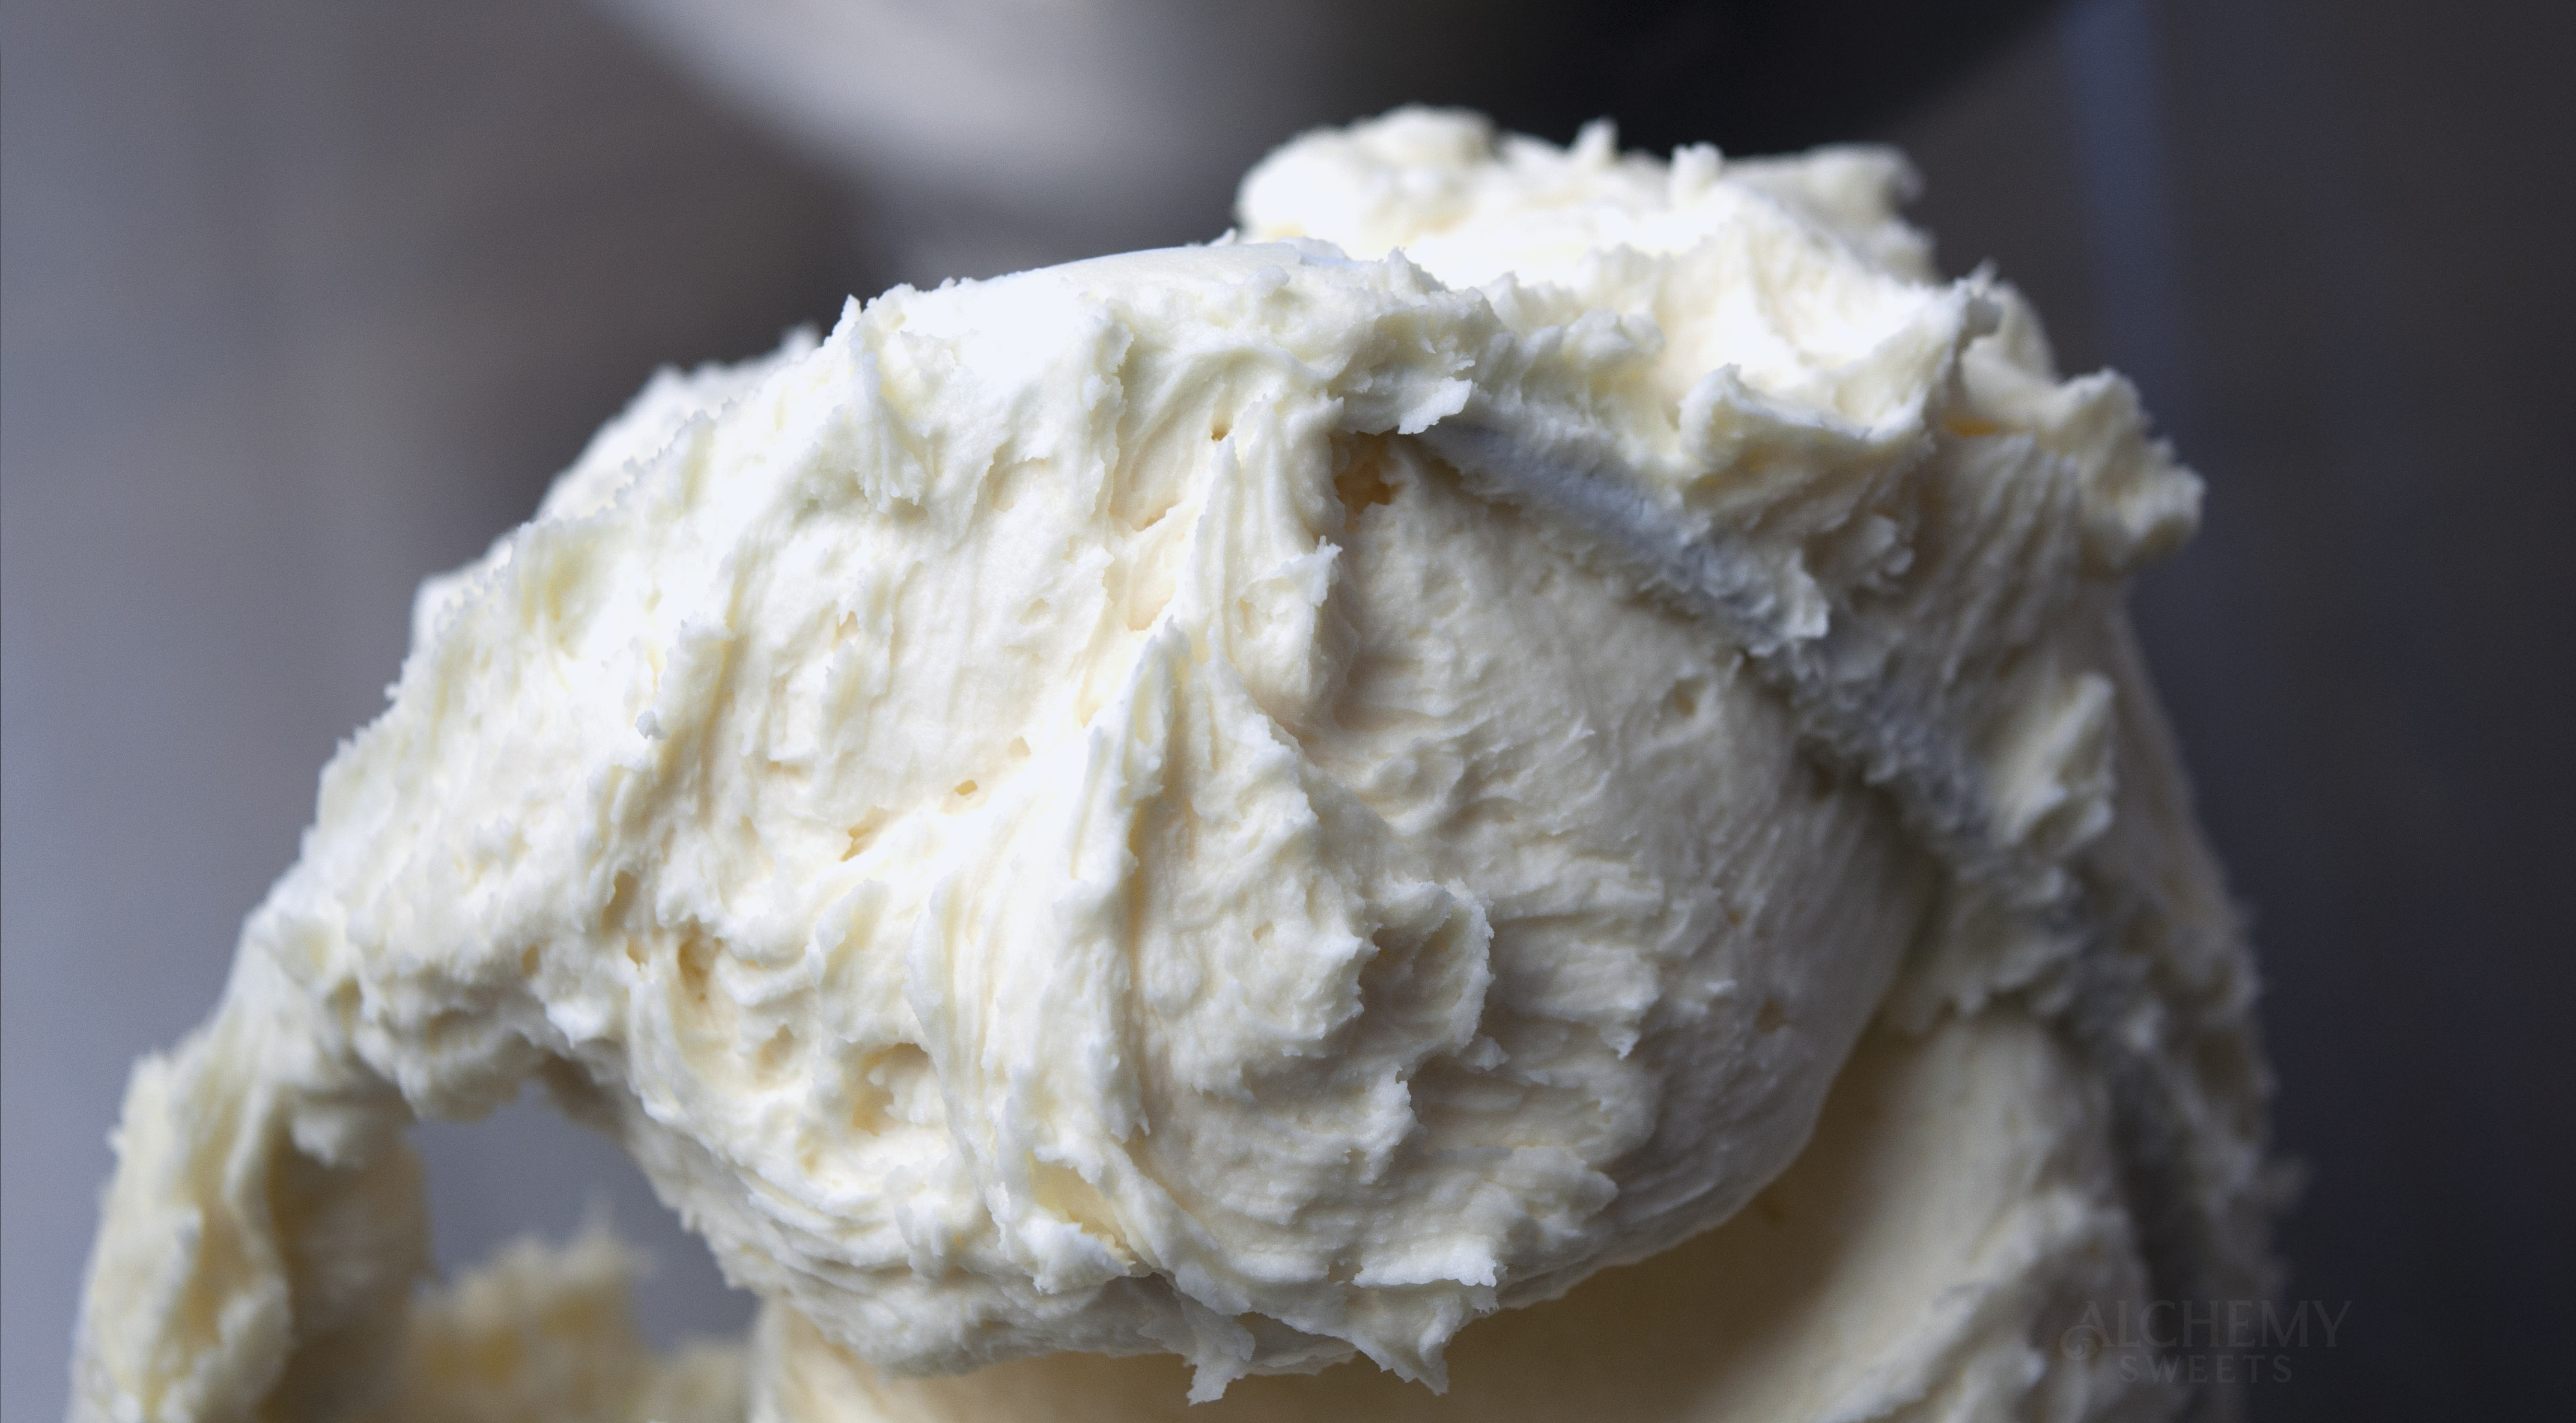
This matters most when I’m making buttercream. Whether I’m whipping up a quick American buttercream or making a meringue based buttercream (where I need to whip egg whites and stream in hot sugar syrup at the same time), a stand mixer keeps my hands free. It’s also great for a consistent mixing speed when making a smooth buttercream.
This is the KitchenAid stand mixer my parents bought me years ago, and it still does me well to this day. It’s a smaller capacity, but I can make a full batch of buttercream or a double batch of cake/cupcakes. My only suggestions: get a bowl cover guard and an extra mixing bowl!
Offset Spatulas And Palette Knives
I have a few different sizes of offset spatulas, and they each serve different purposes. A small offset spatula is perfect for smoothing buttercream on cupcakes, cake edges, and doing texture details. A larger one is essential for frosting cake layers and getting smooth sides.
Palette knives come from my painting background, and I use them for both mixing colors into buttercream and for certain smoothing techniques. The flexibility of a good palette knife gives you control that’s hard to get with other tools.
Turntable
I’ve had a few turntables over the years. One of my earlier ones is now completely covered in paint because I adopted it for my art work – it was just too useful not to repurpose!
My current turntable is one I found on Amazon, and I absolutely love it. A good turntable makes or breaks how you frost a cake. Instead of using a janky one that catches as it turns, this one spins so smoothly while you work. This is especially important for getting even coverage and smooth sides.
For piping flowers directly onto cakes, a turntable lets you work at a comfortable angle and rotate as you go. It’s one of those tools where once you have it, you wonder how you ever managed without it.
Piping Bags: Disposable All the Way

I use disposable piping bags exclusively, and I’m never going back to reusable ones. Here’s why: when you’re working with multiple colors for buttercream flowers (which I almost always am), disposable bags let me have several colors ready to go at once without the hassle of washing bags between uses.
With Italian Meringue Buttercream, which is what I use for all my detailed piping work, cleanup matters. Disposable bags mean I can focus on the decorating instead of spending time at the sink scrubbing buttercream out of fabric bags. Plus, when you’re piping flowers that require switching between colors frequently, having fresh bags for each shade keeps your colors clean and true.
I go through a lot of bags, but the time and frustration they save me is absolutely worth it.
I use a variety of different piping bags depending on what I am piping. I like these disposable ones for royal icing and candy melts, they are thin and feel the best when I am working with a more fluid consistency. I like these ones for buttercream flowers, but any thicker piping bag will do. They are perfect for buttercream, they withstand the pressure of piping better and don’t break like the thinner bags do. And for fillings, I like large pastry bags, because it’s easier and satisfying.
Couplers
Couplers are one of those tools that seem basic but make such a difference. They let me swap piping tips without changing bags, which is essential when I’m working on flowers that need different tips for petals, centers, and details.
I keep several couplers ready to go so I can prep multiple bags with different colors ahead of time. When I’m in the middle of piping a rose and need to switch from my petal tip to a smaller round tip for the center, I can do it in seconds without disrupting my workflow.
Piping Tips

My piping tip collection has grown over the years, but there are specific tips I use constantly (and have multiples of), especially for buttercream flowers. A Master Tip Set has all my most used piping tips mentioned below:
Drop Flower & Large Star Tips
- 2D (large drop flower): Instant flat-surface flowers, swirls, ruffles and rosettes.
- 16 or 18 (small open star): Small stars, small rosettes, borders, flower centers.
Petal & Rose Tips
- 104 (standard petal): My most used tip. Pipe endless amounts of flowers but more classically a rose. Also good for ruffles, bows, drapes.
- 125 (large petal): Everything you can do with the 104 but bigger.
Leaf Tip
- 352 (V-shaped leaf): Pointed, realistic leaves and petals for some flowers.
Multi-Opening Tip
- 233 (grass tip): Great piping a cluster of stamens.
Round Tips
- 2 & 3 (small/fine round): Great for small flower details but also lettering, outlines and lace patterns.
- 10 (medium round): Tip I use most for piping center mounds on flowers.
Specialty Tip
- 81 (u-tip): Best for chrysanthemum and dahlia petals, but also good for center most petal details on other flowers and succulents.
Flower Nails
Flower nails are one of the most important tools for piping buttercream flowers, especially when you’re learning. They let you pipe flowers separately before transferring them to your cake, which takes so much pressure off.
I use flower nails constantly. They give you an easy surface to rotate while you pipe, which is crucial for creating even petals and consistent shapes. You can practice the same flower multiple times until you get it right, and you can build up a collection of piped flowers to have ready when you need them.
For more complex flowers that require multiple layers or specific techniques, piping on a flower nail first means you can focus entirely on the technique without worrying about placement on the cake. Once your flowers are frozen on their squares of parchment, you can arrange them exactly where you want them on your finished cake.
I have this flower nail set from amazon and use it every time I’m piping. It comes with multiple nail sizes, scissors to transfer your piped flowers, and a nail block.
Food Coloring

I mainly use Wilton water-based gel food coloring for all my buttercream decorating. It’s a concentrated, thick gel that colors buttercream without changing the consistency. It’s surprisingly the most budget-friendly out of all the food colors I use.
Satin Ice liquid gel food coloring is the easiest for me to find in stores. It is also highly concentrated, and a little goes a long way.
The most expensive coloring I use is Colour Mill oil-based food coloring. I use it mainly for candy melts, but sometimes buttercreams, especially meringues. The oil bonds to the fats in your creams and baking.
Sprinkles & Decorating Extras
This is where things get fun. I use so many different sprinkles depending on the look I’m going for. My all-time favorites are Sweetapolita specialty sprinkles, their blends are amazing and add that extra finishing touch when I really want a cake to pop.
For sprinkles that are super accessible to me, I reach for Sweet Tooth Fairy (or whatever brand Michaels is currently carrying). They’re affordable, easy to grab, and perfect for everyday decorating.
I also love using edible luster dust and luster spray to add shimmer and dimension.
Storage Solutions

When you accumulate piping tips, couplers, and other small decorating tools, storage becomes essential. I keep my tips organized in a way that lets me quickly find what I need – there’s nothing more frustrating than hunting for a specific tip when you’re in the middle of decorating.
I store my tips, couplers, and other small items in containers that keep them clean and easy to access. Your system doesn’t have to be elaborate, but having one prevents the chaos of loose tips rolling around in drawers.
For my disposable piping bags, I keep them in their box within easy reach. Same with parchment squares for flower nails – having a stack ready to go means I can just grab what I need and keep working.
I use this customizable storage organizer from Michaels to store most of my piping tips, flower nails, couplers and other small decorative items.
My Steel Work Table Setup
Working from a corner of my office might not be the traditional setup, but my steel work table has become my dedicated decorating space. It’s sturdy, easy to clean, and gives me a consistent workspace where everything stays put while I’m piping.
The shelf on the wall next to my table holds my sprinkles and baking extracts – keeping everything within arm’s reach means I’m not constantly running to the kitchen when I need something. This setup keeps my decorating supplies organized and separate from my regular kitchen space.
I invested in a steel table when I was taking cupcake orders and wanted a more professional setup for content photos and videos – the kind of look you’d see in a commercial bakery. Honestly, you don’t need a steel table to decorate cakes. Any clean, sturdy work surface will do.
What I do appreciate about it now is that it’s easy to clean and gives me a dedicated decorating space in my office corner. But if you’re just starting out or working from your kitchen counter, that works perfectly fine. The important thing is having enough space to work comfortably and keep your tools organized. My kitchen table still comes in clutch!
Steel table, necessary? Not really but I love having it to do all my decorating work on. I have a very small kitchen with zero counter space, so having a surface that’s easy to clean, doesn’t stain and also stays cool (which is great for buttercream) has been a game changer for me.
None of this is fancy, and that’s kind of the point. A steel table looks nice on camera, but it’s not what makes the flowers. A 104 tip, a bit of buttercream, and a lot of practice will get you further than any tool on this list.
Start with what you have. Add the rest when you actually need it.