*post was written under previous alias; Blossom & Cake
If you’re looking for a festive holiday dessert that looks impressive but requires almost zero skill, these easy Christmas tree cupcakes are exactly what you need. These are hands-down the simplest Christmas tree cupcakes you’ll ever make. Seriously, it’s just a buttercream swirl with some sprinkles on top. But they’re festive, they’re fun, and once you get the hang of the spiral motion, you can crank out a couple of dozen in about 10 minutes.
They’re perfect for holiday parties, cookie exchanges, classroom treats, or a cozy weekend baking project with the kids. Because the whole design comes down to one simple piping technique, even total beginners can make these Christmas cupcakes look like they came from a bakery.
I had way too much fun styling these for photos (those tiny presents under the trees?), but honestly, these cupcakes are just as cute lined up on a simple platter. The real secret is nailing that swirl technique, and I’m going to walk you through it step by step.
Why You’ll Love These Christmas Tree Cupcakes
Beginner-friendly: if you can hold a piping bag, you can make these.
Fast: no fondant, no fussy details, no complicated decorating.
Customizable: dress them up with sprinkles, snow effects, and toppers.
Make-ahead friendly: great for busy December baking days.
Table of Contents
What You’ll Need
For the Cupcakes:
- Your favorite cupcake recipe (I used vanilla)
- Buttercream frosting in medium consistency
Piping Tips:
- Wilton 1M (this is THE tip for Christmas trees)
Decorating:
- Green gel food coloring
- Piping bags
- Small ball sprinkles for ornaments
- Your choice of snow effect: powdered sugar, edible glitter, shredded coconut, sanding sugar, or white sprinkles
- Optional: candy melt snowflakes, other small candies
A Quick Buttercream Consistency Guide
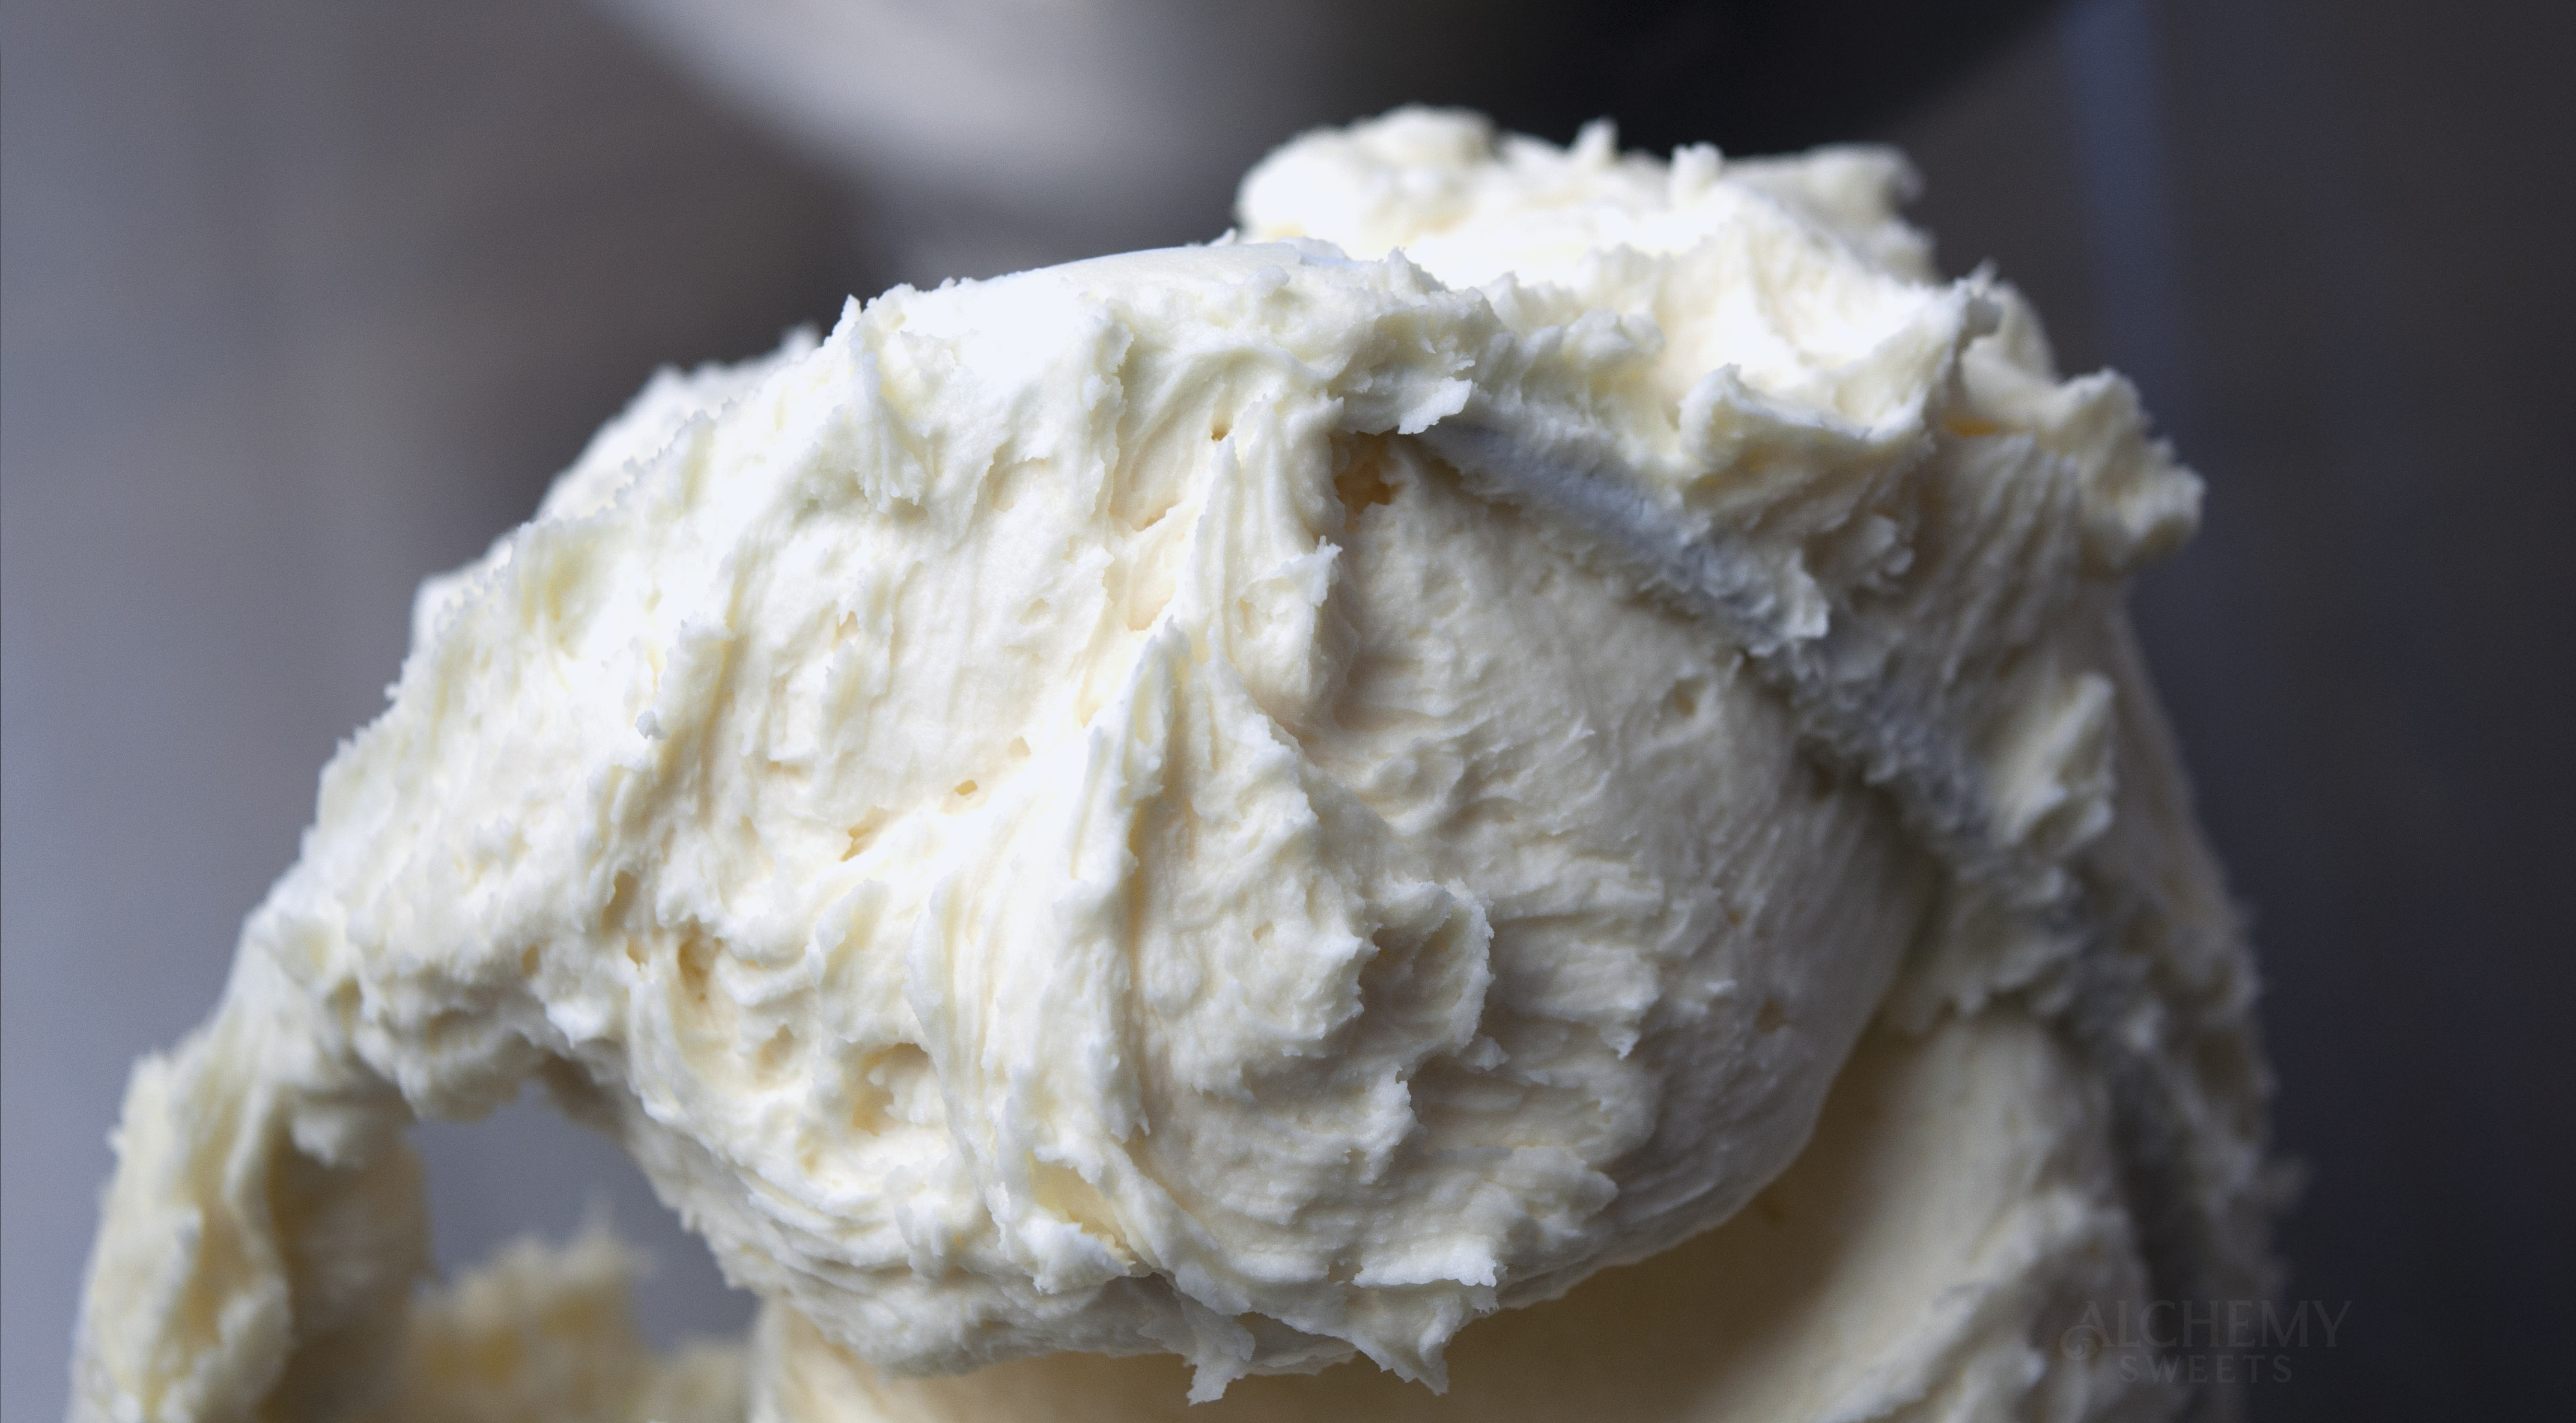
If you’re making American buttercream from scratch, a soft-but-stable consistency is your sweet spot for piping these trees. A reliable starting ratio is:
- 1 cup (2 sticks / 227g) softened unsalted butter
- 1½ cups (about 190g) powdered sugar
- 1–2 tablespoons milk or heavy cream
- 1–2 teaspoons vanilla extract
- Pinch of salt
That roughly 1 : 1.5 butter-to-sugar ratio gives you a frosting that pipes smoothly for a clean spiral while still holding the tree’s shape. (I save the stiffer 1:2 ratio for piping buttercream flowers, where you want firmer, more defined petals – and I use this same softer swirl ratio for my Santa and Elf hat cupcakes, too.)
Dialing it in:
- Too soft/slumping? Add powdered sugar a few tablespoons at a time until it stiffens up.
- Too stiff/breaking? Add milk or cream ½ teaspoon at a time until it loosens.
- The peak test: Your buttercream should hold a peak that curls slightly at the tip – not so soft it flops over, not so stiff it cracks.
Keep in mind that room temperature affects everything. On a warm day, lean slightly stiffer so your trees don’t slump; in a cool kitchen, you may want it a touch softer.
How to Pipe a Buttercream Christmas Tree
Here’s the technique that makes these Christmas tree cupcakes work. Once you understand the motion, you’ll be able to pipe these in your sleep. The entire tree is built with one continuous spiraling motion, so the goal is consistency in your pressure and your speed.
Step 1: Start with a Star Base
Hover over the center of the cupcake at a 90-degree angle and apply medium pressure to pipe a star shape. This is your foundation. It helps give your tree structure and stability so the upper layers have something solid to build on.

Step 2: Build Your First Circle
Pull the tip slightly to one side and pipe a line around the center star in a circular motion. Keep your pressure consistent as you create that first ring around the center. This bottom ring should be the widest part of your tree, so don’t rush it, think of it as the base of the pine.


Step 3: Keep Spiraling Upward
Continue piping in a circular motion around the previous circle, maintaining consistent pressure. Each new layer should sit slightly on top of and inside the last one, building height as you spiral. Keep going until the entire cupcake is covered and your tree has taken shape.
As you reach the top, gradually release pressure while following the swirl to taper into a point. Release the pressure completely and pull the tip straight away to leave a clean tip at the very top of your tree.


Step 4: Decorate
Now for the fun part. Add a small red star at the top, press in some sprinkles as ornaments, and dust with powdered sugar (or edible glitter, or shredded coconut) for a snowy effect. Work fairly quickly here so your decorations stick before the buttercream firms up.


Decorating Ideas
Get creative with how you decorate your Christmas tree cupcakes! Dust them with powdered sugar for a classic snowy look, or use edible glitter for extra sparkle. Shredded coconut adds texture and looks just like fresh snow scattered around the base.
You can also pipe buttercream “garland” in a zigzag pattern around the tree, or go bold with different colored ornament sprinkles for a more playful, kid-friendly vibe. For an elegant dessert table, keep the color palette simple with white and gold accents. If you’re making a big batch, try mixing and matching toppers so no two trees look exactly alike. The possibilities are truly endless!


Tips for Success
Buttercream consistency matters. If your buttercream is too soft, your tree will slump over and won’t hold its shape. If it’s too stiff, it’ll be hard to pipe and your swirl won’t be smooth. You want it to hold its shape but still pipe easily, aim for a medium consistency. If you’re unsure, err on the slightly stiffer side, since soft frosting is the number one reason trees collapse.
Practice the motion first. Before you commit to a cupcake, practice the spiral motion on a sheet of parchment paper. Get comfortable with the pressure and the circular motion, then scrape the frosting back into the bag and reuse it. A few practice rounds makes a huge difference.
Mind the crust. American buttercream starts to form a crust after just a few minutes. You can pipe all your trees first, but make sure to add your decorations (star, sprinkles, snow) before the buttercream crusts over – otherwise they won’t stick properly. If you’re making a large batch, decorate in small groups as you go.
Chill if needed. If your kitchen is warm and your trees start softening, pop the piped cupcakes in the fridge for 10–15 minutes to firm up before decorating.
Frequently Asked Questions
What piping tip is best for Christmas tree cupcakes? The Wilton 1M open star tip is ideal. Its shape naturally creates the textured “branch” look as you spiral the buttercream upward. A 2D or 6B tip will also work.
Can I make these Christmas tree cupcakes ahead of time? Yes! You can bake the cupcakes a day or two in advance and store them in an airtight container. Pipe and decorate them the day you plan to serve for the freshest look, or up to a day ahead if stored properly.
How do I keep the buttercream trees from slumping? Use a medium-to-stiff consistency buttercream and keep your cupcakes cool. If it’s warm in your kitchen, chilling the finished trees helps them hold their shape.
What can I use for the “snow”? Powdered sugar is the classic choice, but edible glitter, white sprinkles, or shredded coconut all create a lovely snowy effect.
There you have it – Christmas tree cupcakes with just one simple swirl. Once you’ve got the motion down, you’ll be reaching for this technique every December.
Looking for more to bake this holiday season? Check out my chocolate orange brownies for another dessert item to pair with these, or try my grandmas’ sponge cake recipe as a versatile base for your next celebration. And be sure to browse my other Christmas posts for even more holiday inspiration!
Pin This for Later!

Save this tutorial and try it this holiday season! These buttercream Christmas tree cupcakes are super easy and perfect for holiday parties or just making your kitchen feel festive.
Happy Decorating!! 🎄