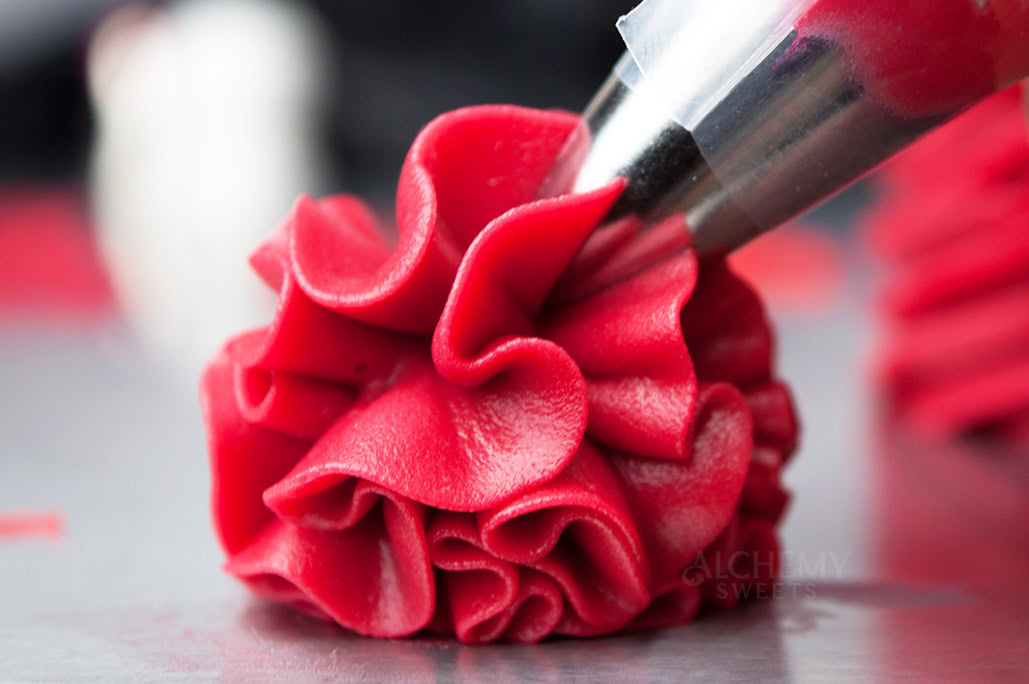
Getting a true, vibrant red buttercream is one of the trickiest color challenges in cake decorating. You’ve probably been there, adding drop after drop of food coloring, only to end up with a pale red or coral color that’s far from the deep, saturated red you were aiming for. The truth is, it’s not you, it’s the red gel color and buttercream working against each other. Butter is fat-based, while most food coloring isn’t, which makes it naturally resistant to blending (and frustrating).
In this post, I’ll walk you through my method for achieving a genuinely deep red buttercream that’s still pipeable and doesn’t taste bitter or ruin the texture. What we aren’t going to do is dump a whole bottle of food coloring in, but rather use heat to help the color emulsify properly into the buttercream.
Red doesn’t have to be intimidating or impossible. Here’s how I do it.
Quick Links


Tools and Supplies
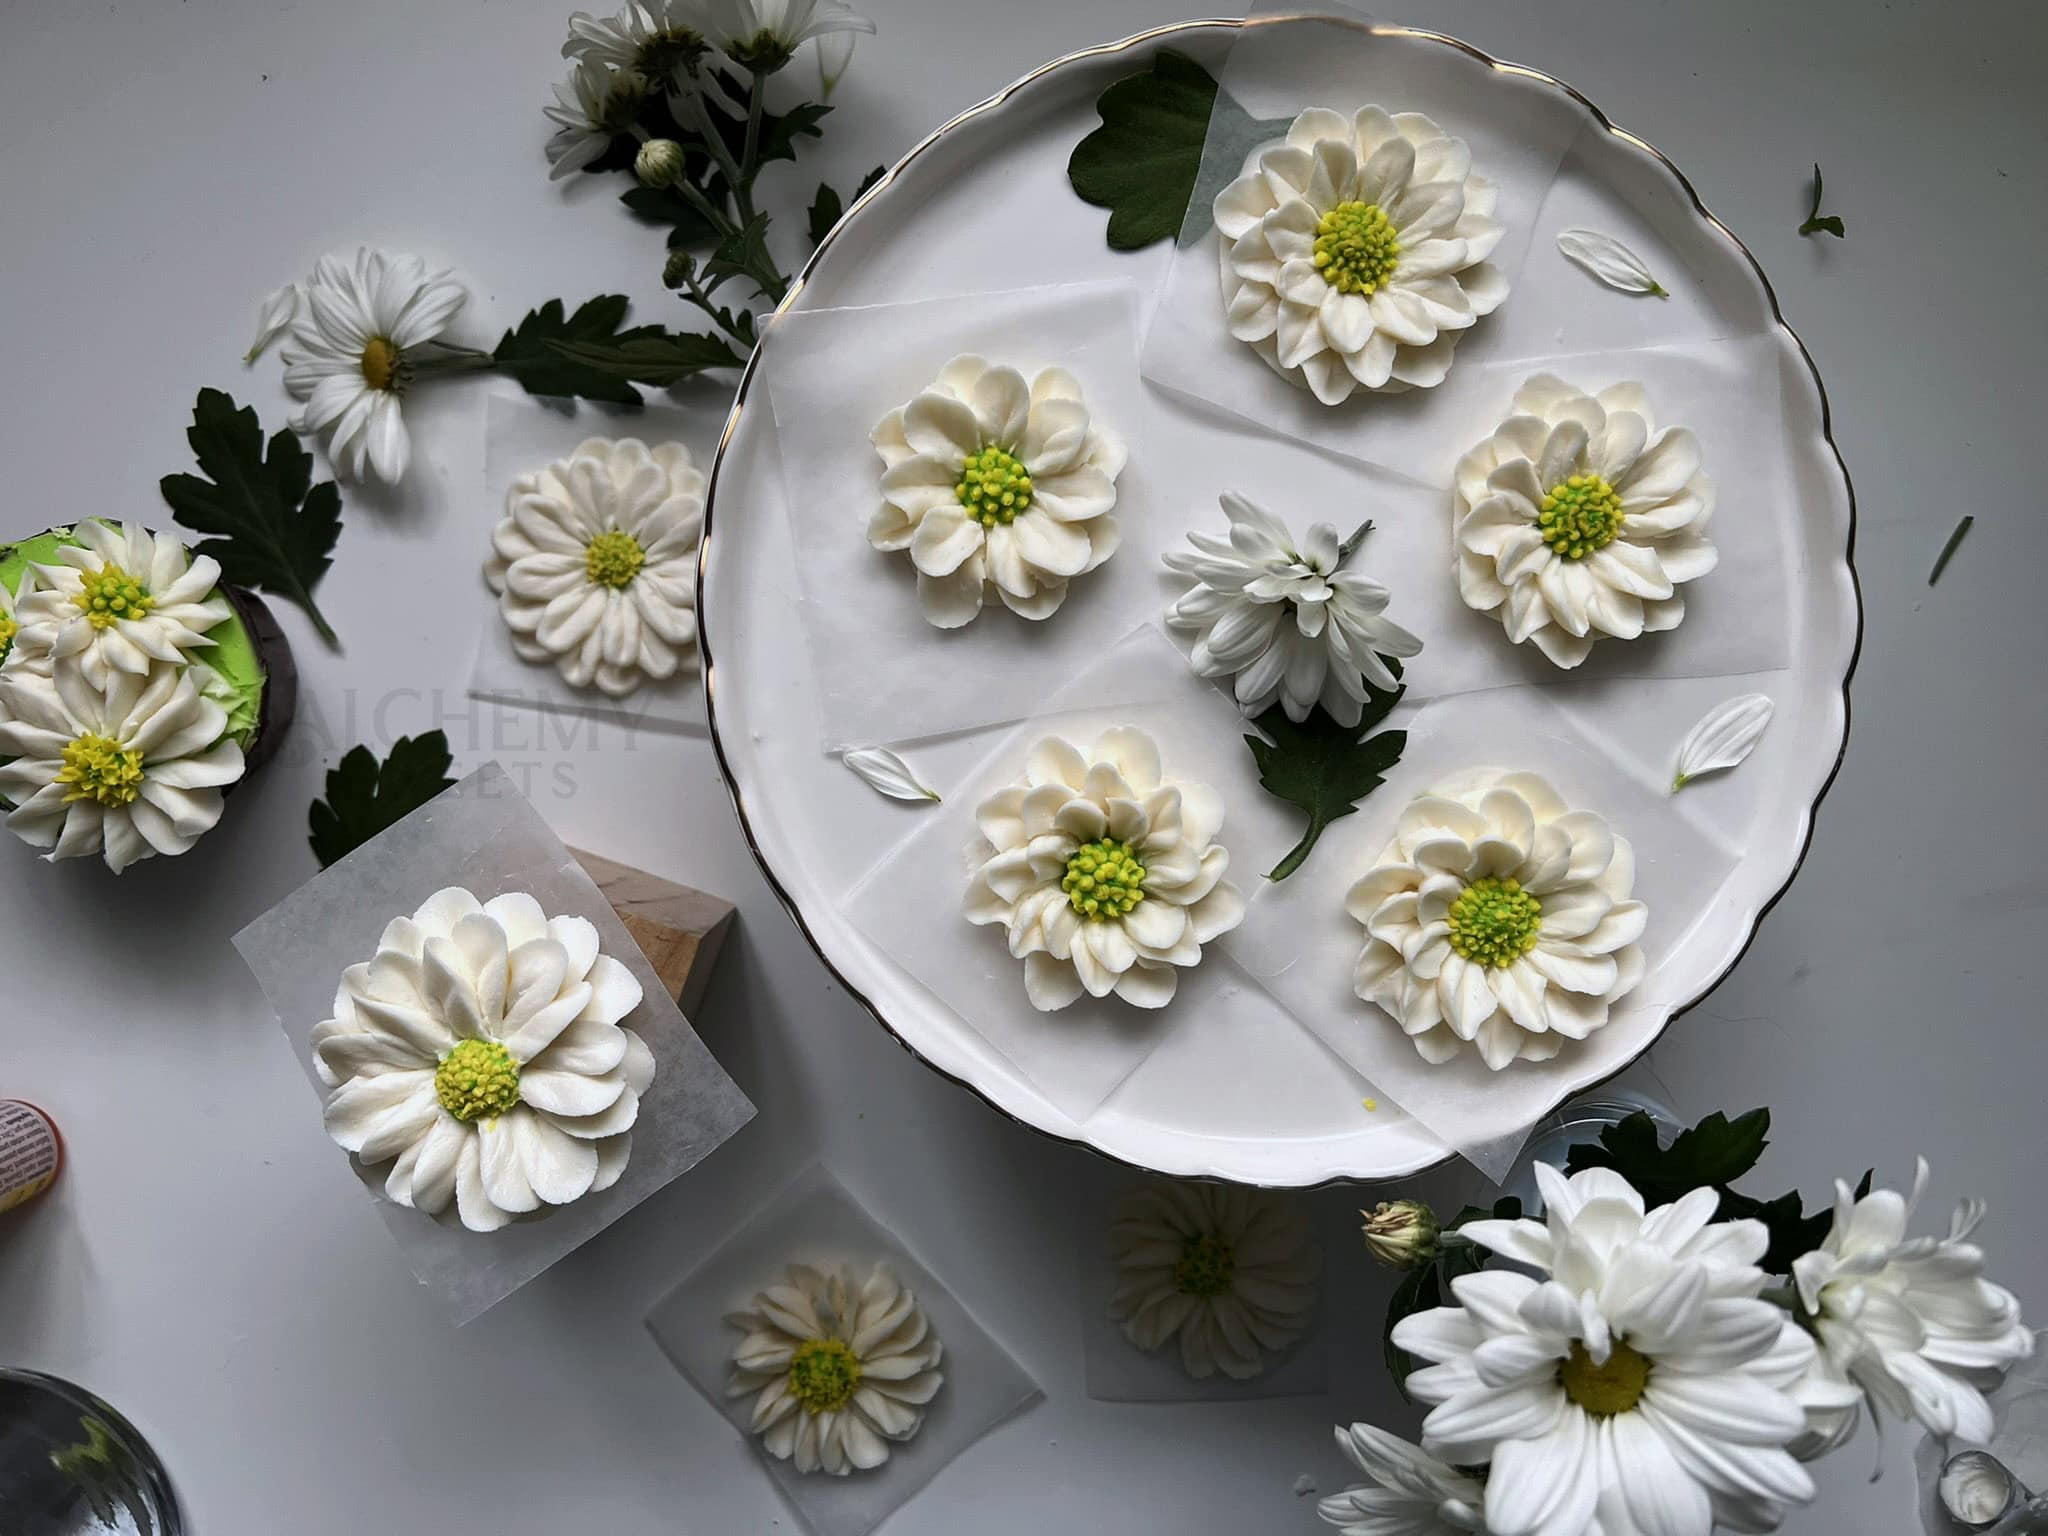
- Buttercream (see my buttercream for flowers recipe)
- Red gel or oil-based food coloring (Wilton no-taste, Color Mill, or similar)
- Optional: black, pink, brown, green gels for tinting
- Microwave or immersion blender
- Microwave-safe bowl
- Toothpick or butter knife
- Mixing bowl
- Electric mixer (stand mixer or hand mixer)
- Gloves (to prevent stained fingers)
How to Make Red Buttercream
Before we get into the step, it’s worth noting that this is very much a make-ahead buttercream and a labor of love. I usually make mine a few hours before I need it, if not the night before. The buttercream can be very soft immediately after coloring, and the color itself can deepen as it rests. Giving it time to chill and reset makes a big difference in both texture and final shade.
This method works for both gel and oil-based colors, but see FAQ and Troubleshooting for notes on the difference.
Step 1: Prepare a Small Portion
The key to deep red buttercream is properly incorporating the food color into the fat of the buttercream. Heat helps this process immensely (yay science).
Instead of coloring the entire batch at once, start by separating out a portion of your buttercream. How much you take will depend on your batch size (see the scaling guide below), but the idea is always the same: work with a smaller amount first for better control.
For reference, in this post I am working with 500g of buttercream, and portion out 250g in a separate microwave safe bowl and Wilton no-taste gel food coloring.
Add your red food coloring to this portion. I use a butterknife to scoop a generous dollop of red gel food coloring to add to my buttercream. Mix together until combined, then place in the microwave.


Tip: Working in small portions gives you much more control over the final shade and helps avoid wasting food coloring or over-mixing your buttercream.
Step 2: Heat to Emulsify
Microwave the small portion for 5-10 seconds. The buttercream should start to soften, but it shouldn’t be hot. Stir thoroughly with a spatula until the color begins to blend in.
The heat softens the butter, loosening the fat structure so the food color can disperse evenly throughout, without it, the fats resist the color. That’s why you end up with streaking or a paler color.
If needed, microwave for another 5–10 seconds, stirring in between. While the buttercream is still warm, add more red coloring to deepen the shade gradually. Continue microwaving in short bursts and stirring until the color is completely uniform and to your liking. Total heat time usually falls between 30–60 seconds depending on your batch size and desired depth of color, don’t be afraid to repeat the process a few times.


Step 3: Mix and Chill
Once your small portion is fully colored and uniform, add it back to the main batch of buttercream. With your stand or hand mixer, mix thoroughly to distribute the concentrated color evenly.


At this point, the buttercream will likely be too soft, especially if you’re piping flowers. Transfer it to an airtight container and place it in the fridge for 1–2 hours, or until it firms back up. As the buttercream rests, the red can deepen slightly, so don’t be surprised if the color looks richer once it’s chilled.
Before using, bring the buttercream back to room temperature and rewhip or mix briefly to restore a smooth, pipeable consistency.
Step 4: Adjust the Shade
Once your red base is done, you can tweak the tone (should you want to). Try any of the following:
- Black + Rose → deeper, richer red with subtle luminance (my favorite & the feature image)
- Brown → burgundy red
- Orange → warmer red, almost vermillion
- Green → muted, earthy red
- Blue → cooler red, magenta tones
- Yellow → fiery red
- Pink → dark reddish pink

My color mixing cheat sheet shows how to create all my most used shades using only primary colors. Sign up to my newsletter to have it sent to you! It’s a double opt-in, so be sure to confirm your subscription to get it (check your junk mail if you don’t see it).
Scaling for Small or Large Batches
No matter how much buttercream you’re working with, the method stays the same, you just adjust the amount you color first.
- Small to medium batch (e.g., 100–500g total buttercream): Take about ¼ to ⅓ of the batch to color in the microwave or with an immersion blender first.
- Medium to large batch (e.g., 500+g): Use ½ of the batch for initial coloring.
Tip: It’s always easier to color a small portion first. You can repeat the process with more if you need to deepen the shade.
FAQ & Troubleshooting
Can I use gel or oil-based food coloring?
Either works! Gel colors are water-based, so they resist blending into butter, that’s why heat helps. Oil-based colors are fat-soluble and blend more easily, but they’re pricier. This method works for both. I actually still use the microwave method even with oil-based colors, and sometimes mix them together with gel colors.
Can I add white food coloring to cancel out the yellow tint in my buttercream?
I wouldn’t. White food coloring is super opaque, it’ll just keep your buttercream light and make it much harder to reach a deep red. Skip it and add more red instead.
My buttercream is still coral after mixing everything together.
No worries! Red buttercream is a labor of love. This usually means you either didn’t emulsify enough initially, or you just need more color. Portion out another 1/3 to 1/2 of your buttercream and repeat the microwave process with more color. Then mix back together and beat on medium speed for a few minutes to really work the color in.


My buttercream looks curdled and greasy after heating.
That’s normal! Just keep mixing with a spatula until it comes back together. You may even notice the color intensifies as it does.
Do I have to make red buttercream ahead of time?
You don’t have to, but I highly recommend it. Red deepens as it sets, so making it the night before lets you get it to a “good enough” point and wake up to a richer shade. Rest it at room temp or in the fridge overnight.
Can I just heat the whole batch instead of working in portions?
Yes! The trade-off is wait time. A fully melted batch takes longer to firm back up to piping consistency compared to mixing a heated portion into an unheated one. If you’re making your buttercream the night before anyway, heating the whole thing works great.
Can I use an immersion blender instead of a microwave?
Yes! Blend the small portion directly in the bowl. The friction from the blender creates gentle heat that softens the butter and helps the color emulsify, same principle, different method.

Deep red buttercream is absolutely achievable with simple tools and ingredients. Using heat, whether via microwave or immersion blender, ensures the color emulsifies perfectly, resulting in vibrant, saturated buttercream. Give it enough time to set, and you’ll have the perfect shade ready for cakes, cupcakes, or flowers.
Which method do you prefer, the microwave or immersion blender? Or do you have your own red buttercream secret?
Happy decorating!