*post was written under previous alias; Blossom & Cake
Buttercream rosettes are a simple and perfect way to add an elegant, romantic touch to your Valentine’s Day cupcakes. Whether you’re a beginner or an experienced decorator, this short guide will help you create beautiful rosettes that look as good as they taste. You can even get extra fancy and incorporate a dual-toned buttercream technique.
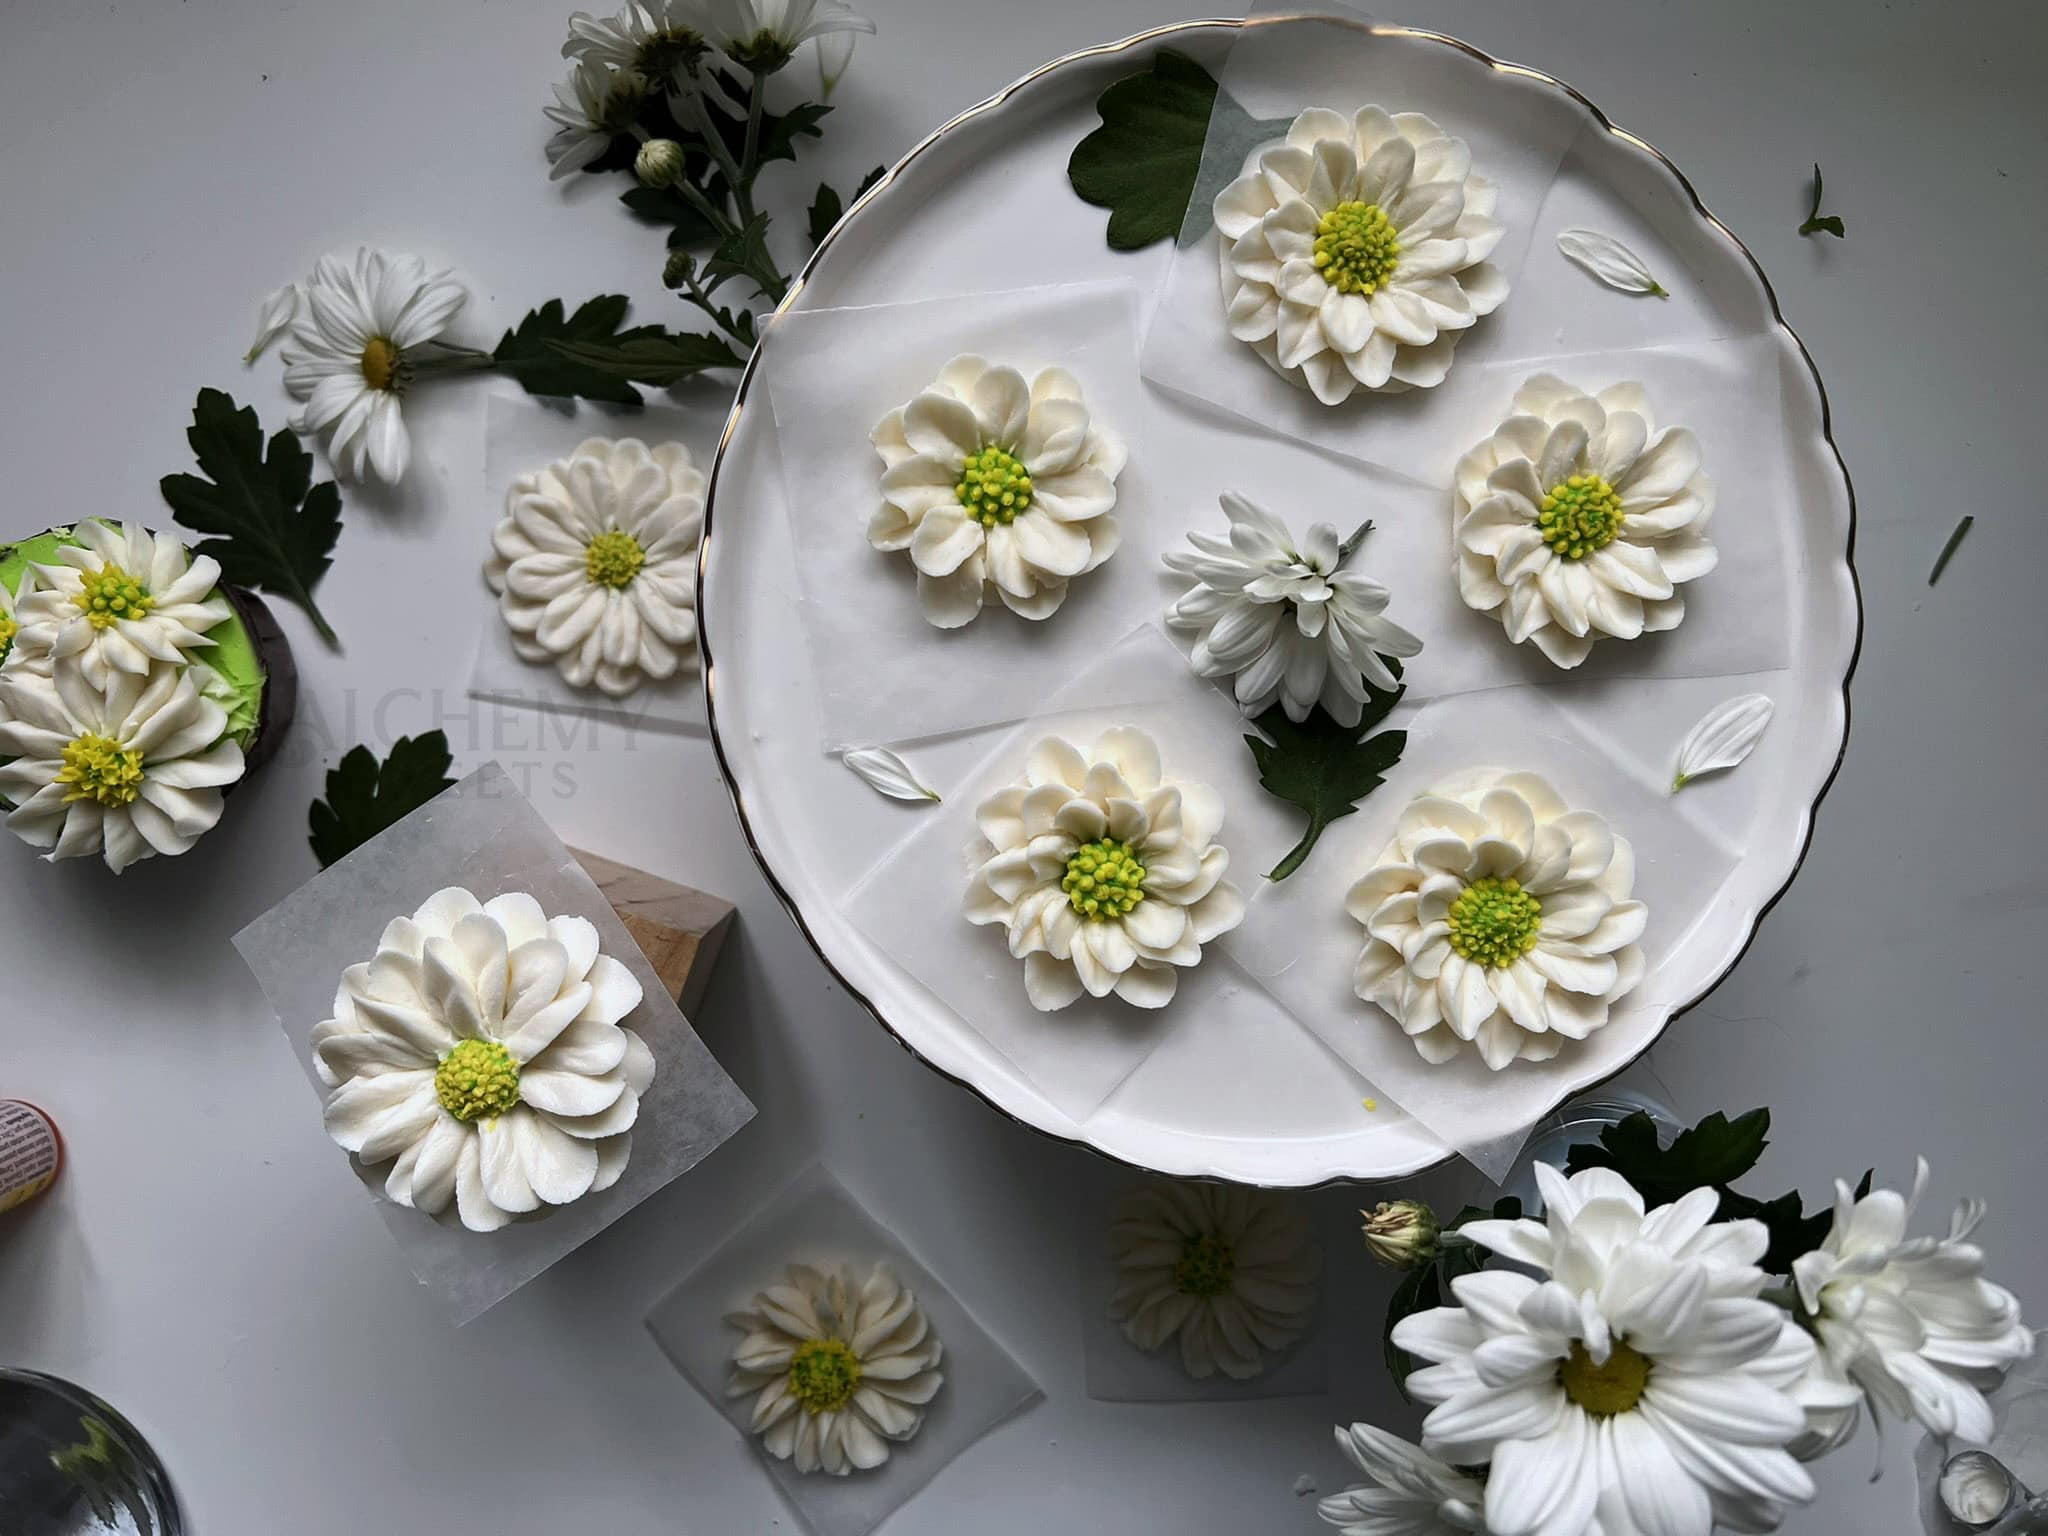
Curious to see how it’s done? Watch my 3-minute buttercream rosette piping video on YouTube, featuring a mix of timelapse and real-time piping!
Table of Contents
What You’ll Need
To pipe buttercream these rosettes, you’ll need:
- Wilton 2D or 1M tip.
- Piping bags (dual-toned technique optional)
- 9-12 Cupcakes; I prebaked and froze mine.
- Buttercream frosting (check out my buttercream recipe)
- Gel food coloring; white, red, yellow.
- Sprinkles; or other accents.

How to Pipe Buttercream Rosettes Step-by-Step
Prepare Your Buttercream
- Make a batch of buttercream.
- Divide the buttercream into three equal portions.
- To make the colors used in this post:
- Add red gel coloring to one portion of the buttercream. Check out my red buttercream tutorial
- For the pink, mix a small amount of the red and white gel coloring into the second portion.
- For the peachy orange, mix a touch of yellow gel coloring into some of the previously mixed pink to create the third portion.
- Mix each color thoroughly to ensure an even distribution of the food coloring.
- Adjust the consistency of each color by adding a little powdered sugar (if too soft) or milk/water (if too stiff) as needed.
- Keep the buttercream covered if not using immediately to prevent it from drying out.

Assemble Your Piping Bag
- Start by placing your piping tip inside the bag, ensuring it’s securely fitted.
- Cut the tip of the piping bag just enough to allow the piping tip to fit snugly through the opening.
- Fill the piping bag with buttercream, making sure not to overfill.
- Push the buttercream down towards the tip.
- Twist the top of the piping bag to secure the buttercream inside.
- Hold the piping bag at the top, ensuring even pressure is applied when piping.
- If using multiple colors, consider layering the buttercream in the bag or using a multi-color piping bag for a two-tone effect. (Learn how to dual-tone your piping bag here.)
Pipe the Rosette
- Start by piping a small dot in the center as a base.
- Pipe the first petal by applying gentle pressure and moving the tip in a circular motion.
- Continue piping petals, slightly overlapping each one, to form the rosette shape.
- Maintain consistent pressure to ensure even petal sizes.
- Keep the rosette shape tight by avoiding too much space between petals.
- Finish with a clean pull away from the rosette to create a sharp edge.
- View my post with step-by-step photos of piping a rosette here.


Add Accents
- After piping the rosettes, gently press sprinkles into the buttercream while it’s still soft.
- Use a mix of sprinkles for texture and variety.
- Focus on adding sprinkles to the outer edges or in the center of the rosettes for balance.
- Be mindful of placement to avoid overcrowding the design.
- Tap the cupcake gently to remove excess sprinkles if needed for a clean finish.

Tips for Success
Practice makes perfect: Before piping directly onto your cupcakes, practice your rosette design on parchment paper. This helps you get comfortable with the pressure and circular motion without wasting cupcakes.
Buttercream consistency matters: Keep your buttercream at the right consistency—too soft, and your design will lose shape and droop; too stiff, and the rosettes won’t pipe smoothly and your hand will cramp. You want medium consistency that holds its shape but still flows easily.
Color blending tip: Mix the different colors in the same bowl without washing in between. This can create a cohesive color palette by allowing the colors to blend slightly and creates beautiful color variations across your cupcakes.
Troubleshooting Common Issues
Rosettes looking lopsided or uneven? Make sure you’re holding your piping bag at a perfect 90-degree angle directly over the center of the cupcake. Any tilting will make the rosette lean to one side.
Petals drooping or losing definition? Your buttercream is too soft. Add more powdered sugar to stiffen it, or pop the bowl in the fridge for 10 minutes and re-whip before piping.
Can’t get a clean ending? Gradually release pressure as you complete the final swirl, then pull straight away in the direction you were piping. Don’t lift up—pull horizontally.
Rosettes looking flat instead of dimensional? Apply more pressure at the beginning of each swirl to build height, and make sure you’re spiraling slightly upward as you pipe, not just in a flat circle.
Storage & Make-Ahead Tips
Room temperature: Decorated cupcakes can sit at room temperature for up to 2 days if your kitchen isn’t too warm (under 70°F). Keep them covered loosely with plastic wrap or in a cupcake carrier to prevent the buttercream from crusting too much.
Refrigerated: Store in an airtight container in the fridge for up to 5 days. Before serving, let them come to room temperature for 20-30 minutes so the buttercream softens and tastes its best.
Make-ahead strategy for Valentine’s Day: Bake cupcakes up to 2 days ahead and store at room temperature, or freeze unfrosted cupcakes for up to 3 months. Make buttercream 1-2 days ahead and store refrigerated, then bring to room temperature and re-whip before piping. Decorate cupcakes the day before your event and refrigerate overnight.
Transporting: If you need to bring these to a Valentine’s party, use a cupcake carrier with individual slots to prevent rosettes from getting squished. Avoid stacking cupcakes on top of each other—the rosettes are delicate!
More Valentine’s Day Designs
If you enjoyed this tutorial, don’t miss out on my other Valentine’s treat ideas! Subscribe to get notified as soon as they’re live!
- Simple Valentine’s Cupcakes with Candy Melt Hearts & Sprinkles
- Mini Royal Icing Flower Bouquets on Cakesicles
- Mini Cupcake Bouquet
Conclusion

Buttercream rosettes are such a timeless classic—they never go out of style! There’s just something so satisfying about piping them, and honestly, I can’t resist sneaking a rosette in whenever I’m working on florals.
They’re perfect for Valentine’s Day or any special occasion! If you give them a try, I’d love to see what you create—tag me on social media @alchemy.sweets or share your thoughts in the comments!
For more cake and cupcake decorating tips, subscribe to my blog for weekly posts and inspiration!
Happy decorating!