*post was written under previous alias; Blossom & Cake
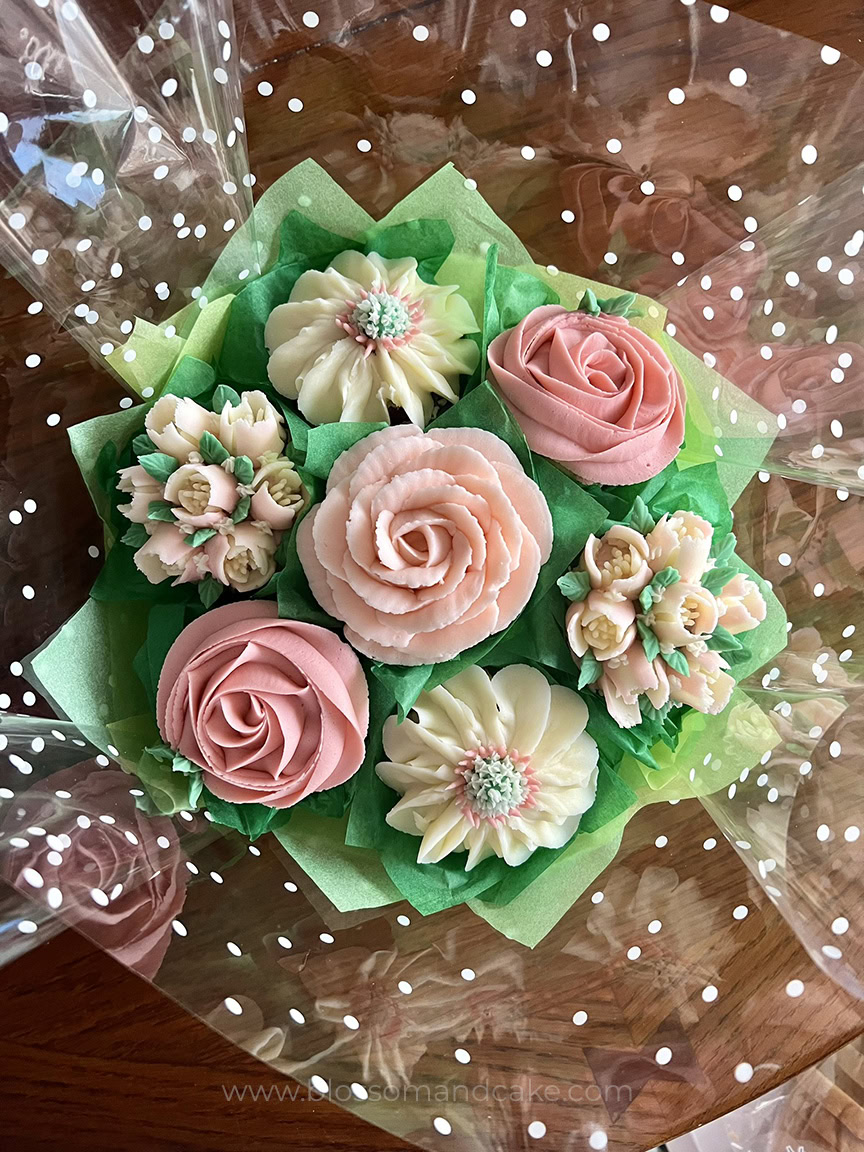
Sometimes a three flower cupcake bouquet is all you need. This little bouquet started as a companion to the 7-flower design I shared earlier, but it’s become one of my favorites on its own. It’s simple to put together, easy to gift, and just as pretty on a Mother’s Day table as it is on a birthday or anniversary.
In this post I’ll walk you through assembling the bouquet using just three cupcakes, plus some tips for choosing your flowers. The video below covers both the 3-cupcake and 7-cupcake arrangements, jump to 8:38 for the 3-cupcake tutorial.
Table of Contents
What You’ll Need
For the Bouquet Structure
- 3 cupcakes
- Plastic cups (3)
- Stapler and staples
- Tissue paper and cellophane
- Toothpicks, scissors, floral tape (optional)
For the Buttercream
- Buttercream (recipe here)
- Gel food colouring in your chosen shades
- Piping bags
Want perfect buttercream colors every time? Grab my free Color Mixing Cheat Sheet with 9 gorgeous floral shade formulas using just 5 basic colors!
Step-by-Step Tutorial: 3-Cupcake Bouquet
Choosing Your Flowers
The beauty of this bouquet is the flexibility. You can use any flowers you like. In my example I went with a buttercream peony as the centerpiece with two rosettes, but you could swap in a rose, a ranunculus, or really any flower that suits the occasion.
If you’re not sure where to start, browse my buttercream flower tutorials for ideas and step-by-step guides (I’m always adding to this!). Whatever you choose, the main thing to keep in mind is proportion, flowers of a similar scale will always look more balanced together than a mix of very large and very small blooms.


Assembling Your 3-Cupcake Bouquet
- Preparation:
- Arrange and secure the plastic cups in a triangular formation.
- Take one cup and position it so the rim of a second cup sits underneath the rim of the first.
- Staple the two cups together as far down as your stapler will reach.
- Take a third cup and position its rim above the second cup but below the first cup.
- Arrange and secure the plastic cups in a triangular formation.
- Placing the Cupcakes:
- Gently wrap tissue paper around cupcakes.
- Place the wrapped cupcake into the cup and anchor it by gently pressing a toothpick through the tissue paper into the cupcake.
- Final Touches:
- Add green leaves for contrast and to fill gaps.
- Wrap with additional tissue paper and cellophane for a polished look. Refer to this post on assembly 7-flower bouquet.
Piping the Rosettes & Peony
Not sure how to pipe the flowers for this bouquet? This short video shows the rosettes and peony I used for this arrangement, it’s a good starting point even if you end up choosing different flowers.
Tips for Success
1. Flower Placement Place your statement flower (whether that’s a peony, a rose, or whichever bloom you’ve chosen as your centerpiece) in the middle cup first, then build the flanking flowers around it. Starting with the focal point makes it easier to balance the arrangement before everything is in place.
2. Proportions Keeping your cupcakes a similar size and your flowers piped to a consistent scale makes the height difference between the cups work for the bouquet rather than against it. If one flower ends up noticeably larger, give it the center spot where it reads as intentional.
3. Fill the Gaps A few piped leaves go a long way toward making the bouquet look finished. Tuck them in between the flowers to fill any visible gaps and add a bit of natural contrast.
FAQ
Can I use paper cups instead of plastic? You can, though plastic is more durable and won’t absorb moisture from the cupcakes over time. Whatever you have on hand will work! Paper cups are easier to staple…
What size box do I need to transport it? The bouquet is roughly 6 inches wide, but the decorated cupcakes add height, an 8x8x8 cake box fits nicely and is easy to find at most baking supply stores. If the lid won’t close all the way, fold it down as far as it will go, tape the flaps to the sides of the box, then wrap a piece of cellophane around the opening to close it off.
My cupcake keeps sinking into the cup, what do I do? You want the cup opening to be narrower than the top of your cupcake so it rests on the rim rather than sinking through. If it’s still sitting a little low, tuck some extra tissue paper in the bottom to prop it up.
Conclusion
And that’s the 3-cupcake bouquet! Small but mighty, and honestly one of my favorites to put together because it’s so quick and still looks like you put in a lot of effort.
I’d love to see what you make! Tag me @alchemy.sweets on Instagram so I can have a look.
Until next time, happy decorating!