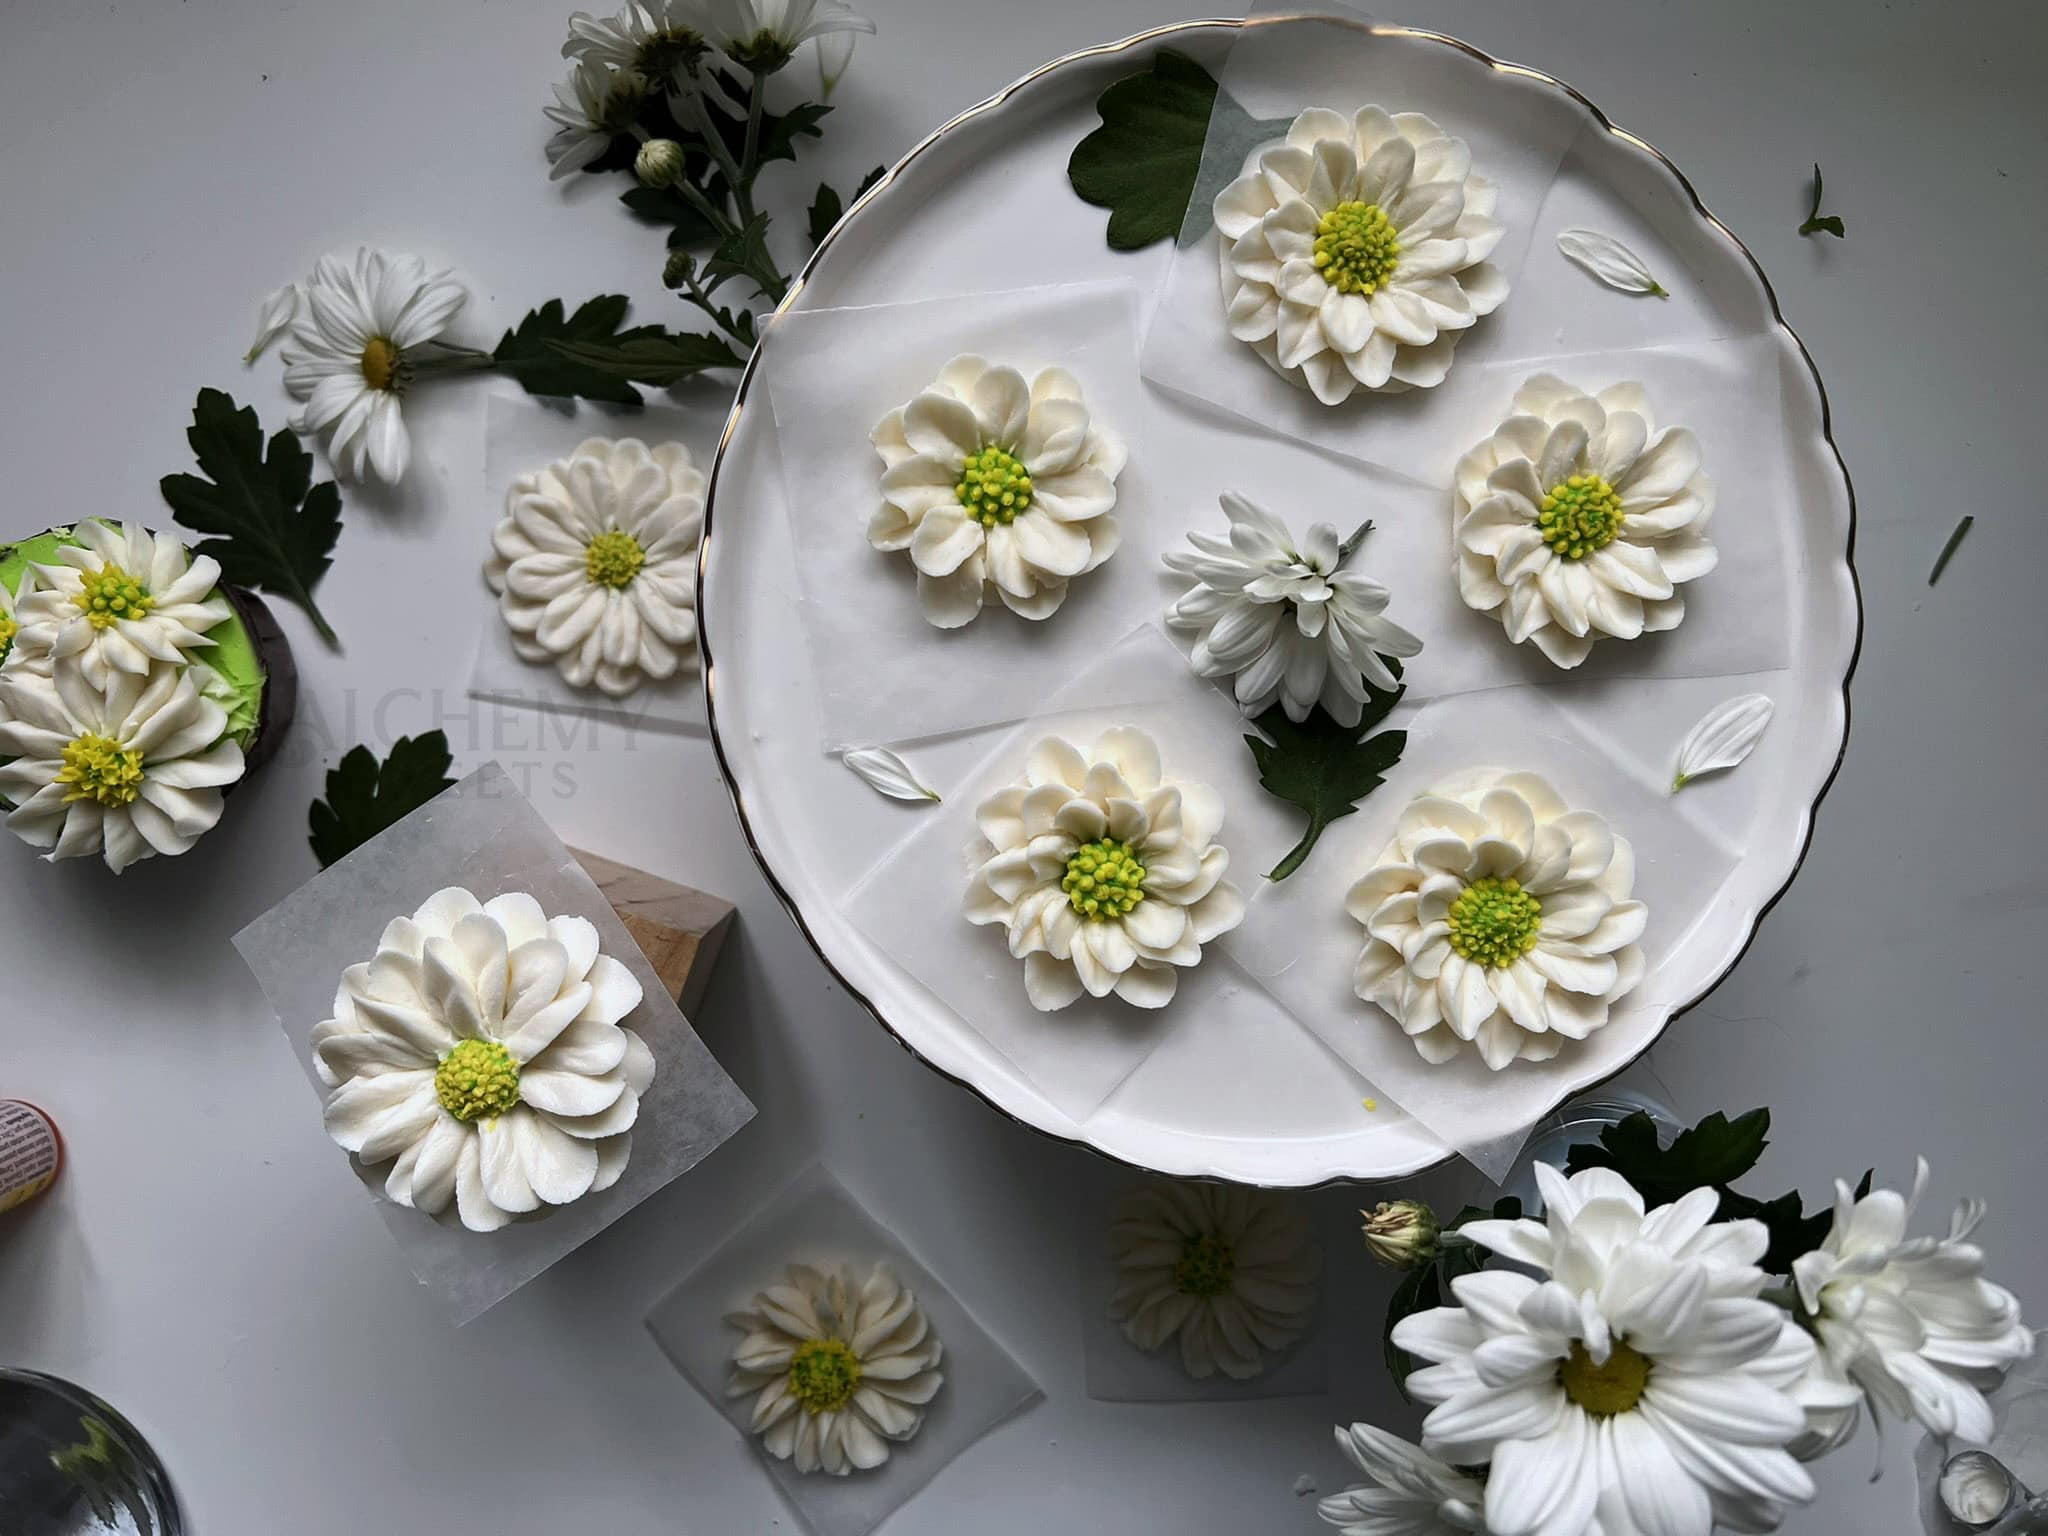
Looking for the perfect beginner-friendly buttercream flower? Buttercream daisies are your answer, simple, forgiving, and always cheerful with those bright yellow centers.
This step-by-step guide walks you through two easy techniques for piping buttercream daisies. Both methods are very similar, just with different petal styles: one creates a looser, airy look with full petals, while the other gives you that classic tight daisy using tucked petals. Plus, there’s a quick tip for achieving a slightly different petal effect!
Let’s make some beautiful buttercream daisies together! ✿
JUMP TO
Video Tutorial
Want to see these techniques in action? Check out my YouTube video for a visual demonstration! It’s got a mix of real time and timelapse piping.
What You’ll Need

Essential Supplies:
- Buttercream (recipe here)
- Piping tip: Wilton 103 (petal tip)
- Piping tip: Wilton 10 (round tip)
- Piping tip: Wilton 1 or 2 round tip (or cut a tiny hole in piping bag tip)
- Piping bags
- Flower nail
- Parchment or wax paper
- Scissors for cutting piping bag tips
Colors You’ll Need:
- White; for the petals
- Green; for the center mound
- Yellow; for the tiny center dots
Pro Tips Before You Start:
- Practice the oval petal shape – tapered at both ends, fuller in the middle
- Use steady pressure control for the best petal shapes
- Room temperature buttercream pipes most smoothly
Method 1: Tight Petal Buttercream Daisies (Classic Way)
This is the classic way of piping a daisy. It gives you that traditional compact daisy with tight, overlapping petals that create a full, rounded flower.
Step 1: Create the Foundation Ring

Instructions: Start by piping a ring around the edge of your flower nail using the 103 or 104 tip. Hold the tip at a low angle.
This ring gives your petals height and creates a sturdy foundation for layering. Keep steady, even pressure as you pipe the complete circle.
Step 2: Start with One Full Petal

Instructions: Using your petal tip (narrow end up), pipe one complete petal.
Starting from the ring outward, pipe an oval shape – tapered at both ends, fuller in the middle.
Tip: Use with light pressure, increase in the middle for fullness, then decrease pressure as you finish.
Step 2: Begin the “Tuck” Petals

Instructions: For each new petal, pipe it right beside or slightly under the previous petal.
Start near the top/outer edge, pipe the rounded top portion first, then taper the petal inward toward the center. This creates the ‘tucked’ petals.
Step 3: Keep Petals Tight Together

Instructions: Continue piping the tucked petals right next to each other, following the ring until you complete the circle.
Step 4: Add 2-3 Staggered Layers

Instructions: Repeat the tucked petal technique for 2–3 layers, staggering the petals so each new layer fills the gaps from the previous one.
Step 5: Add Center Circle

Instructions: Using green buttercream and your tip 10, hold the tip just above the center of the daisy.
Apply steady pressure to fill in the space, creating a smooth, domed center. Release the pressure before lifting the tip away to finish.
Step 6: Finish with Textured Details

Instructions: Fill a piping bag with yellow buttercream and cut a tiny opening in the tip (or use small round tip like Wilton 1 or 2).
Pipe small dots on top of the green center. These tiny dots add texture and make the center look more like a real daisy
Method 2: Loose Petal Buttercream Daisies
This method creates more of an open, airy daisy with a looser petal arrangement. It is essentially the same technique as above, however instead of piping half ‘tucked’ petals, you pipe full petals.
Step 1: Create the Foundation Ring

Instructions: Like with the previous method, start by piping a ring around the edge of your flower nail using the 103 or 104 petal tip.
Tip: You can pipe another ring on top for more height!
Step 2: Pipe the First Row of Petals

Instructions: Same as the previous method – with your petal tip (narrow end up), pipe petals that hang over and overlap the ring, creating that oval/almond shape that tapers at both ends.
Step 3: Complete the First Petal Layer

Instructions: Continue around the ring, making each petal the same oval shape and size. Place them side by side, keeping them evenly spaced around the circle. This first row sets the overall size and shape of your daisy.
Step 4: Add the Second Row Between Petals

Instructions: Now pipe your second row of petals between the gaps of the first row – not on top, but nestled between them. Use the same oval petal technique.
This creates natural layering and fullness without overcrowding.
Step 5: Fill with the Third Row (Optional)

Instructions: Repeat the process one more time, piping petals between the second row gaps.
Your daisy should now look full and dimensional with three staggered rows of petals creating beautiful depth and natural layering.
Step 6: Add the Center Circle

Instructions: Hold your tip just above the flower center and pipe a small green blob, creating a smooth, domed shape. Release pressure before lifting the tip.
Step 7: Create Textured Center Details

Instructions: Switch to yellow and pipe tiny dots on top of the green center to add texture and create a classic daisy look.
Comparing the Methods


Transferring to Cupcakes and Cakes
After piping, slide the parchment square (with the daisy still on it) straight off the flower nail. Place it on a flat surface, like a baking sheet or tray, and let the flower crust over at room temperature, or freeze for a few minutes until firm. Once set, gently peel away the parchment (working quickly so the petals don’t soften) and place the flower on your cupcake or cake.
If you’d rather skip the transfer step, you can also pipe daisies directly onto your cake surface.
Pro Tips for Perfect Buttercream Daisies
Practice the Oval Shape: The oval/almond shape is key. Practice on parchment paper until it feels natural. Don’t worry if the petals come out more pointy – the general shape is close enough! There are so many varieties of daisies, it’s hard to mess up.

Pressure Control: Smooth changes in pressure make the petals look best. Press a little harder in the middle, then ease off at the ends.
Use the Flower Nail: Rotating the nail makes it easier to get consistent petal shapes and spacing.
Buttercream Mood: If it’s too soft, chill it briefly. Too stiff? Let it warm up a bit.
Pick Your Style: Try all the above methods, and see which feels easiest for you—that’s usually where your best daisies happen!
Taking Your Daisies Further
Once you’ve got the basics, you can play around with:
- Varying petal lengths for a more natural, organic look
- Making different sized daisies
- Adding subtle shading with a tiny bit of color in your white buttercream
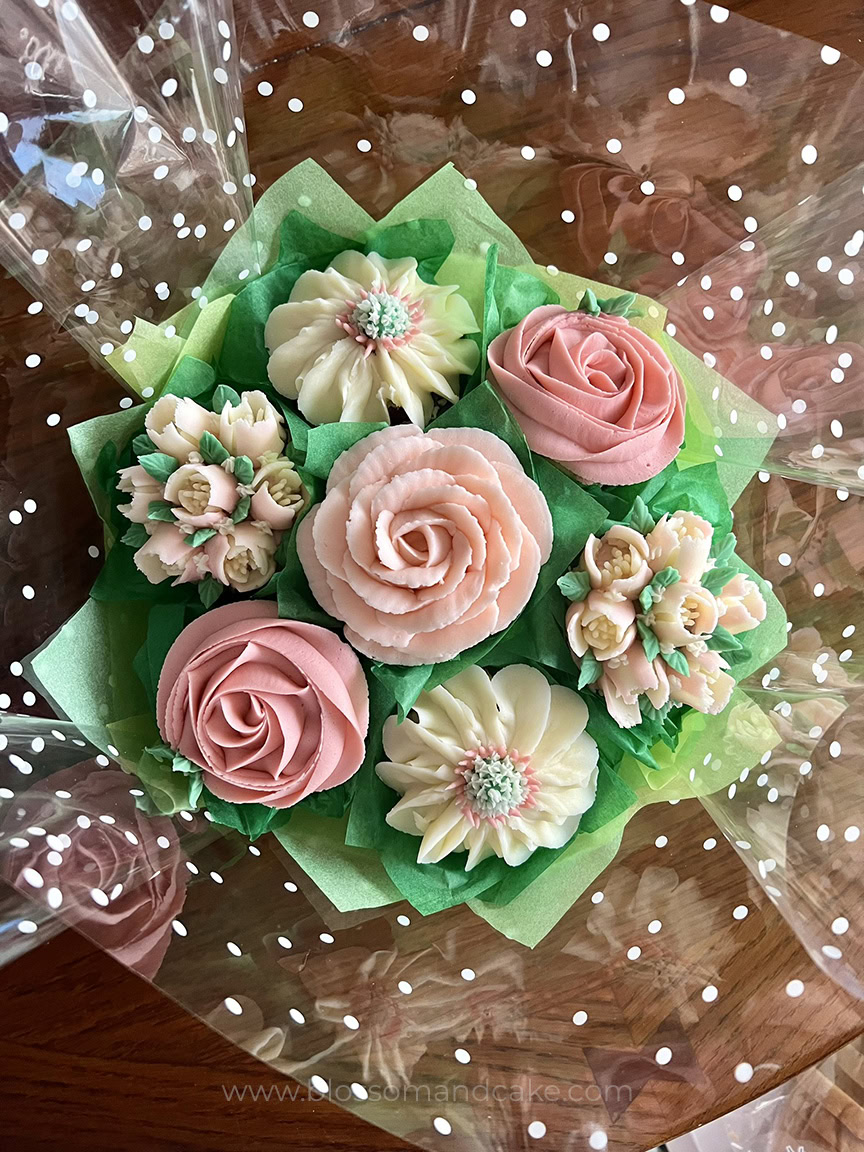
- Pairing them with green leaves for a full floral arrangement
See these techniques in action: Check out my Easter cupcakes video where I use daisies in a complete decorating project, or challenge yourself with my 100+ buttercream flower challenge for tons more floral inspiration!


Conclusion
You’ve now got two great ways to pipe beautiful buttercream daisies! The classic ‘tuck’ method creates that traditional daisy look, while the loose petal style gives a more open flower. Don’t forget to try the bonus variation for a slightly different petal shape too.
I’d love to see your creations, tag me on social media @alchemy.sweets so we can celebrate your beautiful work together.
Don’t forget to check out my piping video demonstrating both methods in real time and timelapse, and subscribe for more buttercream flower tutorials.
If you enjoyed learning daisies, you’ll love my step-by-step on piping roses, hydrangeas, and rosettes ✿
Happy decorating!