Spring is just around the corner, and what better way to celebrate than with a batch of beautifully decorated pastel rainbow cupcakes? While pastels are often associated with soft, muted tones, I went for deeper, richer pastels that still capture the light and fresh feeling of the season. These cupcakes are perfect for birthdays, baby showers, Easter gatherings, or simply as a fun baking project to brighten your day!
Beyond the colors, I experimented with different piping tips, 6B, 2D, and 1M, to create a variety of textures. I also played with buttercream consistencies to see how they impacted the final look. As a touch to St. Patrick’s Day, I piped buttercream shamrocks and added a subtle shimmer with edible gold paint.
These would be just as perfect for Easter! Simply swap the shamrock for a mini egg for a festive spring twist. Now, let’s dive into the details so you can recreate these cupcakes at home!
Jump To
What you’ll need
Before we start decorating, here’s what you’ll need:

- Pastel food coloring; colors I used:
- Satin Ice pastel colors; yellow, pink, purple, blue and green.
- Color Mill orange
- And a tiny amount of Wilton Rose gel for a deeper pink color
- Buttercream frosting
- Cupcakes
- Piping bags (12-14 in)
- Large piping tips
- Sprinkles
- Small paintbrush for edible gold details
- Edible gold paint or luster dust
- Optional: mini eggs, piped shamrocks
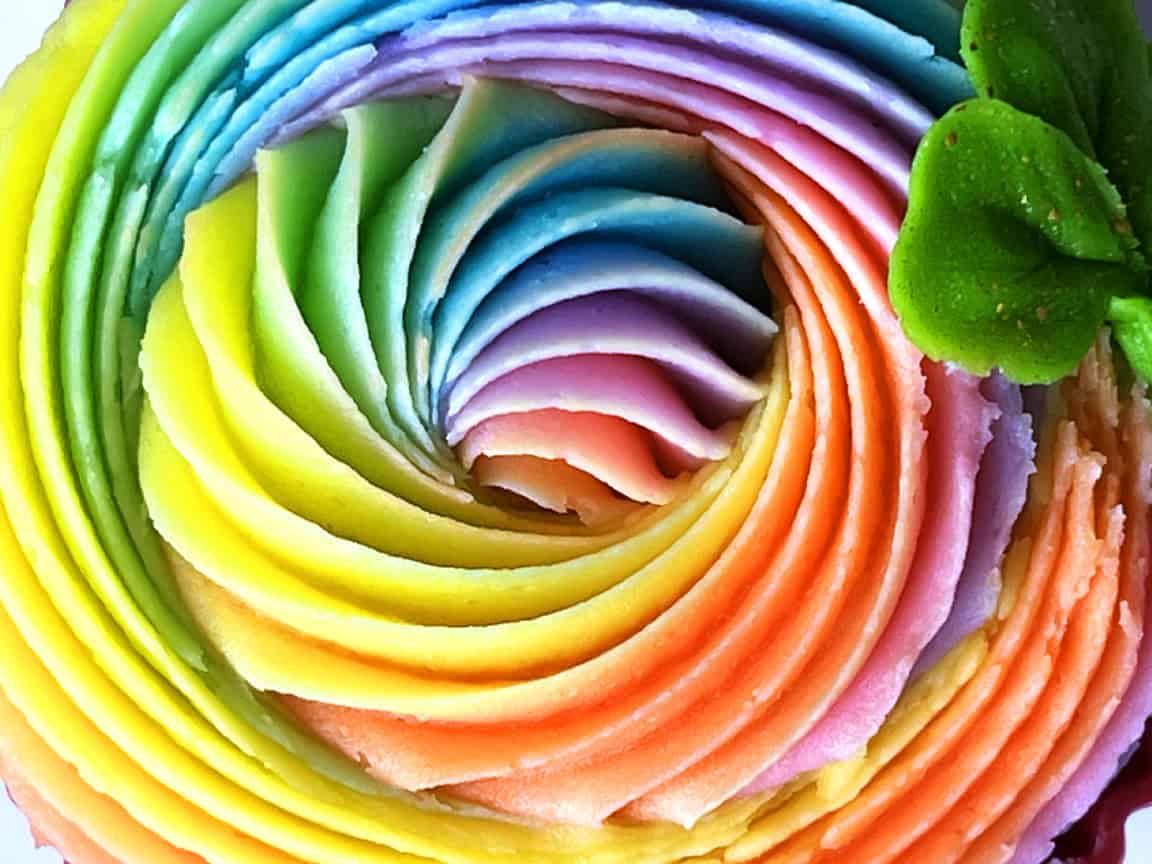
How to Achieve the Pastel Rainbow Look

I had recorded a color mixing demo to show how I achieved these pastel shades, but unfortunately, I didn’t realize until after I was finished that my camera format had changed, so the footage isn’t usable. I’ll have to redo it in the future, but for now, I’ll walk you through the process here!
To keep things simple and minimize dishes, I used just one bowl for mixing all the colors and didn’t wash it between colors. I started with yellow, then gradually worked my way through the rainbow, adding food coloring a little at a time and adjusting as needed. After yellow, I mixed orange, followed by pink, purple, blue, and finally green. This method not only helps prevent colors from becoming muddy but also ensures a cohesive palette since each shade builds naturally from the previous one.
Rolling the Colors Together (Plastic Wrap Method)
To achieve a smooth, blended look, I used a method where I layered the colors on plastic wrap, rolled them together, and then placed them into the piping bag. Here’s how it works:
- Lay a piece of plastic wrap flat on your countertop.
- Spoon each color of buttercream in a row along the plastic wrap, one color at a time, leaving a little space between each. Arrange the colors in the order you want them to appear on your cupcakes.
- Once all the colors are arranged, gently fold the plastic wrap over the buttercream to cover them.
- Roll the plastic wrap tightly from one end to the other, ensuring the colors are snugly packed together.
- Carefully cut off one end of the rolled plastic wrap and insert it into your piping bag with your desired piping tip.
- Squeeze gently from the top of the piping bag, and start decorating your cupcakes. As you pipe, the colors will blend together in a beautiful, smooth rainbow effect.
Decorating Ideas
Once your buttercream is tinted and ready, it’s time to decorate!
Rosette & Floral Effects
Use a 2D tip to create soft, floral designs that are perfect for a pastel theme. This tip is a closed-star shape with a wider opening, allowing you to pipe smooth, textured rosettes with rounded petals. The ridged design of the tip creates a gentle, petal-like texture, ideal for making layered rosettes.

These cupcake liners were not it. Edges painted with gold luster.
Classic Swirl
Use a 1M tip for beautiful, smooth spirals. This is a large, open-star-shaped piping tip that is commonly used for creating swirls. The shape of the tip allows for both sharp edges and smooth surfaces, which makes it perfect for creating those elegant, well-defined swirls.

Textured Swirls
Use a 6B tip to create a more structured, ruffled swirl or rosette effect. This is a large, closed-star-shaped piping tip with deeper ridges, which allows you to pipe bold, textured swirls or rosettes. The shape of the tip creates a distinctive, ruffled edge, adding depth and movement to your design. The 6B tip helps give your swirls and rosettes a more textured, voluminous look that stands out beautifully.


Buttercream Shamrocks
Use a 104 petal tip to create shamrocks with delicate heart-shaped petals. This tip allows you to pipe petals that have both a smooth edge and a slightly ruffled texture. For shamrocks, hold the tip flat against the surface and gently pipe out each petal, making sure to create heart-shaped petals that tuck into each other as you work around the center. After piping, allow the buttercream to set slightly, so it holds its shape.
For an added touch of elegance, you can gently paint the edges or center of the shamrocks with edible gold paint, giving them a subtle shimmer.

Tips & Tricks
- Blending Colors Smoothly: Before you start decorating your cupcakes, pipe out a little bit of buttercream until all the colors are blended and come through smoothly.
- Keeping Pastels Vibrant: Start with a tiny amount of food coloring and build up slowly, too much can make the colors muddy or overly bright.
- Storage Tips: Store cupcakes in an airtight container at room temperature for up to two days. If refrigerating or freezing, let them come to room temp before serving to restore their soft texture.
- Working with Frozen Cupcakes: If decorating previously frozen cupcakes, be aware that the liners may pull away slightly as they thaw.
Final Thoughts
These pastel rainbow cupcakes are a fun way to welcome spring, and I’d love to see your creations! If you try these techniques, be sure to tag me on social media @alchemy.sweets—I can’t wait to see your decorated cupcakes.
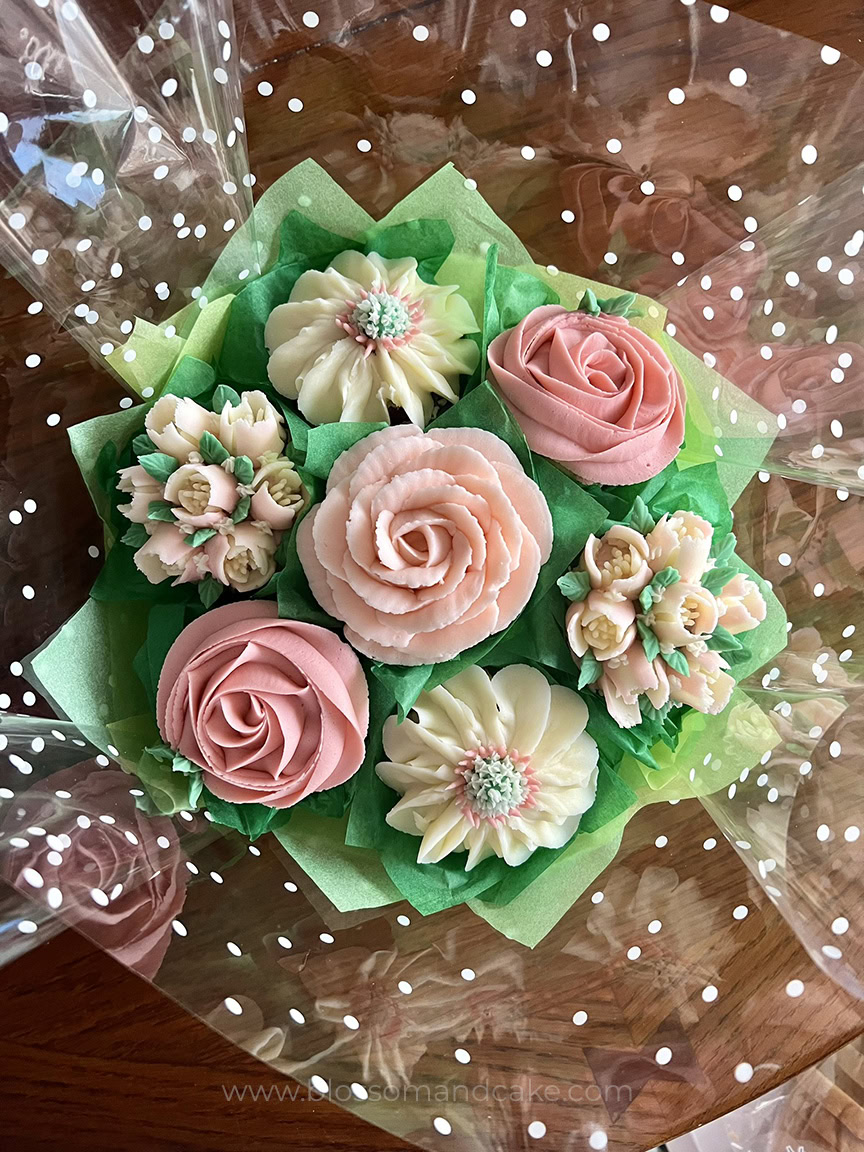
Spring is full of creative decorating opportunities, and I have more seasonal ideas coming soon, including Easter cupcake designs. Plus, my next big project will be piping over 100 buttercream flowers, inspired by the fresh spring air! Stay tuned for more inspiration.
Check out my other St. Patrick’s Day cupcakes here!
Happy decorating! 🍀