Easter is the perfect excuse to get a little extra with your cupcakes. Whether you want something sweet and simple or a little more decorative, these three Easter cupcake designs work on their own or together on the same dessert table. Best of all, you don’t need any special skills — just a few supplies and a bit of buttercream.
Let’s get started!
JUMP TO:
General Supplies
- Cupcakes (the base for everything)
- Buttercream (white, tan or brown, green, and 2–3 pastel colors)
- Piping bags
- Couplers (for nest and basket)
I used my American buttercream for all three designs. If your buttercream feels too stiff, reduce the powdered sugar by a few tablespoons or add water or milk 1 tsp at a time. You still want a buttercream that holds its shape, just not so stiff that it tears when you pipe.
A note on pastel colors: Pastels are easy to over-mix. Start with a very small amount of gel food coloring (less than you think you need) and mix thoroughly before adding more. Lavender, soft yellow, pale pink, and mint green are all classic Easter shades. If a color comes out too saturated, fold in a small amount of plain white buttercream to bring it back.
Want to practice first? These are great designs to run through with my practice buttercream before using the real thing. It pipes the same way and costs a fraction of the price.
See each design for its specific supply list.
Fondant Bunny Ears
Supplies:
- Fondant colored white and pink
- Fondant roller
- Corn Starch
- Cutters or knife
- Water
- Small paintbrush
These are simple to make ahead of time and add instant Easter charm to any cupcake. You can freehand the shape, use a cutter, or cut around a paper template. Making them a day or two in advance is actually ideal, they firm up as they dry, which makes them easier to handle and insert into cupcakes.
Steps:
- Roll out white fondant to about 2–3mm thick. Use an ear-shaped cutter if you have one, or cut freehand with a knife – a tall oval that narrows slightly toward the top works well.
- Roll pink fondant slightly thinner and use a cutter to cut smaller shapes.
- Lightly brush the backside of the pink cutouts with water, then align them on top of the white cutouts. Press gently to adhere.
- If you’d like one ear to have a slight fold or curve, shape it now and prop it up while it dries.
- Lay ears flat on parchment, and let dry at room temperature for 4-24 hours.
NOTE: the fondant can soften if moisture isn’t controlled. Do not assemble these on cupcakes that will be boxed. The box can hold in moisture, and the fondant will absorb it and soften. Assemble right before serving.
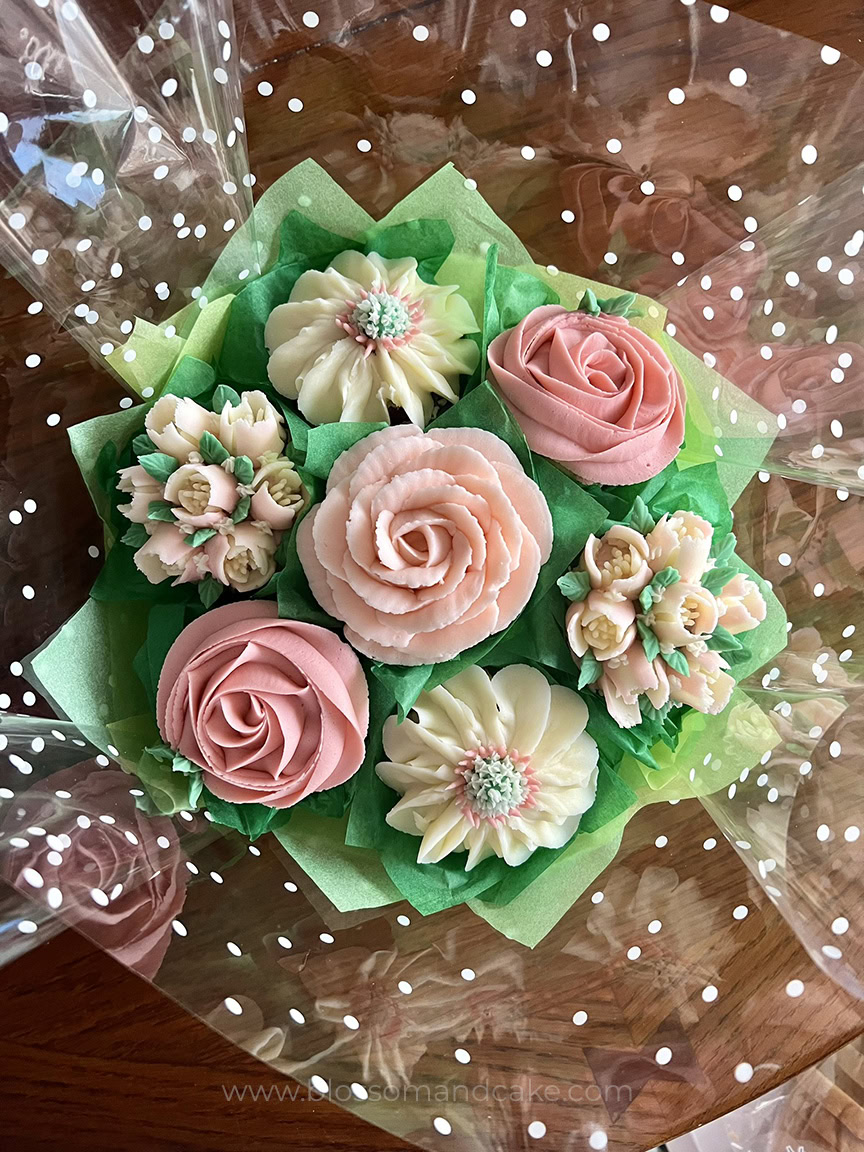
Design idea: pair these ears with buttercream daisies — check out my full buttercream daisy tutorial or buttercream tulip tutorial with Russian piping tips.

Watch the time-lapse video of last years Easter Cupcakes coming together here.
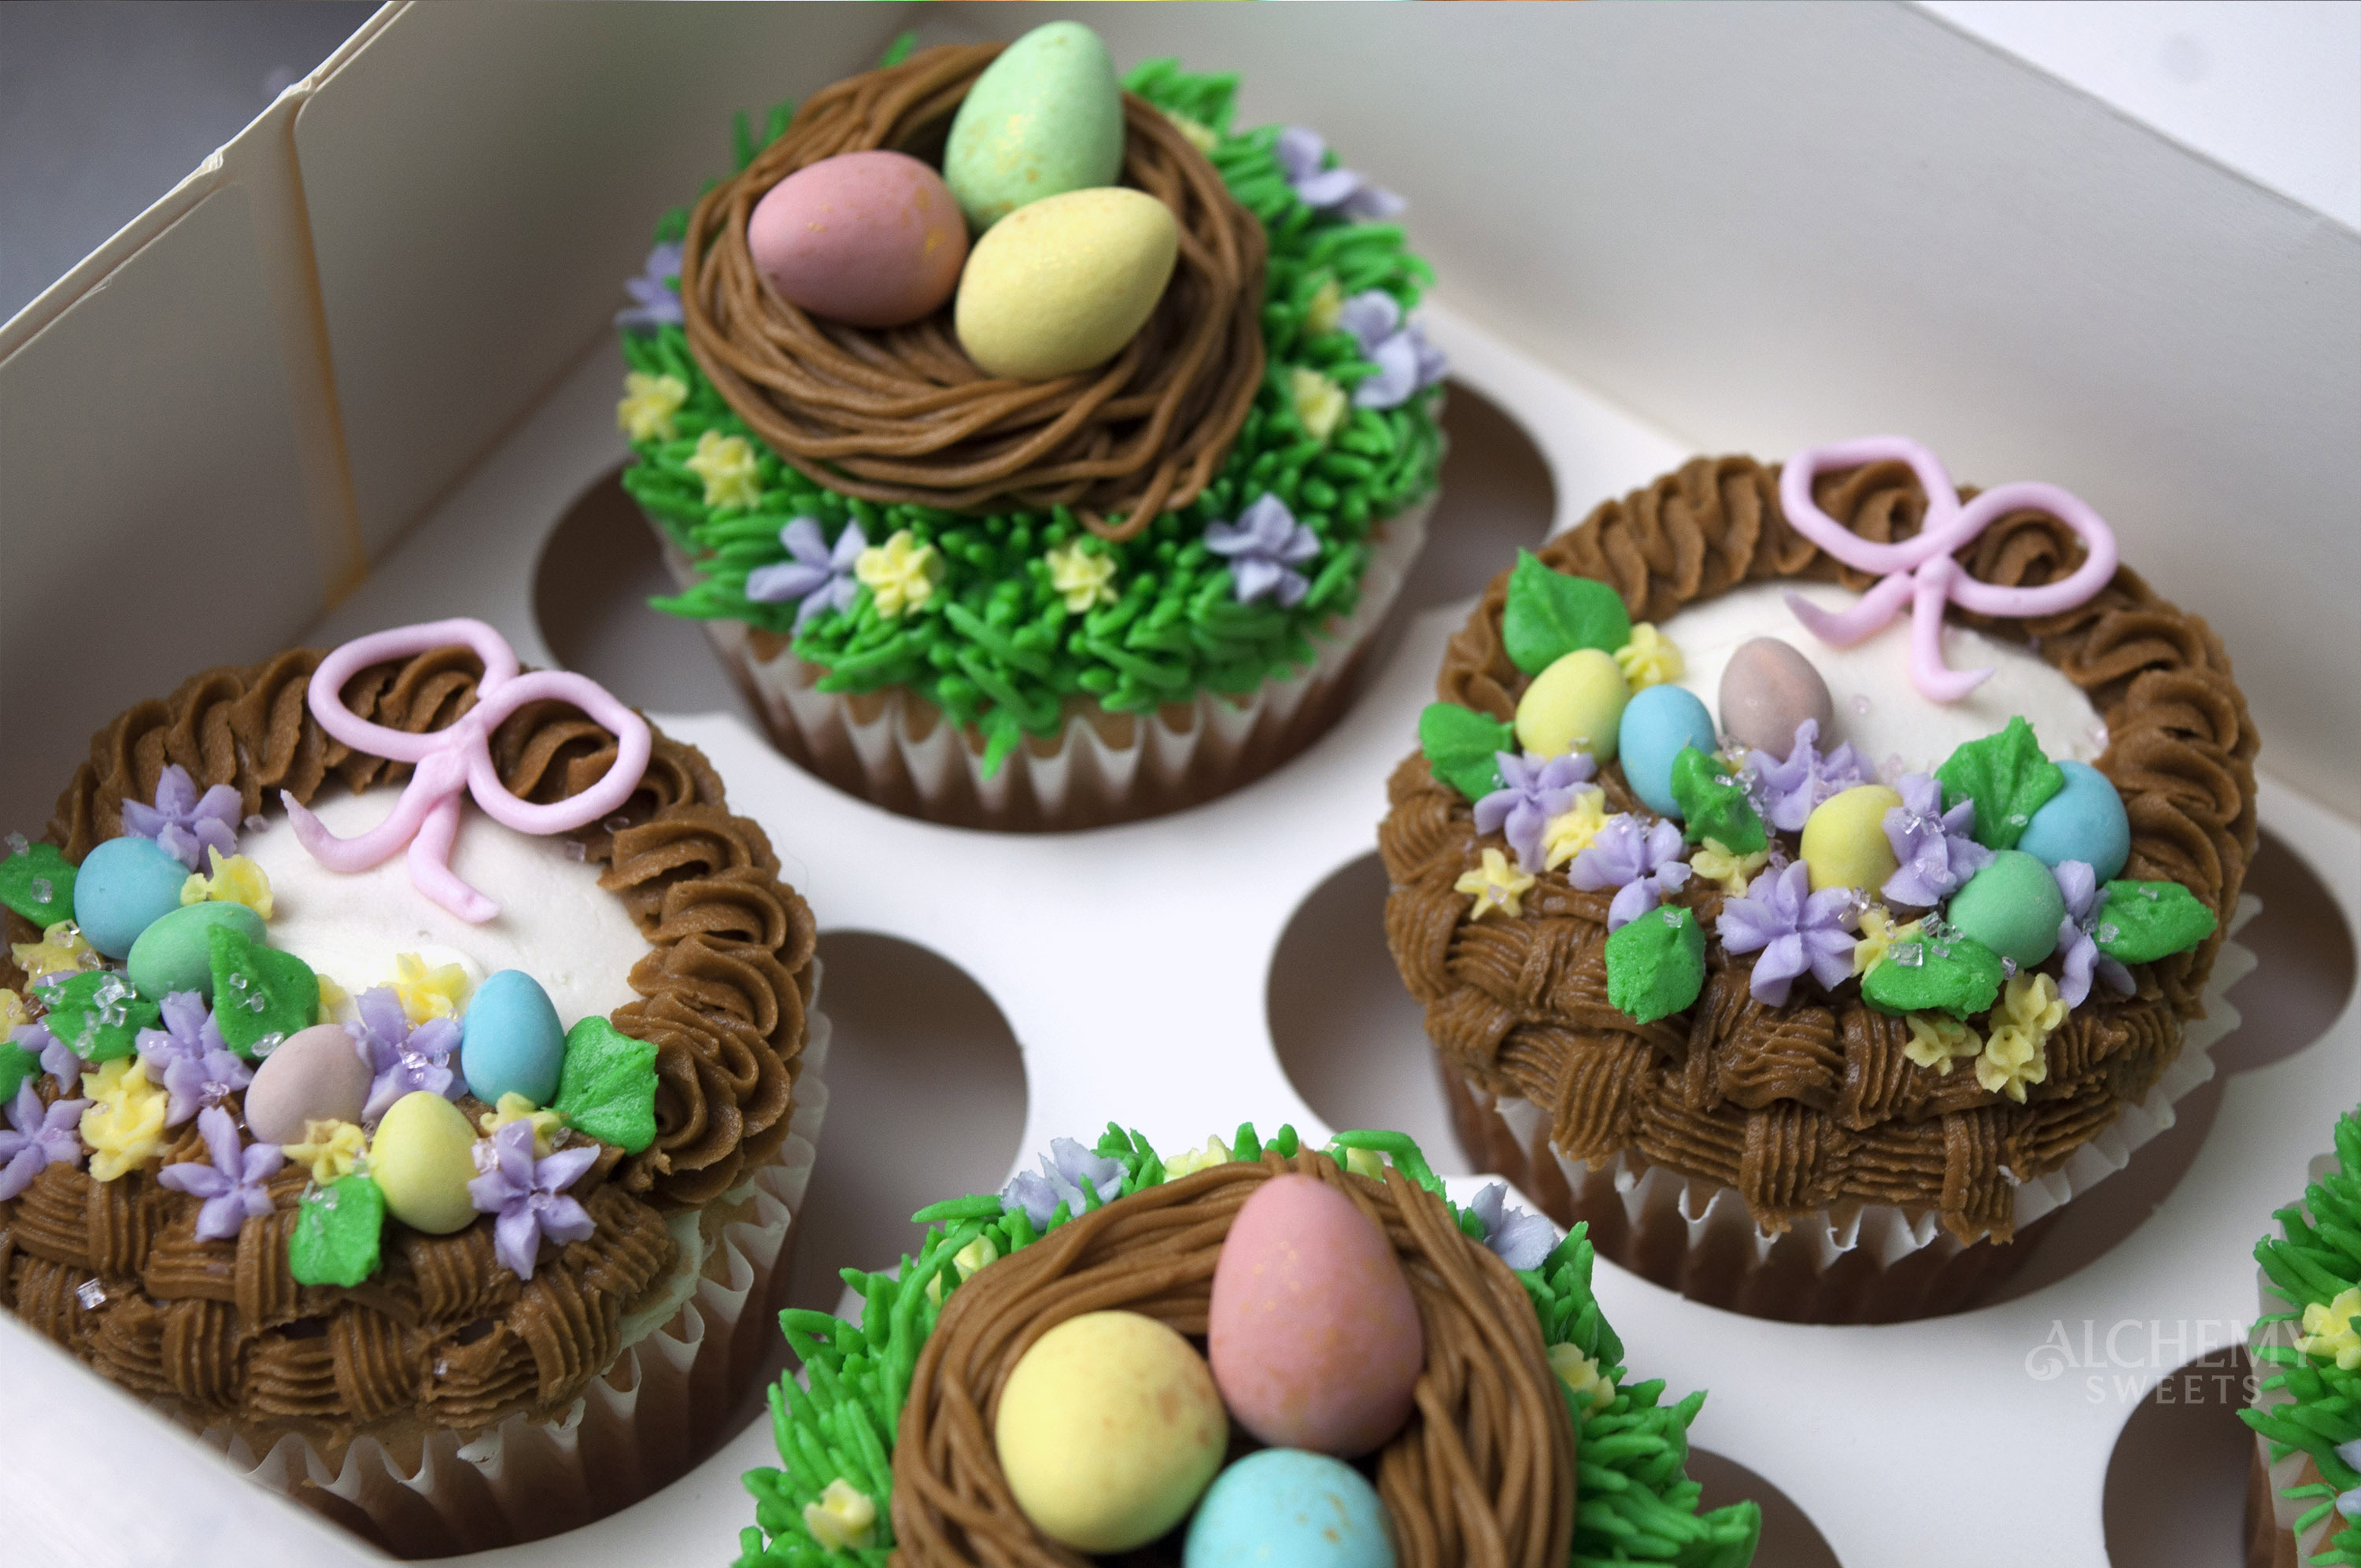
Buttercream Nest Cupcakes
Supplies:
- Tan or brown buttercream
- Green buttercream
- Grass piping tip #233
- Mini eggs
- Optional: 2-3 pastel buttercream colors and small drop flower tips
This one is satisfying and easy to pipe. Use a coupler so you can switch your grass tip between colors without needing two separate tips.
Steps:
- Frost your cupcake with a simple base coat – this helps give the buttercream something to stick to when piping.
- Fit two piping bags with couplers, fill one with green buttercream and the other with brown.
- With the green buttercream bag, attach your grass tip (#233). Pipe grass around the outer edge of the cupcake to create a grassy border, making two passes around the edge for extra fullness.
- Switch to the brown buttercream bag with your grass tip. Starting in the center of the cupcake and working outward, pipe overlapping strands to build up a loose nest shape. Add a couple extra passes around the outer edge to create height so the nest forms a shallow bowl.
- Tip: tuck the end strands inward to help form the nest but also hide them.
- Tuck 3–5 mini eggs into the centre of the nest.
- Optional: add small drop flowers around the green border using a #106 tip or small open star tip #16.
Watch the short here.

Buttercream Basket Cupcakes
Supplies:
- Tan or brown buttercream
- Green buttercream
- 2-3 pastel color buttercream
- Basket piping tip #46 or #47
- Open star tip #17 or smaller
- Round tip #3
- Leaf tip #352
- Drop flower tips or open star tips
- Micro mini eggs and/or sprinkles
This design adds variety to your Easter display and pairs beautifully alongside the nest cupcakes and any buttercream flowers. The basketweave looks more complex than it is, the key is keeping your lines consistent in length and pressure.
Steps:
- Frost your cupcake with a simple base coat of white, ensuring decent coverage.
- Using a small open star tip (#17), pipe a half-circle along the top edge of the cupcake to create the basket handle.
- Switch to a basketweave tip (#46 or #47) with the serrated edge facing up. Starting at the bottom edge of the cupcake, pipe a short horizontal line. Pipe a short vertical line that overlaps it slightly, then another horizontal line. Continue alternating horizontal and vertical lines across the cupcake to form the first row.
- Repeat the pattern in rows above the first until the basket reaches the size you want, or until you reach the ends of the handle. I piped about four rows.
- Fill the center with small flowers in pastel colors, adding dot details and small drop flowers to fill gaps. Add a few leaves with a leaf tip for greenery.
- Tuck micro mini eggs or sprinkles between the flowers.
- Optional: with round tip (#3), pipe a small bow at the center top of the handle.
That’s it! Watch the short here.

These three Easter cupcake designs are easy to mix and match, make one or make all three for a full spring dessert table. They go especially well together when you repeat the same pastel color palette across all three.
If you give any of them a try, I’d love to see how they turn out.
Happy decorating!