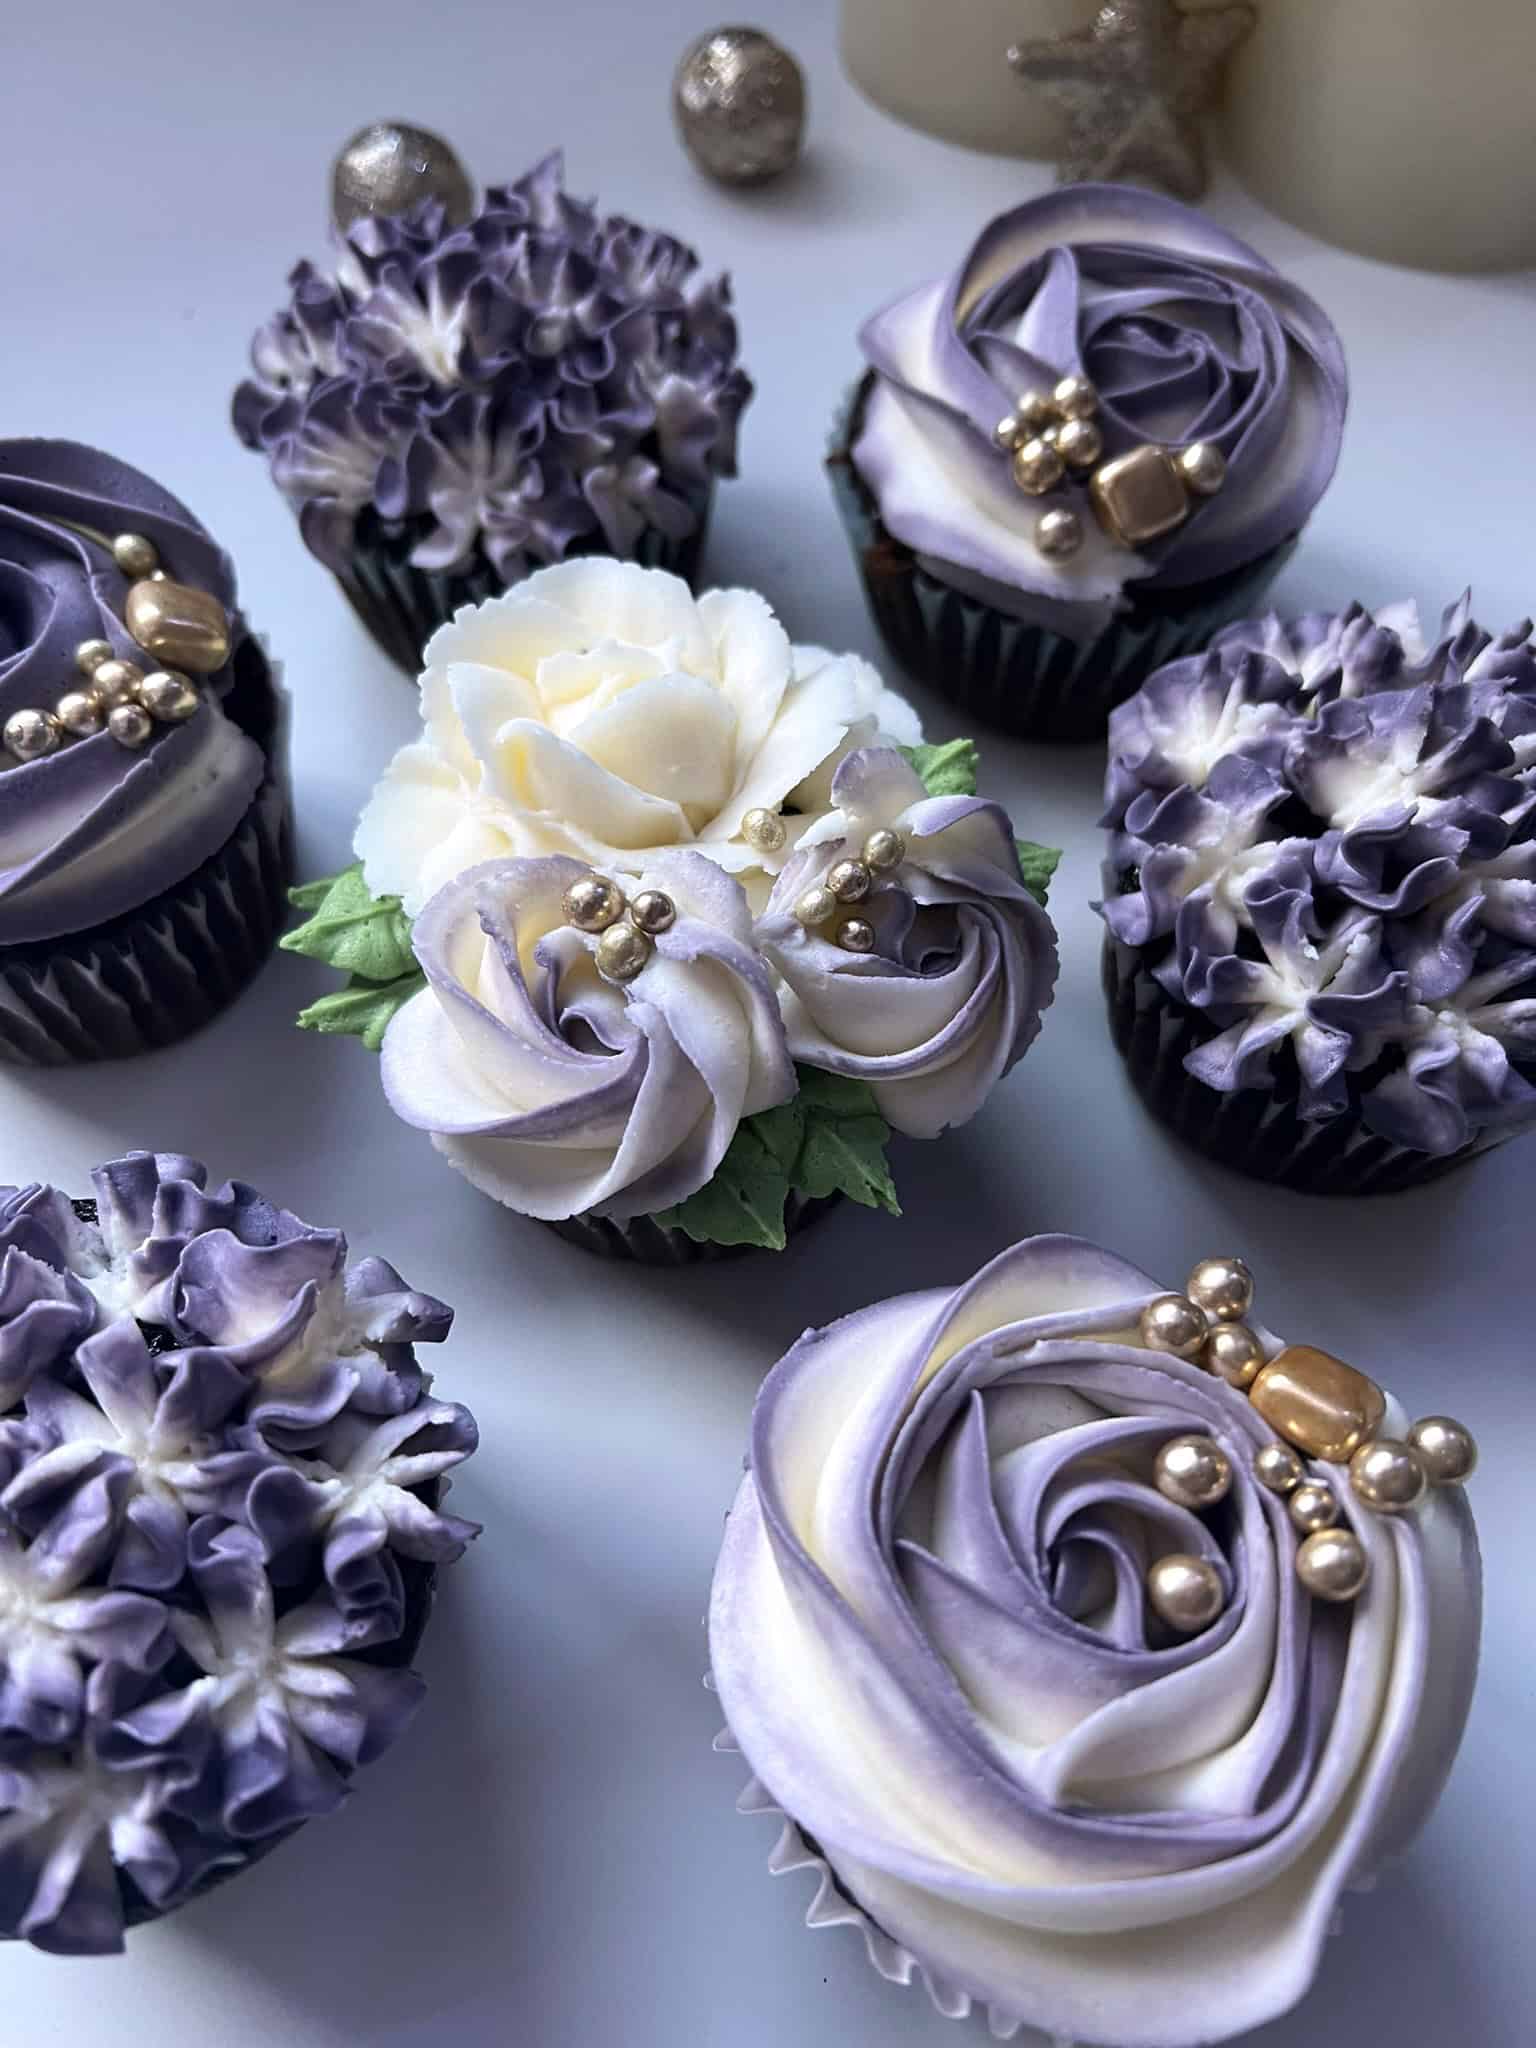
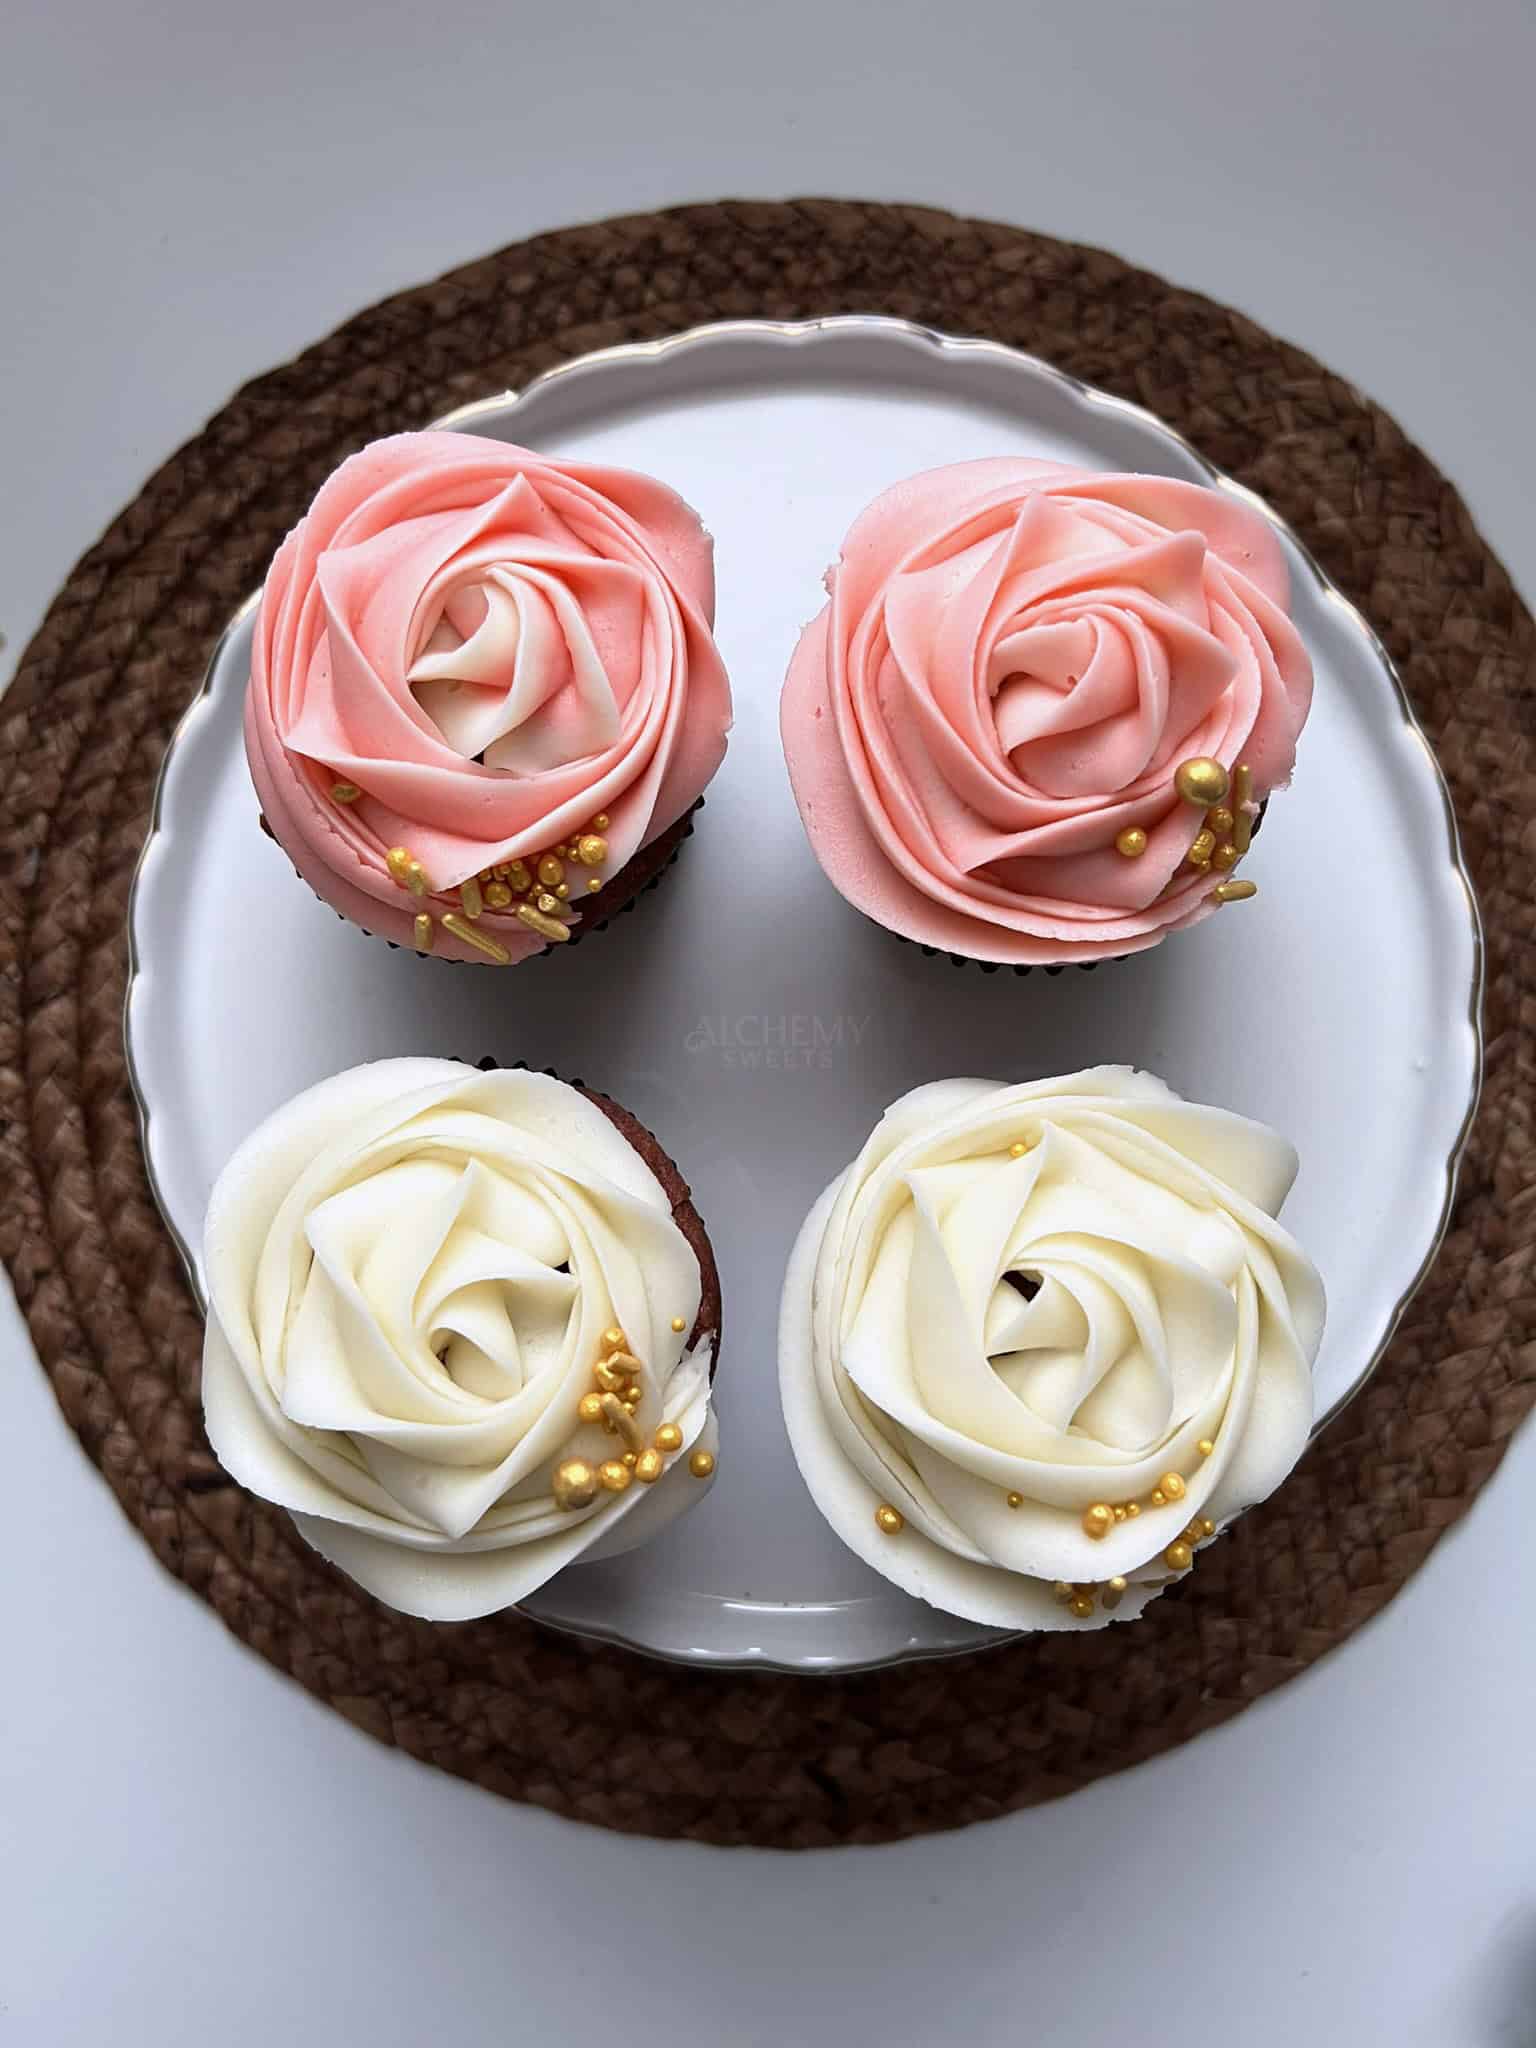
As spring arrives, bringing longer days and the promise of new blooms, I’m embracing the season with a challenge of my own—piping over 100 buttercream flowers!
I’ll be sharing my progress, the challenges I face, and everything I learn along the way. Just like the flowers outside, I’m excited to grow and see where this adventure takes me!
The Challenge: 100+ Buttercream Flowers in a Year
I’ll be piping 100+ unique buttercream flowers, using a variety of techniques, styles, and color palettes. Instead of sticking to what I already know, I’ll be exploring new methods, testing different piping tips, and challenging myself to think beyond the usual roses and peonies.
This challenge is more than just improving my skills—it’s about creative growth, discovering my favorite flowers to pipe, and sharing what I learn along the way. Maybe I’ll even inspire you to try some of them, too!
I won’t be following a strict order — flowers are chosen intuitively, inspired by whatever is blooming in the garden, spotted on a trail walk, or simply calling to me that season. It keeps things organic and lets the natural world guide where this journey goes.
JUMP TO
The First 10 Flowers
Welcome to Part 1 of the 100+ Buttercream Flower Challenge! In this section, I’ll share the techniques I used, lessons learned, and thoughts on each flower. For this first post, I’m showcasing the first 10 flowers I piped—exactly as they were created, in the order they happened.
Anemone
★★★☆☆ (3/5 difficulty)

Technique Used: I piped this anemone using a petal tip (such as Wilton #104) for the soft, delicate petals and just cut the tip off a piping bag for the center details.
Challenges & What I Learned: I absolutely love how this flower turned out, but I did run into an unexpected issue—the purple from the center bled into the yellow stamens as it dried. (this didn’t happen with any other flower…) Next time, I might try chilling the flower before adding the details or adjusting the consistency of my buttercream to prevent color bleeding.
Final Thoughts: To say I’m in love with this flower is an understatement! Aside from the Clematis, this is my favorite one I’ve piped so far. The combination of delicate petals and bold center details really brings it to life, and I can’t wait to pipe this flower again!
Passion Flower
★★★★★ (5/5 difficulty)

Technique Used: I piped this flower using a combination of leftover buttercreams, including a “Practice Buttercream” recipe made with shortening instead of butter. I used a 104 tip for the petals, and cut off the tip of multiple piping bags for the rest.
Challenges & What I Learned: The consistency was too soft, even after adding more icing sugar and butter. It didn’t hold its shape well and ended up falling flat like a pancake. Definitely not a fan of this practice buttercream for detailed flowers! The flower was quite complicated, with lots of different colors in small amounts, making it challenging to mix colors and manage multiple piping bags.
Final Thoughts: The Passion Flower is so interesting, and I would like to revisit it again. Next time, I’ll stick to a better buttercream recipe for sharper details.
Bougainvillea
★★☆☆☆ (2/5 difficulty)

Technique Used: Piped using a leaf tip to create the Bougainvillea flower, as it is actually comprised mostly of leaves. The true flower is the white part I piped, while the purple part is called a ‘bract,’ which are modified leaves!
Challenges & What I Learned: This flower has so many beautiful color variations! Next time, I’d love to experiment with different hues to make them even more magical.
Final Thoughts: I quite enjoyed piping these. This plant is so pretty, and when I looked it up, I immediately wanted to cover my house with them. I’ve always loved plants with colorful leaves—pink, purple, red, orange—like the Bougainvillea. I wish they grew where I live!
Fuchsia
★★★★☆ (4/5 difficulty)

Technique Used: I used a 104 tip to pipe the petals and cut the end off a piping bag to create the stamens, though the larger tip made capturing the flower’s shape more challenging.
Challenges & What I Learned: The color wasn’t as vibrant as I wanted, and not having the right tip made a difference in the final look. A smaller petal tip is recommended!
Final Thoughts: Would I pipe this flower again? Maybe. Maybe not. This design might be better suited for sugar flowers or gum paste.
Lily
★★★☆☆ (3/5 difficulty)

Technique Used: I piped soft, rounded petals using a 104 tip, though they ideally should have been more pointed at the tips. For the “freckles,” I snipped the tip off a piping bag and piped them on.
Challenges & What I Learned: I realized a bit too late that I had been piping five petals instead of six—oops! Also, I want to try different techniques and a stiffer consistency buttercream next time to refine the petal shape.
Final Thoughts: This is just one way to pipe a Lily, and I plan to experiment with other methods to compare results!
Columbine
★★★☆☆ (3/5 difficulty)

Technique Used: I used a softer buttercream, which made shaping the petals a bit trickier. I piped the blue and white petals with a 104 tip and cut the tip off a piping bag for the small center details.
Challenges & What I Learned: The structure wasn’t entirely there, but I think a stiffer buttercream and smaller petal tip will make it more achievable next time.
Final Thoughts: There are a few things I’d change for next time, but overall, I still think this flower turned out pretty!
Clematis
★★★☆☆ (3/5 difficulty)

Technique Used: I used a 104 tip to pipe the clematis petals, focusing on a flowing, layered design to mimic their natural shape.
Challenges & What I Learned: These flowers are so beautiful in real life—it’s hard to match their look perfectly! But I kept going and ended up piping 7 or 8 of them instead of my usual 3 per flower type.
Final Thoughts: My grandparents had these growing on their farm, so this flower holds a special place in my heart. Honestly, I’d love to cover my house with them!
Pansy
★★★☆☆ (3/5 difficulty)

Technique Used: Piped with a meringue based buttercream, with a 104 and 102 piping tip.
Challenges & What I Learned: I’ve piped these before using a firmer buttercream, and I definitely prefer that—it offers better control over the details.
Final Thoughts: These still turned out nice, but next time, I’d like to use a firmer consistency for more precision. Pansies are a garden staple for me every year!
Daisy
★☆☆☆☆ (1/5 difficulty)

Technique Used: Reused a natural-colored buttercream for these delicate petals with a small petal tip.
Challenges & What I Learned: The buttercream had been reused a few times, giving the petals a slightly translucent look—but honestly, I kind of like the effect!
Final Thoughts: These are so cute! I loved them so much I ended up creating a full tutorial — check it out here!
Cactus
★★☆☆☆ (2/5 difficulty)

Technique Used: This was my first attempt at piping a succulent-style buttercream cactus. I used a small petal tip to create the ridges and snipped the tiniest bit off the tip of a piping bag to pipe the white spikes.
Challenges & What I Learned: Once again, my buttercream consistency wasn’t ideal for these designs, but they still turned out okay! They still look like cacti, which is what matters.
Final Thoughts: I love how the green contrasts with all the other flowers I’ve piped so far—it really stands out! Would I pipe these again? 100%!
Top Tips for Piping Buttercream Flowers
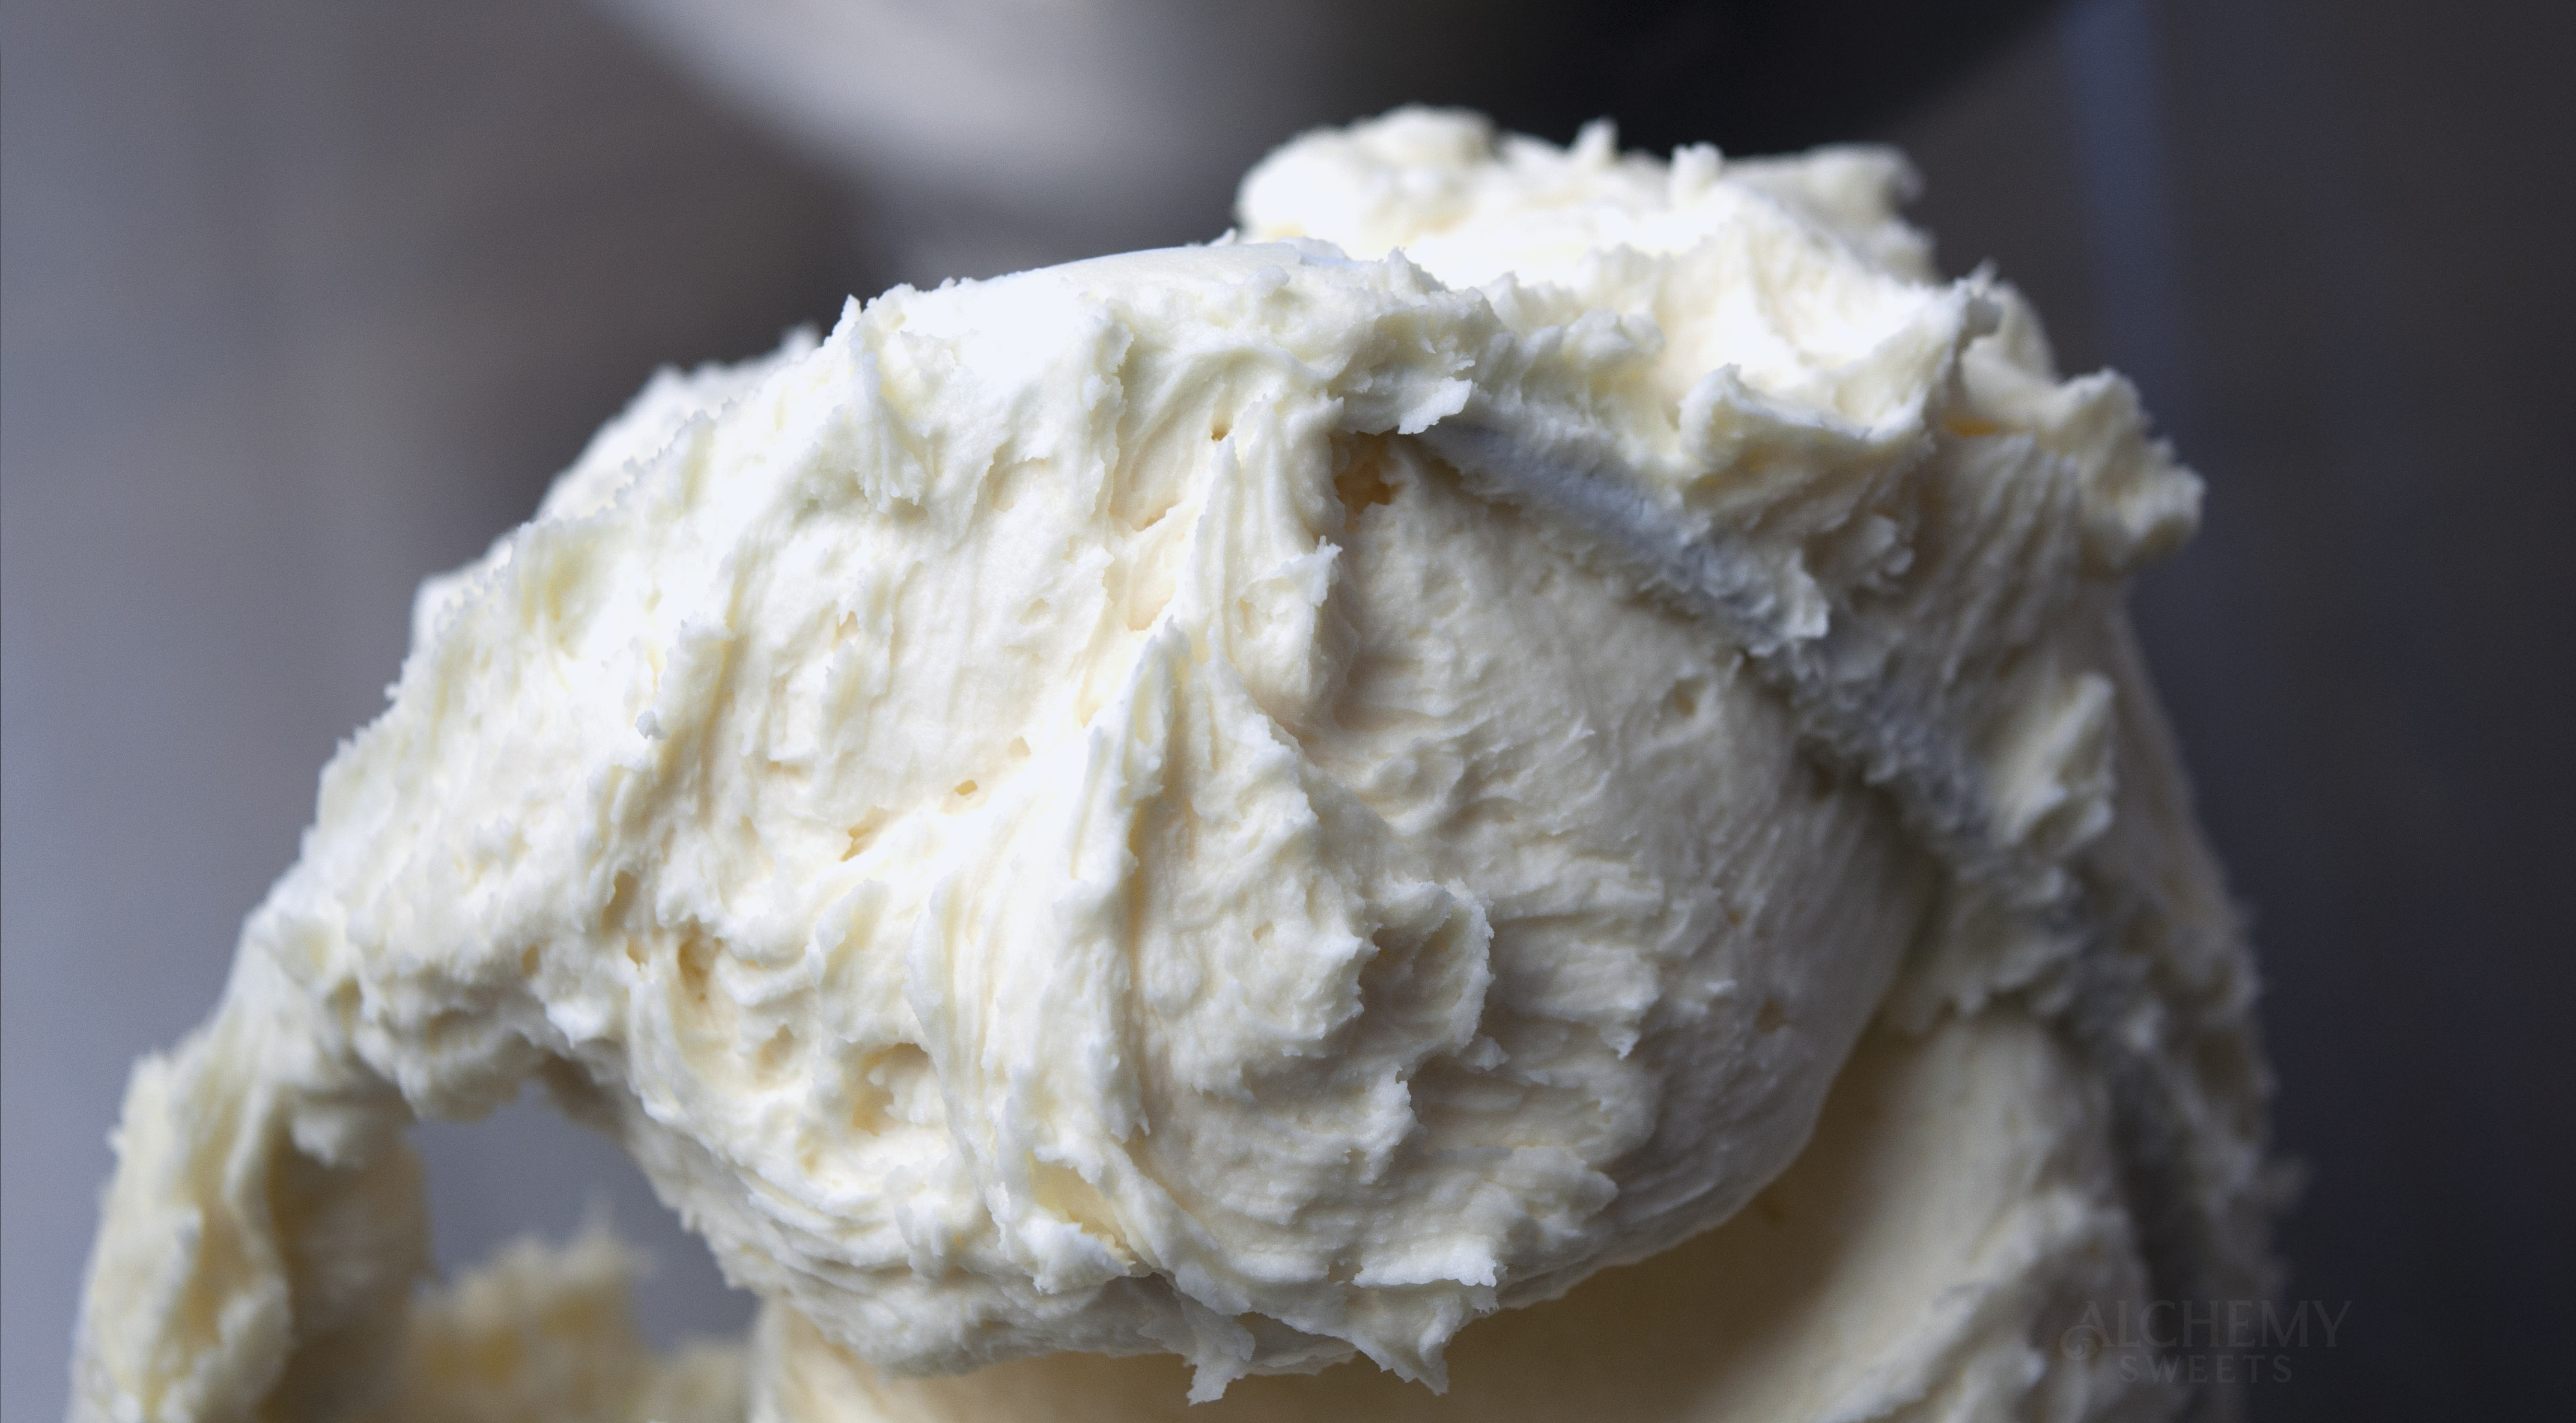
- Consistency is key: A stiffer buttercream holds details better, especially for complex flowers. Here’s my usual go-to buttercream recipe for piping flowers. (not sure why I punished myself with these first 10 flowers…)
- Temperature matters: Chilling between adding different colors prevents bleeding. Putting a little buttercream in your piping bag and refilling as needed to prevent it from becoming too soft.
- Right tools make a difference: Having the correct piping tips (especially smaller ones for details) can transform your results.
Lessons Learned From My First 10 Buttercream Flowers
After completing these first 10 flowers, I’ve learned that preparation makes all the difference. Moving forward, I plan to be more intentional with the next few designs. I’ll select them in advance, create a cohesive color scheme, and make a fresh batch of buttercream instead of using leftover bits. I’ll also ensure I have all the necessary piping tips (or at least close alternatives) before I start!
The journey so far has been both challenging and rewarding. While some flowers like the Passion Flower were a bit odd, others like the Anemone and Clematis have become instant favorites. I’m particularly excited to explore more unusual flowers – perhaps some tropical varieties or seasonal blooms that match the coming months.
I hope that by sharing these experiences, you’ll gain insights whether you’re a beginner or experienced baker looking to elevate your designs.

What’s Coming Next
I’ll be posting monthly updates here on the blog, sharing my progress, favorite techniques, and lessons learned.
If you’re curious about what’s coming up and want to follow along:
Instagram @alchemy.sweets, Youtube & TikTok @alchemysweets – I’ll be sharing updates, progress shots, and behind-the-scenes moments.
Send me Requests!
Have a flower in mind that you’d love to see piped in buttercream? Drop a comment below! I’d love to take on flower requests and expand my collection. Which flower would you most like to see me tackle next?
Check out Part 2 here!

Happy decorating!