*post was written under previous alias; Blossom & Cake
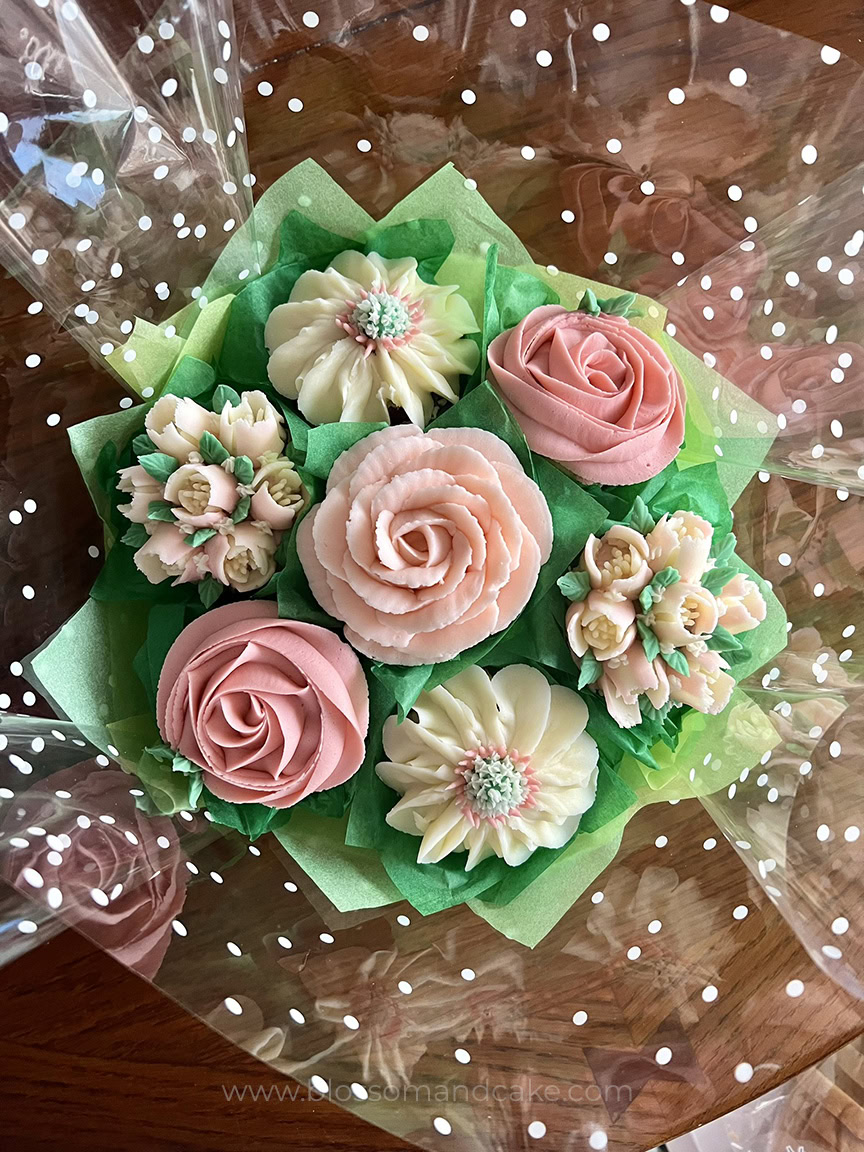
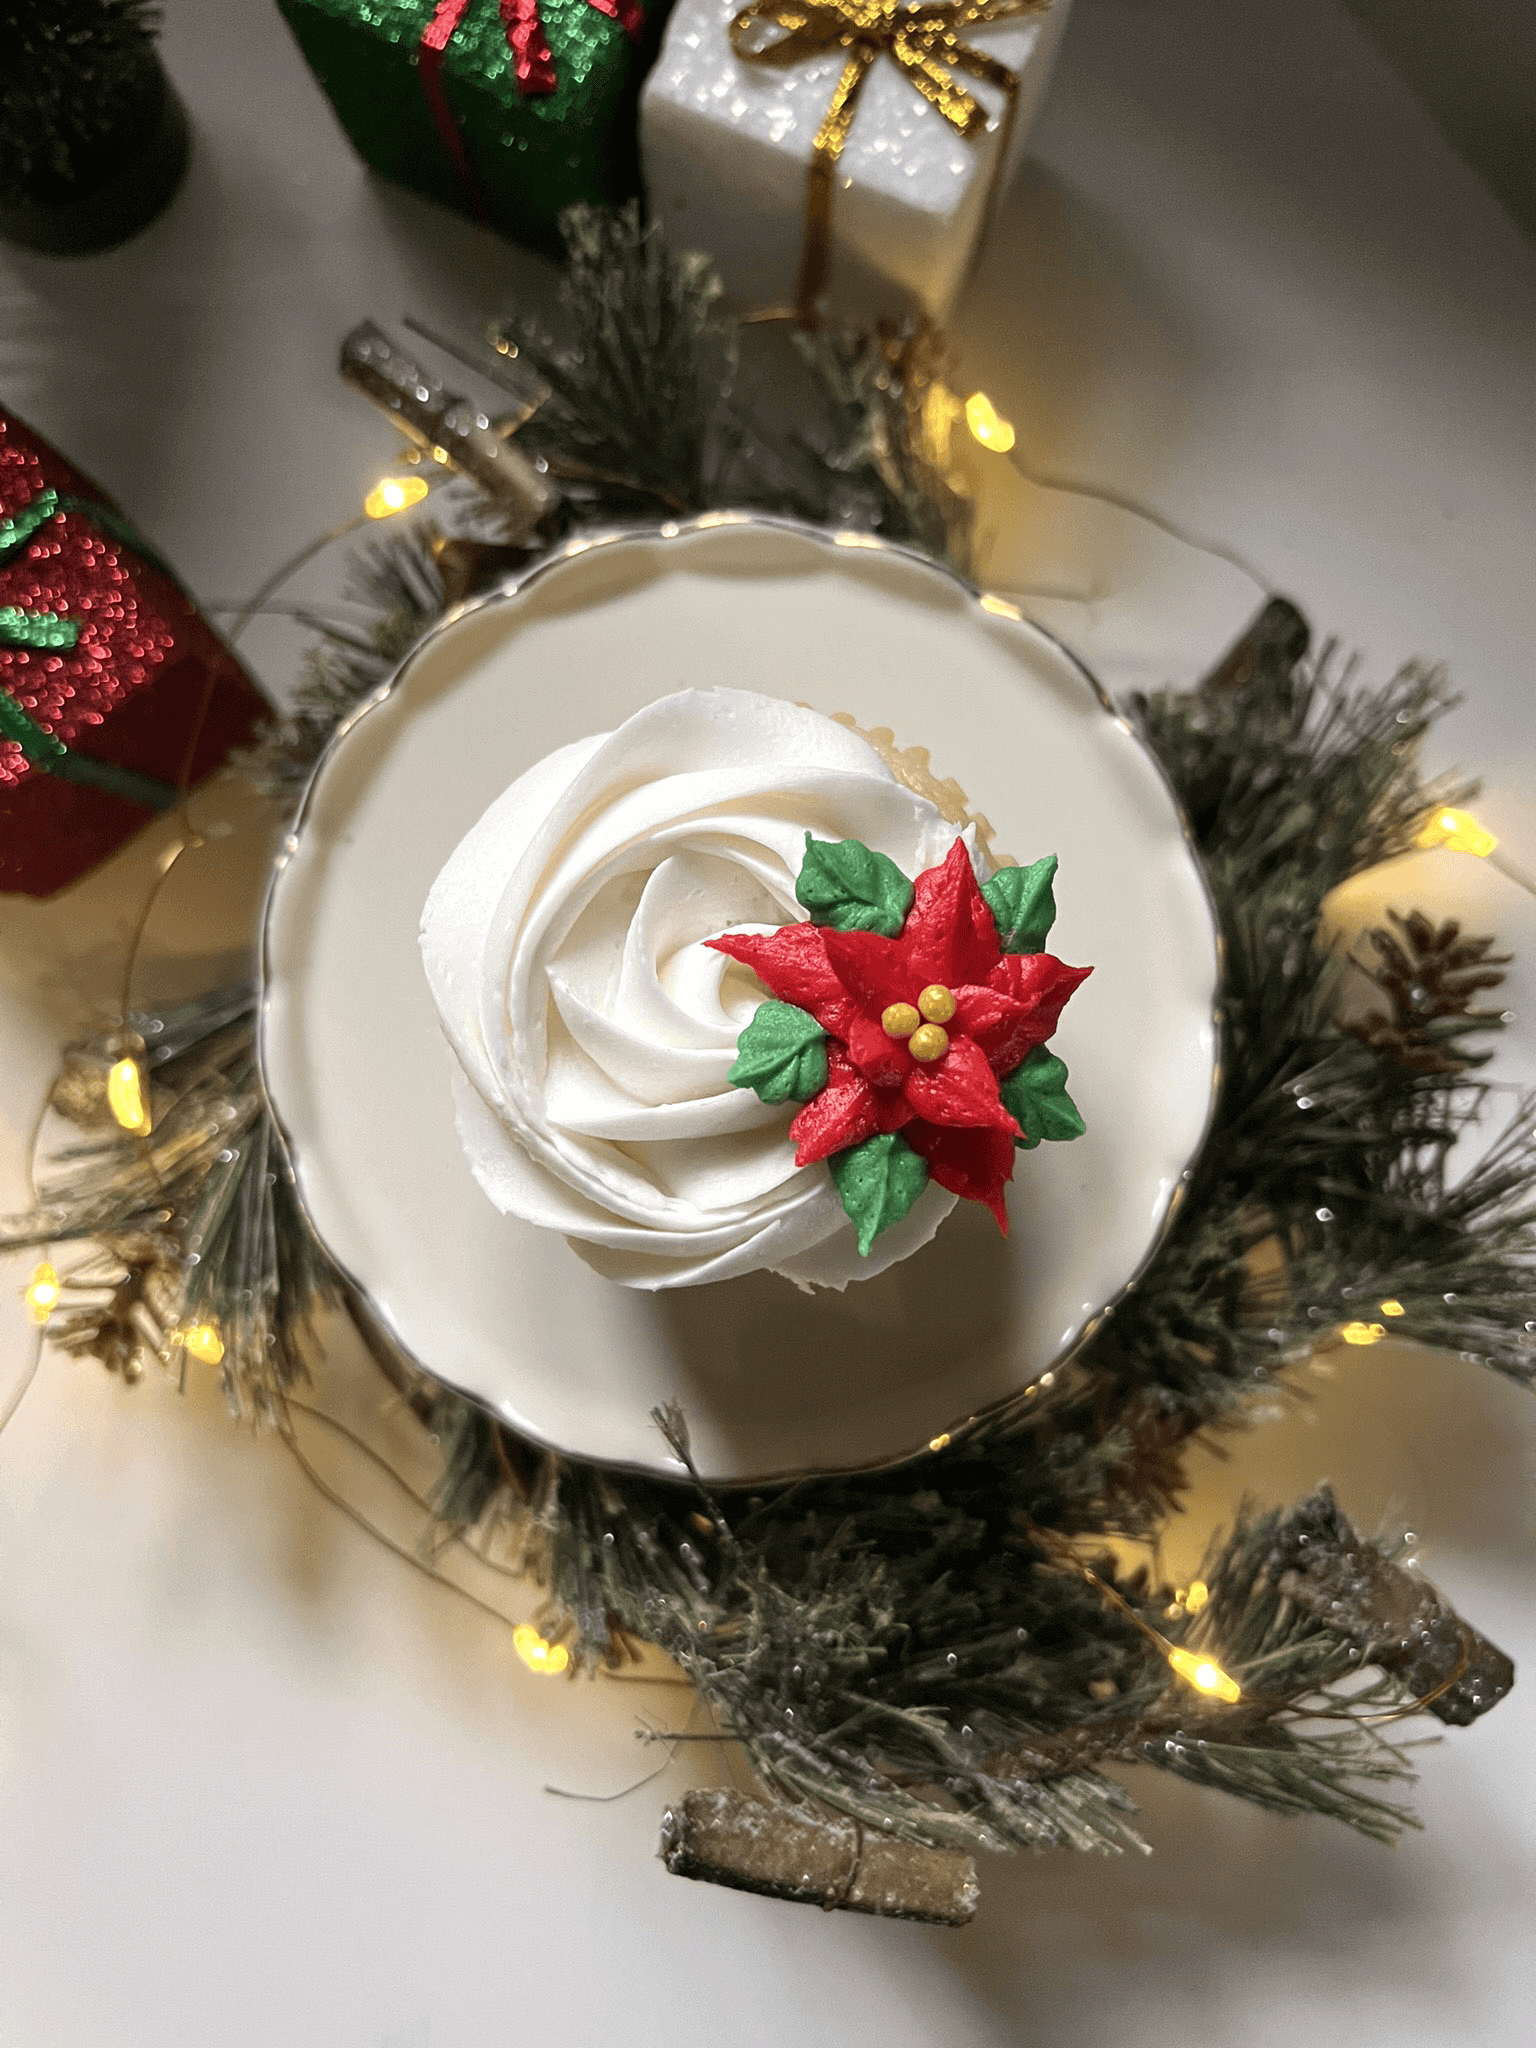
Learn how to decorate rosette and poinsettia cupcakes with this step-by-step tutorial. Rosettes and poinsettias make the perfect pairing for holiday cupcakes—the textured rosette provides a sturdy, eye-catching base while the delicate poinsettia adds elegance on top. This two-tier design looks impressive and intricate, but it’s beginner-friendly!
I love this combination because the rosette is forgiving, and the poinsettia petals are simple once you get the hang of holding the tip at the right angle.
In this tutorial, I’ll cover how to create vibrant buttercream colors, which piping tips to use, and how to pipe perfect rosettes and mini poinsettias step by step.
Table of Contents
What You’ll Need
For the rosette
- Wilton 2D
- Piping Bag
- Buttercream colored white
For the mini poinsettia
- Wilton 352 x2
- Piping Bags
- Buttercream colored red and green
- Round sprinkles
Want to see these cupcakes come together? Check out this quick video showing the full process here

Create vibrant colors of buttercream!
- Temper your buttercream in the microwave.
- Add a few drops or a generous amount of gel coloring to your buttercream, use a stand or hand mixer to combine the color and buttercream.
- Take some of this buttercream and put into a microwave safe bowl.
- Microwave and stir in 6-10 second increments (depending how intense your microwave is), tweaking the color if necessary.
- Keep doing this until your color is deep and developed. It may be almost liquid as this point, but don’t freak out!
- Add back to the rest of your buttercream and stir it in to combine.


Why Tempering Works
The reason we temper buttercream in the microwave is that gel food coloring develops better and deeper when it’s slightly warmed. Cold buttercream can make colors look muted or pastel even when you add a ton of gel. By warming it, the color molecules disperse more evenly, giving you those rich, vibrant shades without needing half a bottle of gel coloring. Don’t worry if the buttercream looks almost liquid after microwaving—once you mix it back with the rest and chill it, the texture comes right back. This technique doesn’t save on time, but it saves on loading up your buttercream with too much gel color!
Check out my full red buttercream tutorial.
Step-by-step decorating
Piping a rosette
Directions:
- Start with the Center:
- Using a Wilton 2D tip, hold your piping bag at a 90-degree angle over the center of the cupcake.
- Apply medium pressure to pipe a small star shape as the base of the rosette.
- Create the First Swirl:
- Slightly pull the piping tip to the side and begin piping a line around the star in a circular motion.
- Maintain consistent pressure as you continue to swirl around the initial line.
- Build the Rosette:
- Repeat the circular piping motion, layering lines outward, until the entire surface of the cupcake is covered.
- Finish the Rosette:
- Gradually release pressure as you complete the swirl.
- Carefully tuck the end of the loop into the side and pull the tip away cleanly.


Piping a mini poinsettia
Directions:
- Position the Piping Tip:
- Use a Wilton 352 tip and hold it so the “beak” shape of the tip (the two points) is oriented vertically.
- Maintain a slight upward angle as you position the tip at the edge of the rosette.
- Pipe the Petals:
- Gently press the tip into the surface and squeeze the piping bag to form the base of the petal.
- Gradually pull upward, decreasing pressure as you go, to create a pointed end for the petal.
- Release pressure completely before pulling the tip away.
- Arrange the First Layer:
- Pipe five evenly spaced petals in a circular arrangement around the rosette.
- Layer the Second Row:
- Using the same technique, pipe a second row of smaller petals on top of the first layer, slightly overlapping them.
- Add Green Leaves:
- Switch to green buttercream and a Wilton 352 leaf tip.
- Pipe leaves around the base of the poinsettia by gently squeezing the bag and wiggling your hand slightly in and out to create ridges.
- Add Final Touches:
- Place 3-4 gold sprinkles in the center of the poinsettia.


I paired these rosette poinsettia cupcakes with wreaths for a festive display. Check out my step-by-step tutorial on how to make these wreaths yourself.

Tips for Success
Practice your pressure control: For clean rosettes, use consistent pressure as you swirl. If you squeeze too hard at the beginning and lighten up at the end, your rosette will look lopsided. Practice on parchment paper first to get a feel for maintaining even pressure throughout the swirl.
Keep your buttercream cool: If your kitchen is warm or you’re working for a while, your buttercream can soften from the heat of your hands. Keep an ice pack nearby to cool your hands, or pop the piping bag in the fridge for 5 minutes if it starts feeling too soft.
Poinsettia petal angle matters: The “beak” of the 352 tip should always face up when piping poinsettia petals. If you rotate the tip sideways, the petals will look flat instead of having that signature pointed shape.
Don’t overfill your piping bags: Fill bags only halfway so you have good control. Overfilled bags are harder to squeeze and make your hands cramp faster.
Troubleshooting Common Issues:
Rosette swirls look messy? Make sure you’re holding the bag at a 90-degree angle and maintaining consistent height above the cupcake. If you drop too low or lift too high while piping, the lines won’t stack neatly.
Poinsettia petals drooping or melting? Your buttercream is too warm. Pop it in the fridge for 10 minutes and re-whip before piping.
Petals breaking off? Your buttercream is too cold or overbeaten. Let it sit at room temp for 10-15 minutes and gently re-mix.
Happy decorating!