*post was written under previous alias; Blossom & Cake
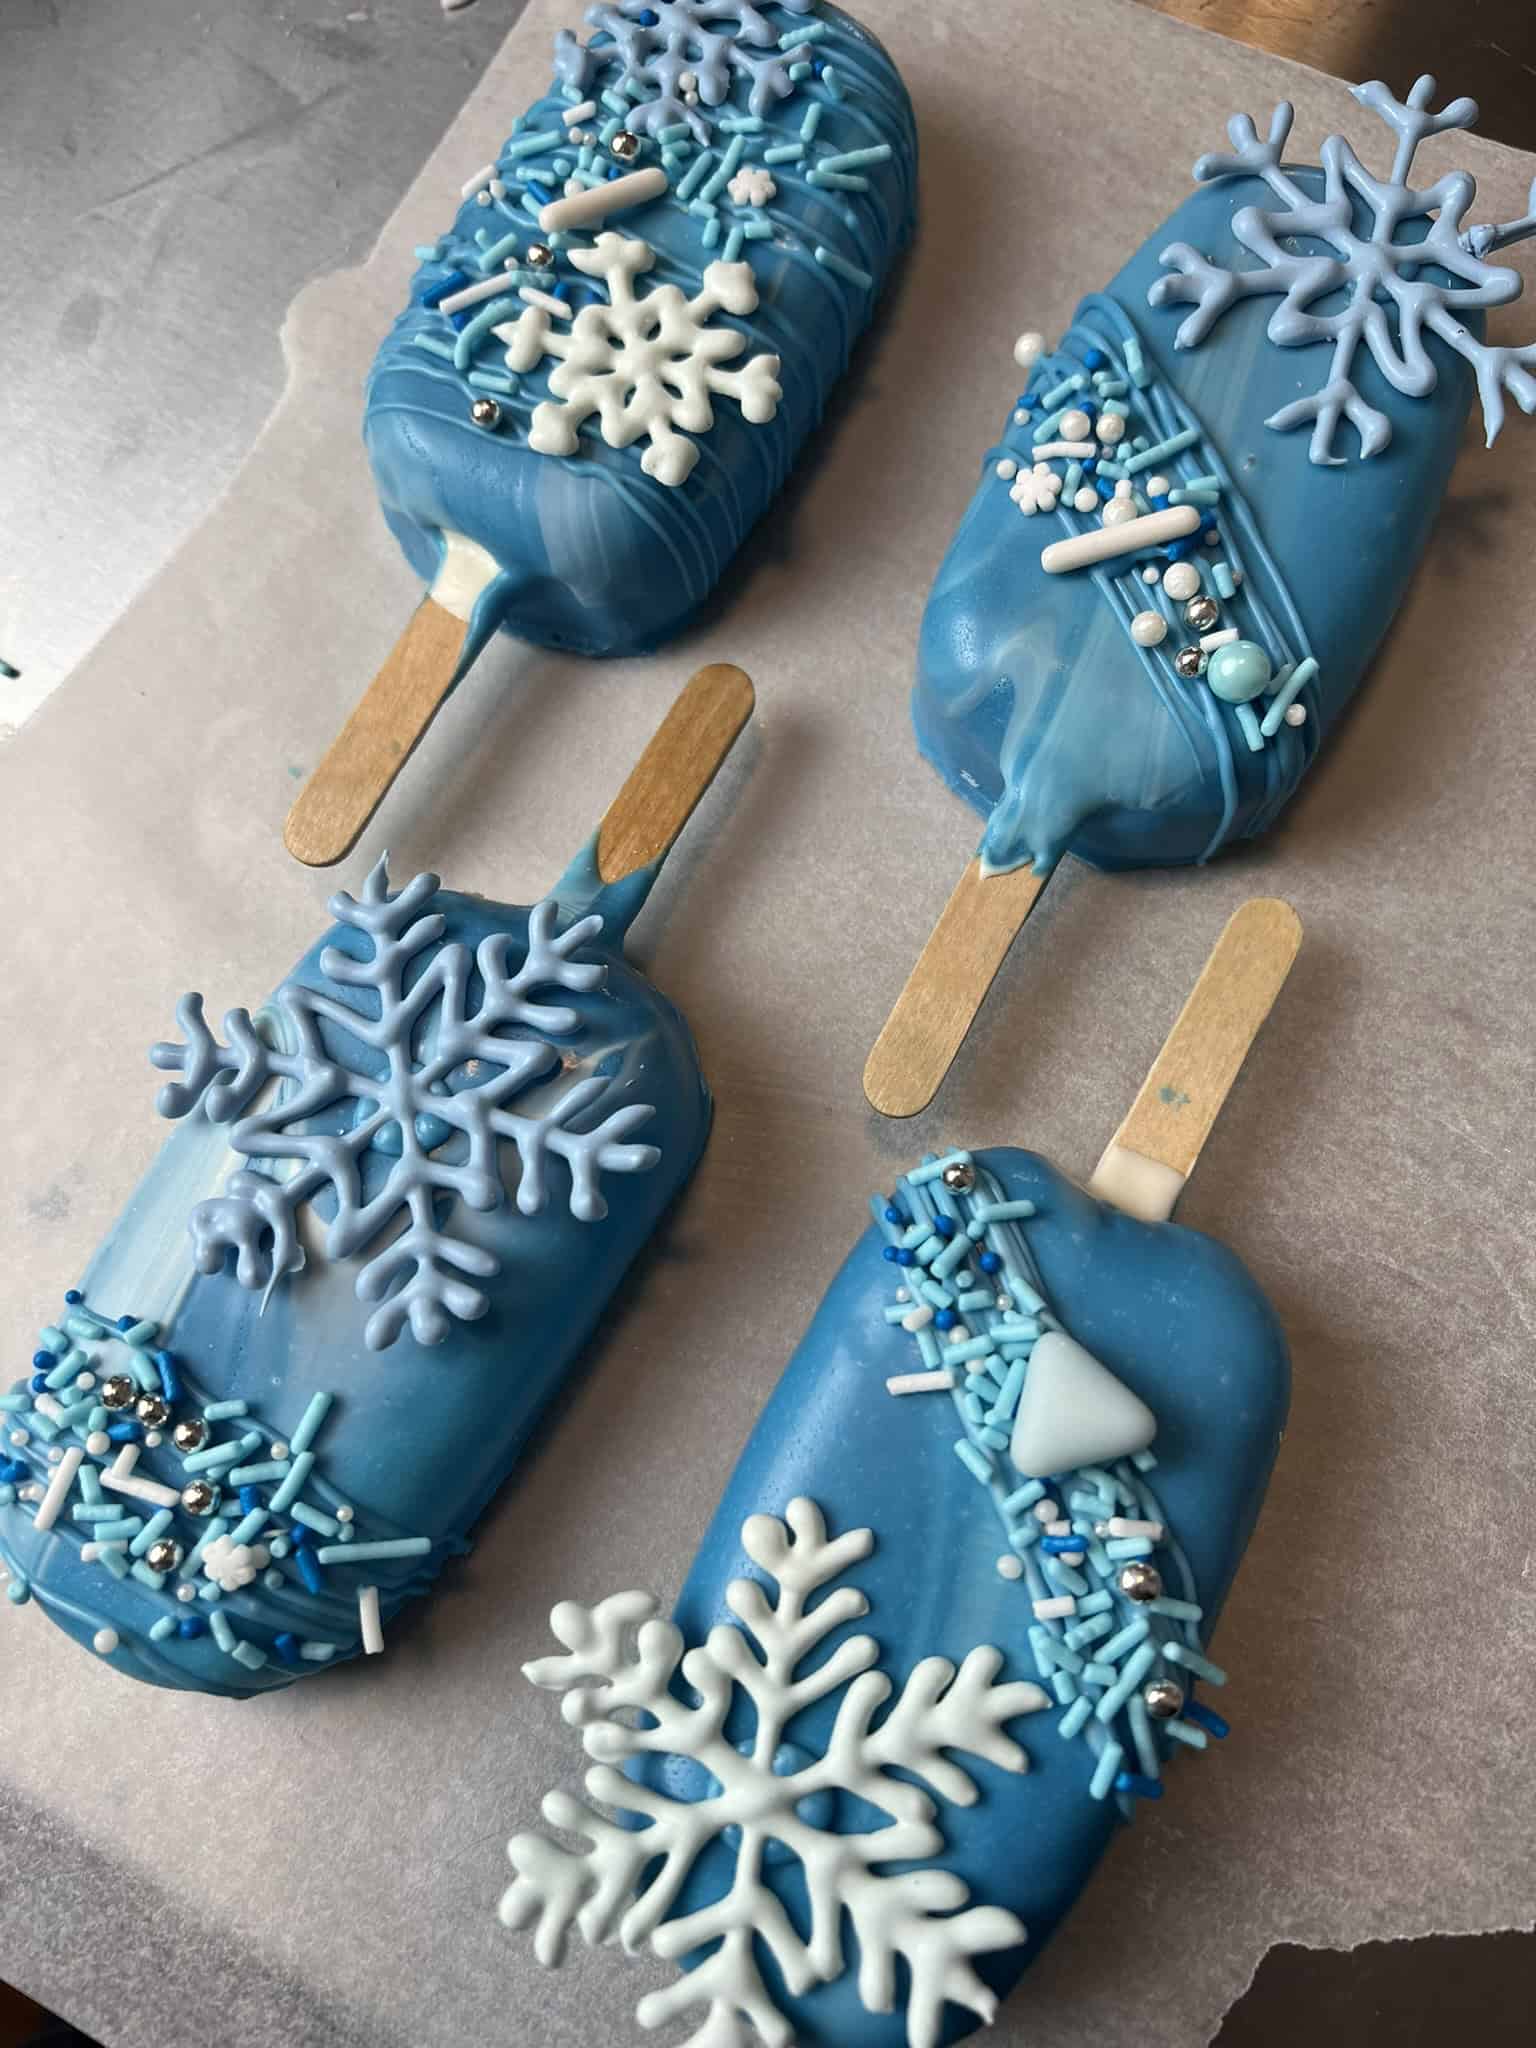
Frosty winter cakesicles are one of my favorite festive bakes to make during the holidays. They’re simple, fun to decorate, and perfect for gifting or adding to a winter dessert box. What makes these extra special is the marbled candy melt effect that gives each cakesicle a unique, frosty appearance—no two look exactly the same!
In this tutorial, I’ll walk you through creating beautiful marbled bases in winter colors, making delicate candy melt snowflake transfers (they’re easier than you think!), and three different decorating styles so you can choose your favorite or mix and match. These cakesicles look impressive but are surprisingly beginner-friendly once you understand the marbling technique.
The key to success with these is patience—let each layer set properly before moving to the next step, and your cakesicles will turn out bakery-perfect every time.
Table of Contents
Supplies
- Cake
- Cakesicle mold
- Candy melts
- Food dye
- Popsicle sticks
- Microwave safe/heat safe container
- Wax or parchment paper
- Piping Bags
- Sprinkles

How To Create A Marbling Effect
- Drizzle your secondary color on your primary color. The amount you add will affect its visibility: use less for subtle marbling and more for bold marbling.
- Insert your cakesicle in the center of the drizzle. Once it’s fully submerged, pull it up slowly while rotating it.
- Let the excess drip off. Run the back along the container’s edge or use a palette knife to remove extra from the back to prevent pooling when you lay the cakesicle down.

Why Marbling Works:
The marbling technique creates a sophisticated, organic pattern that looks like winter frost or icy swirls. The key is in the ratio of your primary to secondary color—use about 80% primary and 20% secondary for subtle marbling, or go 50/50 for bolder contrast.
Best Color Combinations for Winter:
- Classic Frost: White base with light blue drizzle
- Icy Silver: Light gray base with white and silver
- Winter Sky: Pale blue base with white and lavender
- Snowy Night: Deep blue base with white and silver
- Elegant Neutral: Ivory base with champagne and gold
Marbling Tips:
- Don’t over-swirl the colors—you want distinct ribbons of color, not a muddy blend
- Rotate the cakesicle smoothly and slowly as you pull it up for even distribution
- If your first attempt looks too subtle, add more of your secondary color and try again
- Practice on a spare cakesicle or even a spoon to get the technique down
Candy Melt Snowflake Transfers

- Print a template and place wax or parchment paper over it.
- Use warmed candy melts in a piping bag to create snowflakes, using the template as a guide. It is worth noting that imperfections are acceptable as each snowflake is unique.
- Allow to set at room temperature for 15 minutes before handling.
For a frosty appearance, sprinkle granulated sugar or finely shredded coconut over the snowflakes while they are still wet. Allow to set as normal before removing any excess sugar.
These transfers can be fragile. They will melt in your hand if holding – even with gloves on and will also break if dropped.
Decorating step-by-step
There is no right or wrong way to creating these. Follow the steps below or simply take inspiration from them to make your own decorating adventure.
The below cakesicles were all dipped with a marble effect. I then used that same color to drizzle and adhere the snowflakes and sprinkles.
Decorating tips: If your candy melts are warm, they should flow easily from the piping bag. If they begin to set, the flow will be uneven, and you’ll need to apply pressure. To achieve smooth lines, keep the candy melts warm. I recommend having a bowl of warm water nearby to dip the bag in, but dry it off with a towel before decorating. Make sure the tip of the bag does not touch the water as water and candy melts do not play nice together. Add sprinkles while candy melts drizzles are still wet.
Frosty winter design 1
- Start with a dry, room temperature dipped cakesicle.
- Take piping bag with warmed candy melts and slowly drizzle going left to right while making your way down to the bottom, then to the top again.
- You should now have two layers of candy melt lines across the entirety of the cakesicle. Fill in any gaps if necessary.
- While the lines are still wet, carefully place your candy melt transfers.
- Use a palette knife to slide the transfers onto the surface. Here I placed one at the top and one at the bottom.
- Fill in area between transfers with sprinkles.


Frosty winter design 2
- Start with a dry, room temperature dipped cakesicle.
- Take piping bag with warmed candy melts and slowly drizzle going left to right to cover the top 3rd with lines.
- While the lines are still wet, add sprinkles.
- Take the piping bag again and add a small dollop just below the center of the cakesicle.
- Use a palette knife to guide a large snowflake transfer onto the dollop.


Frosty winter design 3
- Start with a dry, room temperature dipped cakesicle.
- Take piping bag with warmed candy melts and slowly drizzle going left to right to create a diagonal line.
- While the lines are still wet, add sprinkles.
- Take the piping bag again and add a small dollop at the top and to the side of the cakesicle. (this dollop should be on the same side of the cakesicle as the lowest part of the diagonal line)
- Use a palette knife to guide a large snowflake transfer onto the dollop.


Troubleshooting:
Marbling looks muddy instead of distinct? You over-swirled the colors. Use a lighter hand when rotating, or start with less secondary color.
Candy melts too thick for marbling? They’ve cooled too much. Rewarm in 5-second intervals until they flow smoothly but aren’t hot.
Snowflake transfers breaking when you pick them up? Let them set for the full 15 minutes at room temperature. If they’re still fragile, they might be too thin—pipe slightly thicker lines next time.
Transfers melting when you touch them? Handle them with clean, dry hands and work quickly. Use a palette knife to move them rather than your fingers when possible.
Sprinkles won’t stick? The candy melts set too fast. Work quickly after drizzling, or keep the piping bag warm so the drizzles stay tacky longer.
Marbled base cracking after dipping? Your cakesicles were too cold when dipped. Let them come to cool room temperature (not fridge-cold) before dipping.
Storage & Serving:
Store finished cakesicles in an airtight container at room temperature for up to 3 days. If your kitchen is warm, refrigerate them, but let them sit at room temperature for 10 minutes before serving for best texture.
The snowflake transfers are delicate, so if stacking cakesicles for storage or transport, place parchment paper between layers to prevent them from sticking or breaking.
These make beautiful gifts when wrapped individually in clear cellophane bags tied with silver or blue ribbon!
I hope you enjoyed this frosty winter cakesicle tutorial and feel inspired to try your own version. If you do, I’d love to see how they turn out — share them with me on social @alchemy.sweets or tag me in your photos!
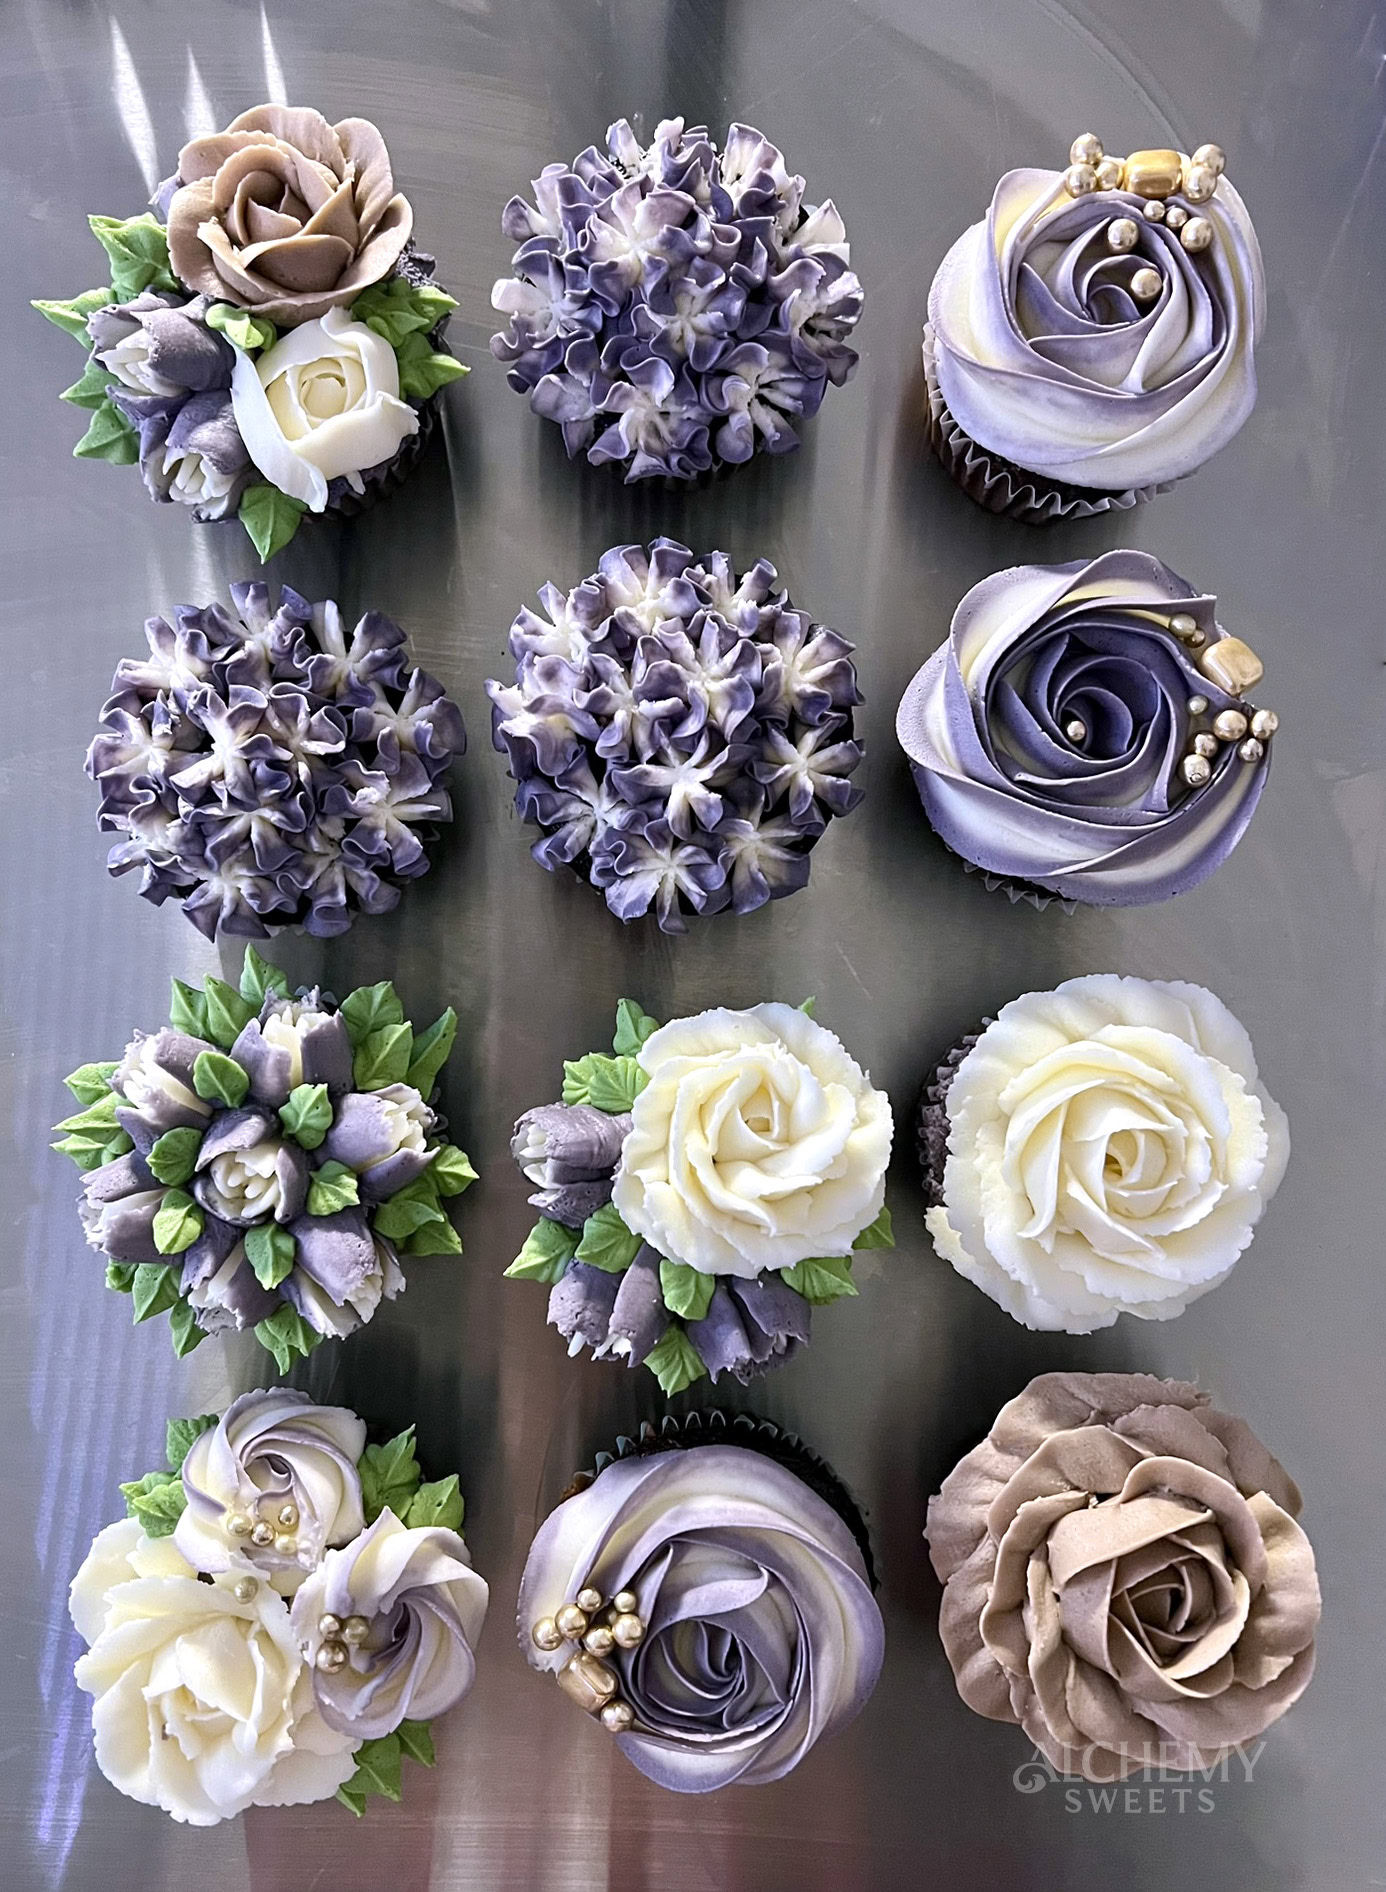
If you’re in the mood for more winter ideas, check out my Winter Forest Cake Tutorial, Winter Wonderland Cupcakes or browse my other seasonal cupcake and cake designs.

Happy Decorating!