There’s something about carnations. Their petals are jam-packed together, crinkled like gently scrunched paper, and ruffled at the edges. Maybe it’s graduation corsage memories or the way they look too detailed to recreate. The good news is they’re actually very forgiving to pipe. All that texture hides mistakes and adds extra dimension.
Carnations come in almost every color you can imagine, from deep burgundy and coral to soft blush and pure white. You see them everywhere, from wedding bouquets to grocery store bunches. That crinkled, ruffled texture is exactly what makes them so satisfying to recreate in buttercream, and they’re easier to pipe than they look.
In this tutorial, I’m piping carnations with a Wilton 104 tip. The consistency of your buttercream will change the look of your petals. Softer buttercream makes chunkier petals, while stiffer buttercream makes thinner. No right or wrong, just preference. Either way, you’ll end up with a ruffled pom-pom.

In This Post
Video Tutorial
Want to see this in real time? Watch me pipe a carnation start to finish.
What You’ll Need
- Buttercream (recipe here)
- Pink gel food color
- Wilton 104 piping tip
- Coupler or large round tip
- Piping bag
- Flower nail
- Parchment or wax paper
- Scissors for cutting piping bag tips
How to Pipe Buttercream Carnations
Carnations are all about that ruffled, almost papery texture, layers of frilly petals that build into a lush, full bloom.
If you look at a real carnation, you’ll notice the petals are packed tight in the center and open up as they go outward. They don’t sit flat; they fold and twist and overlap in every direction. That’s what gives carnations their full, textured look, and it’s also why they’re so forgiving to pipe. You’re not aiming for perfect petals, you’re aiming for controlled chaos.
Keep that in mind as you build: tight center, looser as you go out, and let those petals do their own thing.
Step 1: Pipe your base

Start with a dome of buttercream using a coupler or large round tip. Hold the tip just above the center of your flower nail or cupcake and apply steady pressure – let the buttercream fill out and round itself naturally. Don’t move the tip at all. Once you have a decent-sized dome with a nice rounded shape, release pressure and pull away.
Step 2: Pipe the bottom row of petals


With a Wilton 104 tip, pipe ruffled petals around the base of the dome. Position the wide end of the tip against the bottom of the dome. Pipe upward toward the edge of the flower nail or cupcake, moving your hand up and down (or weave slightly) to create that ruffled texture – use slow, even pressure. Connect it back down to the dome to finish the petal.
Step 3: Pipe Ruffle Petals Around Center

Continue piping petals around the entire base of the dome. You should get 8-10 petals (this depends how big of a surface you are piping on). If you want more of a ruffled look, you can lift your tip up slightly while piping to create more of a folding/wave effect.
Step 4: Add another layer of petals

Pipe another row of ruffled petals just above the first, slightly shorter (but relatively the same length) than the bottom row. You can begin to tilt your piping tip up more. This second row of petals should nestle between the first layer for a fuller look.
Step 5: Pipe the center

Skip to the center and pipe your center petals. Hold your piping tip ~45° and pipe 3-4 short petals from the center of the dome, down. Pipe 3-4 more short petals between and around the previous ones you just piped.
Note: You can do this step before piping any petals.
Step 6: Fill in the middle

After piping your center cluster, begin to fill in the gap between it and your 2 bottom layers of petals. Angle your tip up each additional layer, keeping your petals relatively the same size. This helps give it that rounded shape.
Step 7: Complete the flower

Fill in any remaining gaps with short, small weaving petals. The more chaotic you make these petals, the more realistic to a carnation it will be.
Tips And Troubleshooting
Petal shape: Don’t overthink it, carnation petals are irregular in real life, so wobbly and uneven actually looks more realistic. Some open, some closed, some folded over. Embrace the chaos! If your petals are losing definition and blending together, your buttercream is likely too soft. Refrigerate your piping bag for 10 minutes. If petals are looking flat instead of ruffled, check your wrist movement. Dragging the tip in a straight line will flatten them out. Moving your wrist up and down as you pipe is what creates the ruffle.
Build order: You can start from the center and work outward, or from the bottom up. I pipe the bottom two rows first, then the center, then fill the middle.
Consistency: Medium works well, but carnations are forgiving. Softer buttercream still gives great results; stiffer gives you more control. These also would work with my pipeable Cream Cheese Buttercream.
Keep piping tip clean: Wipe the piping tip between layers. This keeps your petals crisp and also prevents the tip from dragging buttercream across already piped petals.
Filling it out: If your base dome is showing through, just keep building. Add more layers, or random petals throughout.
Once you get the basics down, play around with it. Try making more dramatic ruffle shapes and testing out color combos. Here’s a two-toned version I piped. To get that look, spread one color in a thin layer along one side of your piping bag before adding your main color. The two shades will blend slightly at the edges of each petal, similar to the way real carnations often have a deeper or lighter edge.

This is a super easy way to pipe a carnation, a great way to add some texture to your buttercream floral arrangements. I would love to see the colors and petals you create, tag me on social media @alchemy.sweets or comment below!
I’m always adding more buttercream flower tutorials on the blog and on Youtube, if you want to stay up to date, subscribe to my newsletter or Youtube channel for buttercream flower tutorials and more!
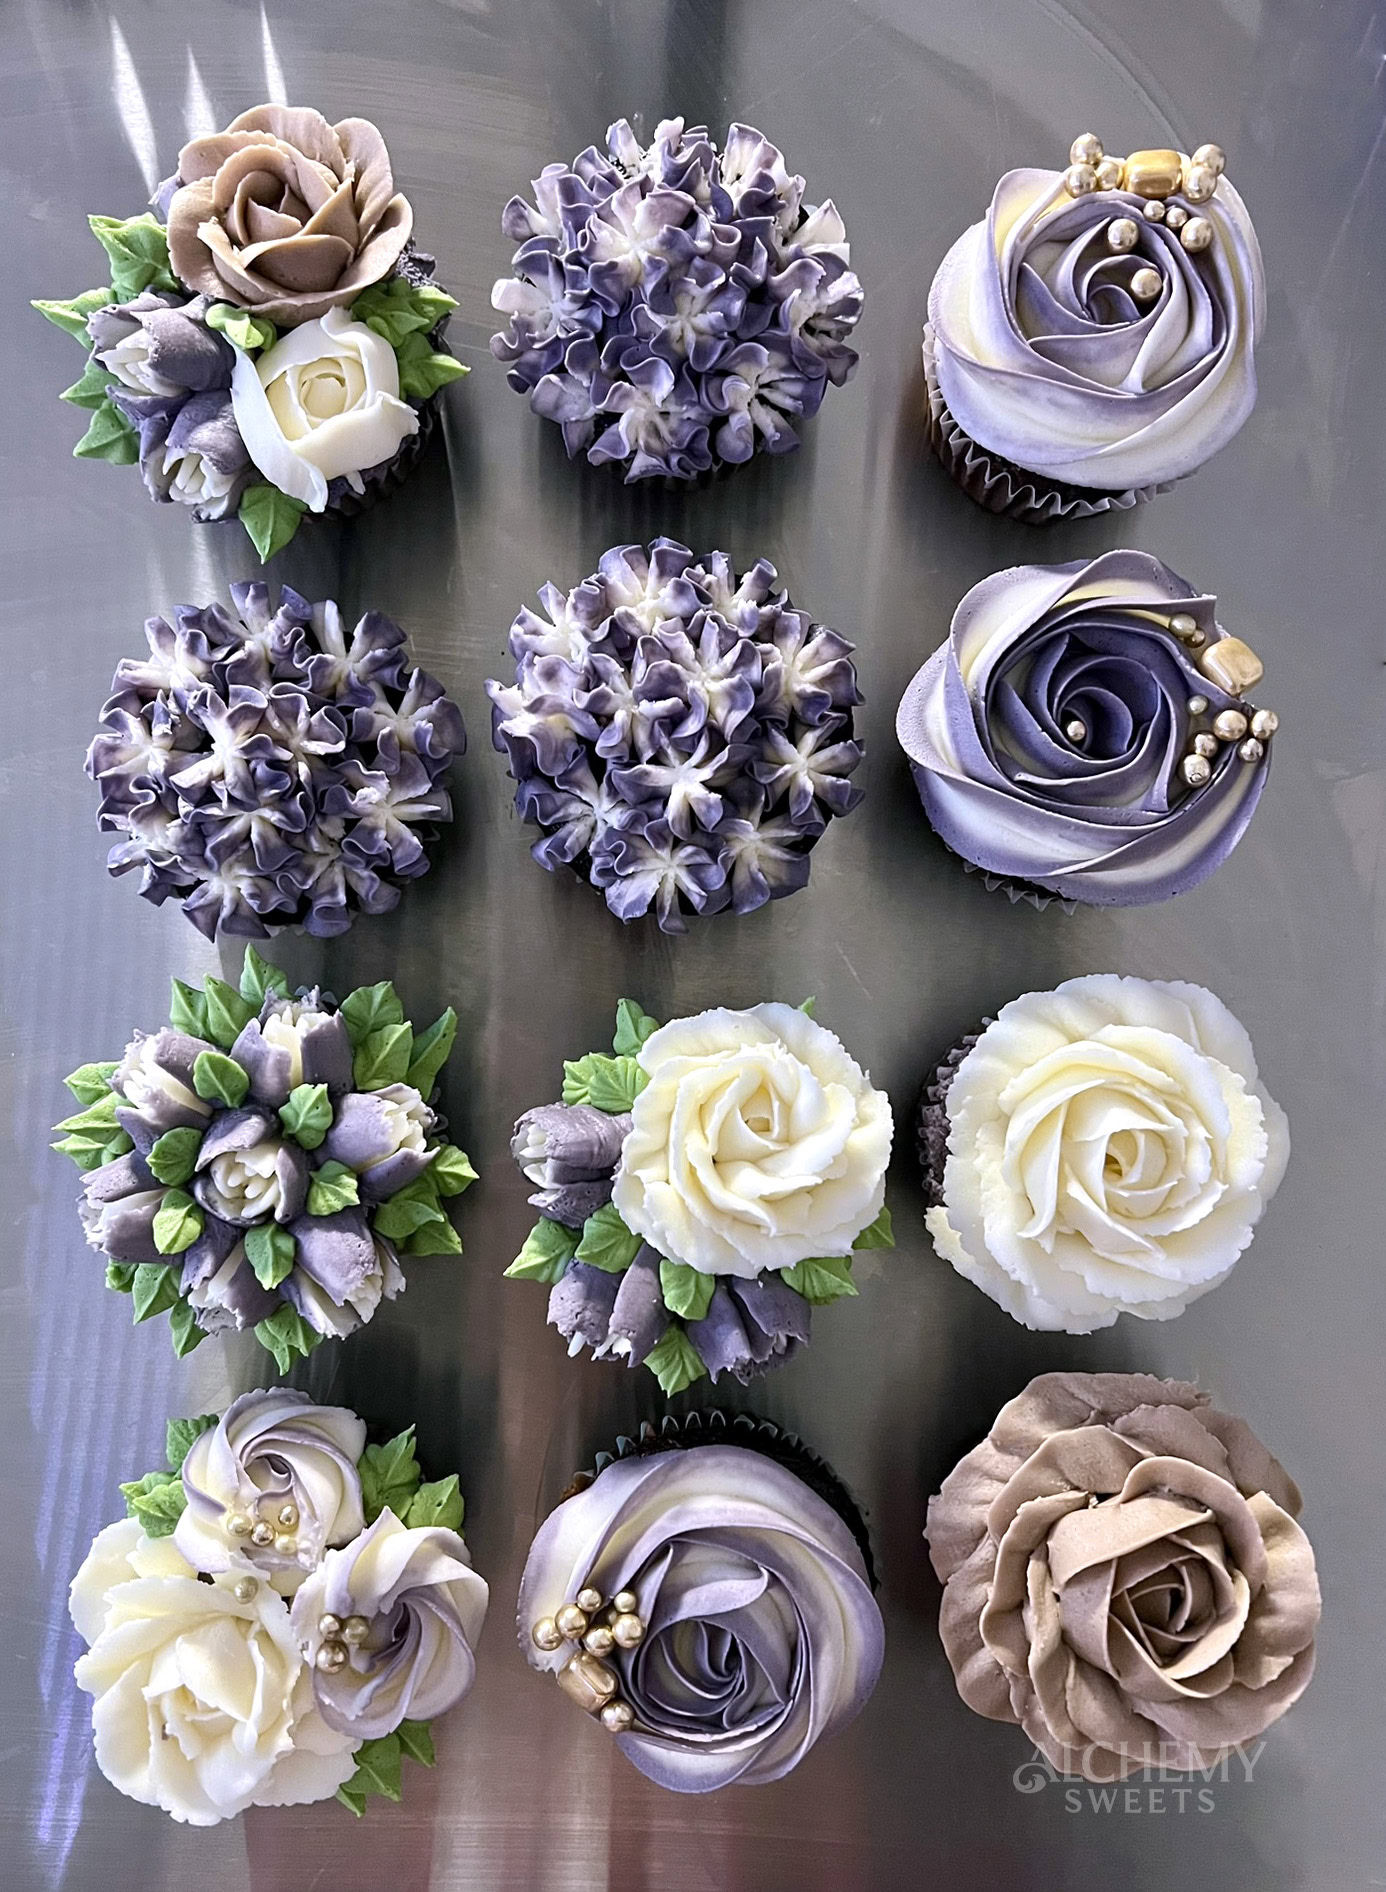
If you enjoyed learning Carnations, you might enjoy my step-by-step on piping roses, hydrangeas, and rosettes ✿
Happy decorating!